

Staining your wood fence is a practical and creative way to add color, charm, and protection to your outdoor living space. Whether you are bringing your old fence to life or preserving a new one, following the right process and selecting high-quality products will ensure the longest-lasting and most pleasing results. Learn how to complete a professional-looking DIY fence stain in this step-by-step guide.
Step 1: Choose the Best Stain for Your Fence
To select the right type of stain for your wood fence, you will need to determine the materials and fence condition you are working with and select the aesthetic you will most enjoy. Keep in mind that the quality of the stain you choose will have a significant impact on its appearance, longevity, and upkeep.
Types of Fence Stain
Your two primary wood stain options are water-based and oil-based products. Oil stains dry more slowly and require solvents for cleanup, but they penetrate the wood deeply — creating an effective seal against the elements. Water-based stains dry quickly, which means you can re-coat them within a few hours. They are also easy to clean up with just soap and water. Plus, the premium water-based stains in the Benjamin Moore Woodluxe collection feature an advanced penetrating formula that protects the wood and resists peeling unlike waterborne stains of the past!
Benjamin Moore Woodluxe is a high-quality, long-lasting collection of both water and oil stains, available in a wide range of colors and opacities so homeowners can achieve the exact aesthetic they are looking for with minimal maintenance. Woodluxe stains also serve as a protective layer for your wood, so you don’t have to worry about adding a sealer when your stain is finished.
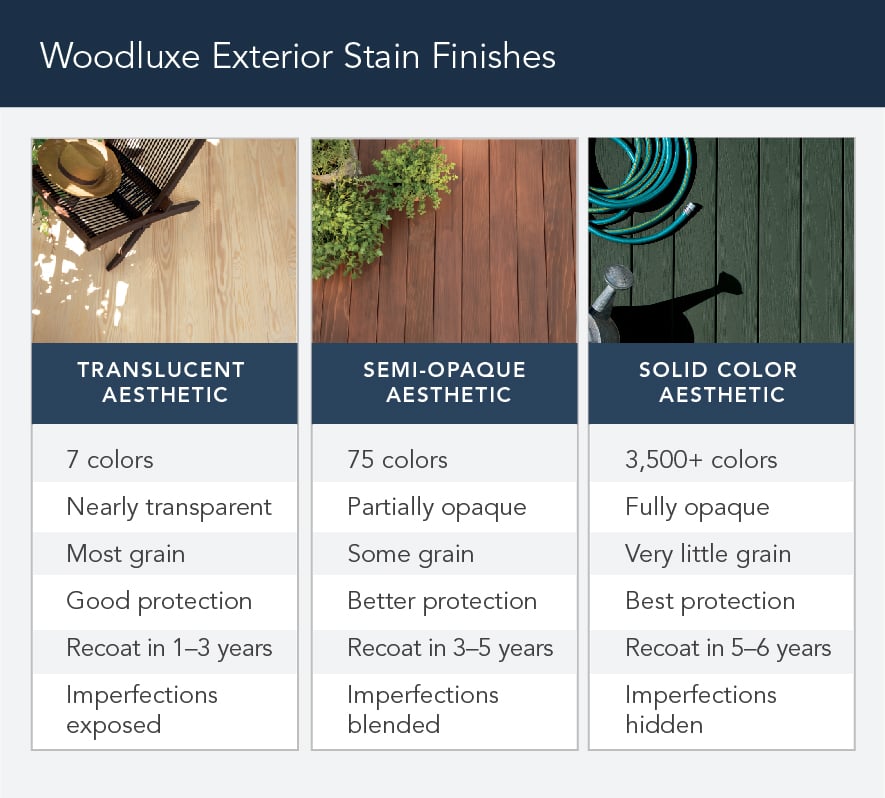
Translucent and semi-transparent stains reveal the natural wood grain, ideal for showcasing your fence’s natural beauty. Stains with a higher level of transparency require the wood to be more thoroughly cleaned and/or restored, and will need more frequent re-staining. They can also be more susceptible to mold and mildew than solid stains.
Solid stains are paint-like, water-based products that sit closer to the top of the surface, but still penetrate the wood – providing a barrier to the elements and a strong pigment that will cover old stains and blemishes. However, peeling and flaking can occur as the stain weathers.
Use an inconspicuous place on your fence or a spare piece of wood to test the stain color and type you like the most. You’ll never know exactly how a stain will look until you try it with your fence’s particular color and texture.
Factors That Impact Stain Performance
Fence Type
Hardwood and softwood fences respond differently to stains, so make sure you know what materials you are working with.
Popular hardwoods like ipe and mahogany are durable, dense materials often paired with translucent stains to showcase their natural grain. They don’t absorb stain as quickly as softwood, which may affect the drying time. Pine, cedar, and pressure-treated woods are common softwoods that will need to be washed more gently and may benefit from solid stains to cover up blemishes.
Condition
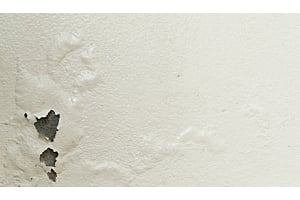
The current condition of your fence will be a big factor in determining which stains will work best. Applying a transparent stain to an old, weathered fence – for example – will require that the wood first be restored to a like-new condition. This may involve removing old coatings, sanding, washing, and using restorative wood cleaner. Semi-solid or solid finishes can make your old fence look like new with less prep work by adding pigment that covers up blemishes.
Environment
The elements your fence is exposed to affect the longevity of your stain. Sun and harsh weather exposure will fade oil stains more quickly, which can make a solid stain an appealing choice for homeowners who don’t want to touch up the fence as frequently. On the other hand, solid stains can peel and flake after repeated moisture absorption, requiring that boards be sanded down before stain can be retouched.
Step 2: Pick the Right Time to Start Your Project
A fence stain project involves a few distinct stages — cleaning and repairing the fence, prepping the boards, and applying the stain. Make sure these steps are factored into your schedule, and give yourself at least 48 hours of dry weather between cleaning and staining the fence so that the boards have enough time to dry. Start applying the stain to your fence after at least a couple of dry days to ensure the boards are not wet. Stains take anywhere from a few hours to a couple of days to dry, so check the forecast to make sure you have enough dry weather to finish the stain as well (keep reading for more detailed dry times).
Note that high humidity and extreme temperatures can meddle with your stain’s effectiveness and how quickly or evenly it dries. It is best to stain your fence during a dry, temperate season, between 50°- 95° Fahrenheit. If possible, try to avoid applying the stain in direct sunlight to help it dry evenly.
Building a fence with new lumber?
New boards often contain high moisture levels and could require a few weeks to dry out before starting this project. Check with your lumber supplier or use a moisture meter to make sure the moisture content of the boards is below 17% before you start staining.
Step 3: Make Any Necessary Repairs
For the most durable and best-looking results, you will want to fix any major damages before you start staining. This may include fixing loose boards, broken latches, or protruding nails. Nails have a galvanized head that doesn’t rust, so it’s important to sink your nails to avoid sanding off the finish.
Step 4: Clean and Prep Your Fence
Preparing your fence by cleaning, restoring, and smoothing the surface is a crucial step. Stain won’t adhere properly to your fence if there is grime, mildew, old stain, or loose wood fibers.
If your fence has an old stain on it already, use Benjamin Moore Woodluxe Remove and 180-220 grit sandpaper as needed to get rid of the old coating and open the pores for the new stain to sink in.
New fences will need the mill glaze removed from the boards for the stain to adhere effectively. You can remove this coating with Benjamin Moore Woodluxe Brightener and Neutralizer. After the fence has been scrubbed down, rinse it thoroughly and sand the boards with 80-grit sandpaper.
Clean your entire fence with soap and water, or if you need a stronger solution for a weathered fence, use Benjamin Moore Woodluxe Wood Restorer followed by Brighten. A scrub brush and garden hose could be all you need to touch up a relatively clean fence, but hardened grime may require a pressure washer. Just be careful not to use a high PSI setting when doing a pressure wash because you can damage the wood, especially if it’s a softwood.
This is also a good time to cover anything you don’t want to be damaged — either in the cleaning or staining process. Use drop cloths to cover plants, pathways, and exposed parts of your house or other structures.
Step 5: Apply the Stain
Once you have a dry, smooth surface to work with, you’re ready for your first coat of stain! Work with the natural grain and move from the top of the fence boards to the bottom to avoid dripping on finished sections.
Be sure to look at the manufacturer's recommended number of coats and amount of time between coats. Drying time between coats can range from a few hours (for water-based stains) to a couple of days (for oil-based stains).
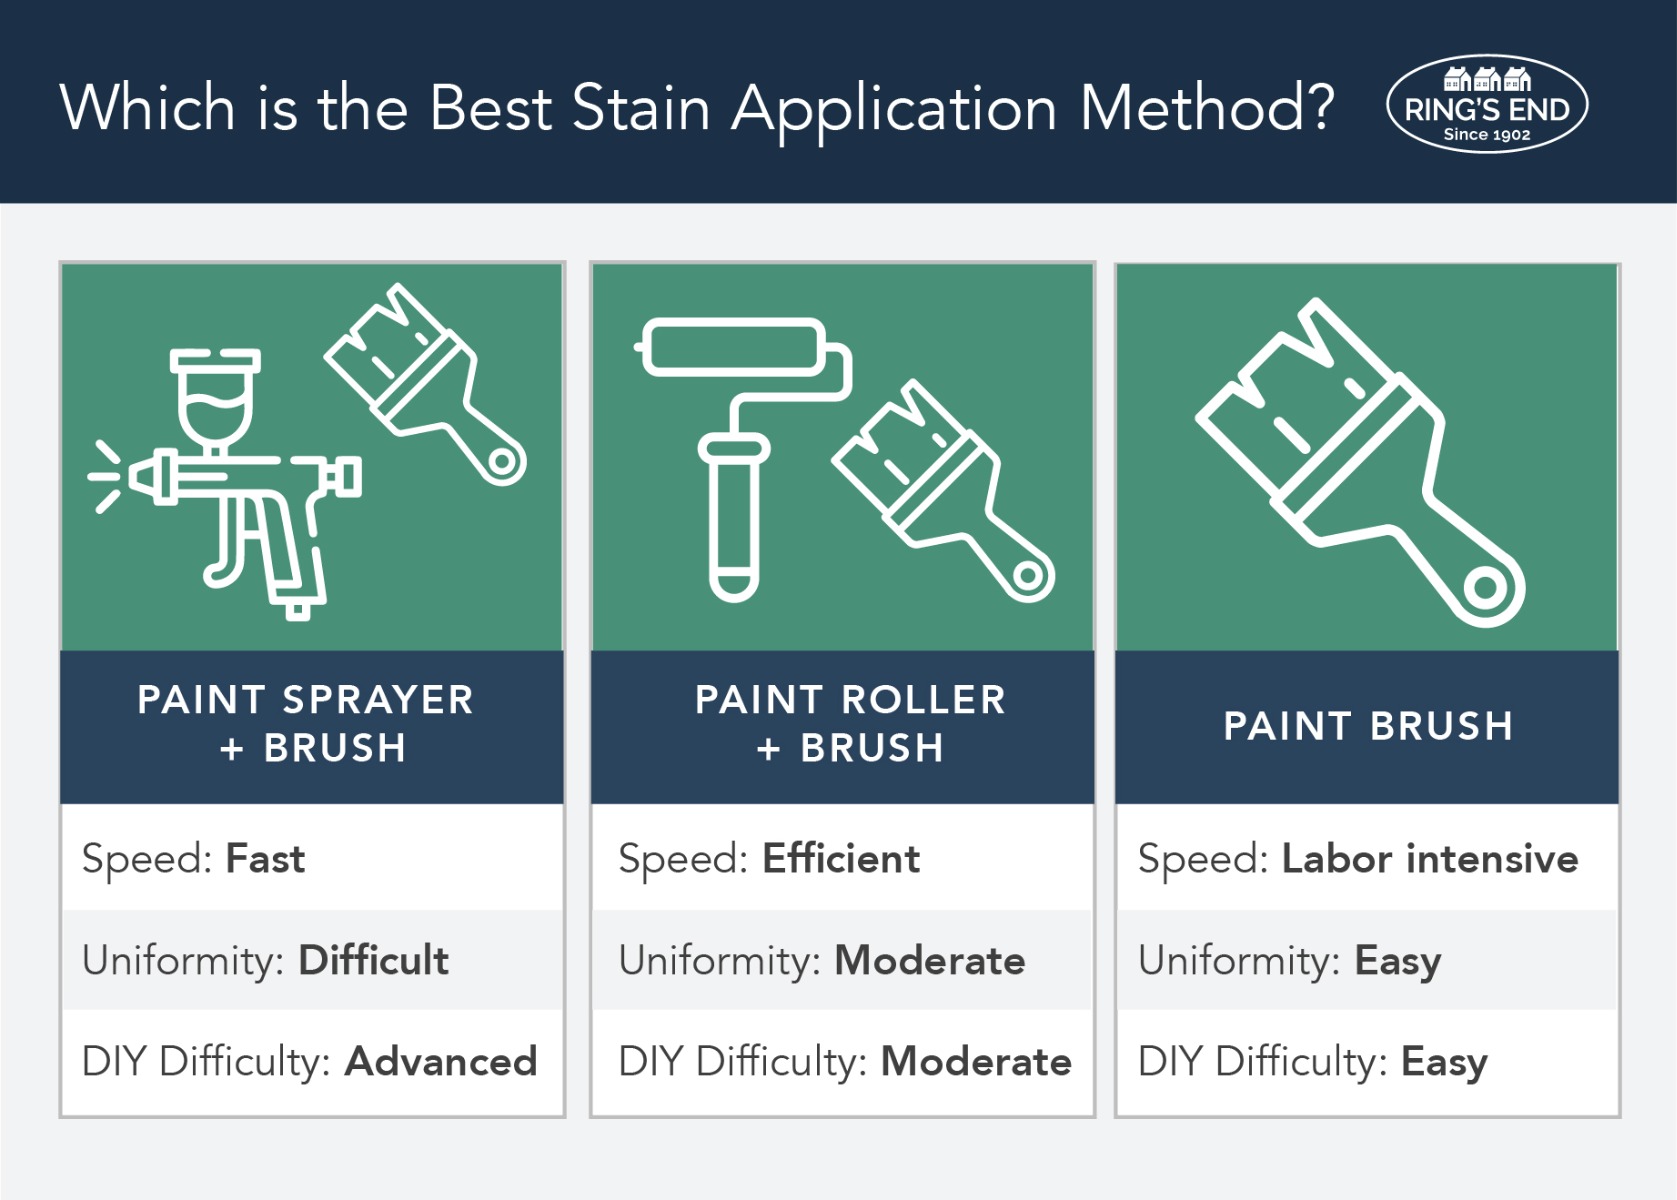
Option # 1: Paint Sprayer and Paint Brush
Using a paint sprayer is the fastest way to apply stain to your fence. However, for DIYers without sprayer experience, it’s easy to over-apply the stain. Over-application results in an uneven finish, and can damage surrounding objects or plants. You will also need to back-brush the fence to smooth out any drips when using a sprayer. This is easier to do if you have another person helping you.
Option # 2: Paint Roller and Paint Brush
A paint roller will require additional time but improves uniformity and avoids the potential for overspray. You will still need a paint brush to back brush drips, fill crevices, and even out splotches.
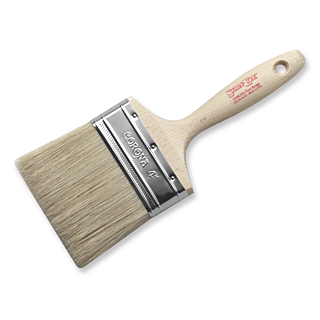
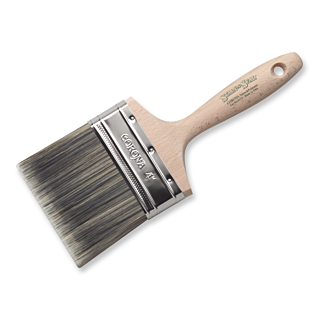
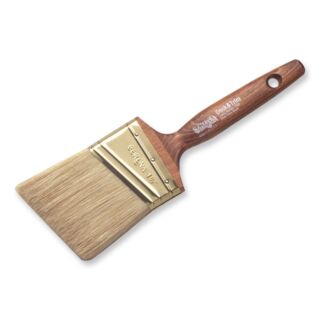
Option # 3: Paint Brush
A paint brush is the most time-consuming option but is the best way to effectively and uniformly work the stain into the wood for an even coat.
Step 6: Enjoy and Care for the Finished Product
Now that your DIY fence stain is complete, you can sit back and enjoy the new look it brings to your home and landscape! Remember to maintain your fence with proper cleaning and upkeep to prolong the beauty of your fence.
How often you will need to re-coat or re-stain will depend on your prep work, the quality of the product you chose, and the weather conditions your fence will be exposed to over time. In general, transparent stains will last 1-2 years before needing a re-coat, semi-transparent and semi-solid stains last a couple more years, and solid stains can give your fence over 5 years before needing to be redone.
Order Your All Fence Staining Supplies from Ring’s End
A great end result will make all your hard work feel worth the sweat equity you put into your fence project! Proper planning and quality products are the keys to success.
Homeowners can rest assured that Benjamin Moore Woodluxe applied to a properly prepared fence is optimal for both beauty and longevity. And if you’re looking for quality advice as you plan your project, Ring’s End reps have the expertise to guide your research. Use our online chat or text (203) PRO-HELP to get started.