


A proper deck stain can work wonders on an old deck, or preserve a new one for years to come. Whether you’ve just installed a new deck or it’s time to give your old deck new life, learn how to successfully choose and apply a stain in this step-by-step guide.
Deck Stain Opacities
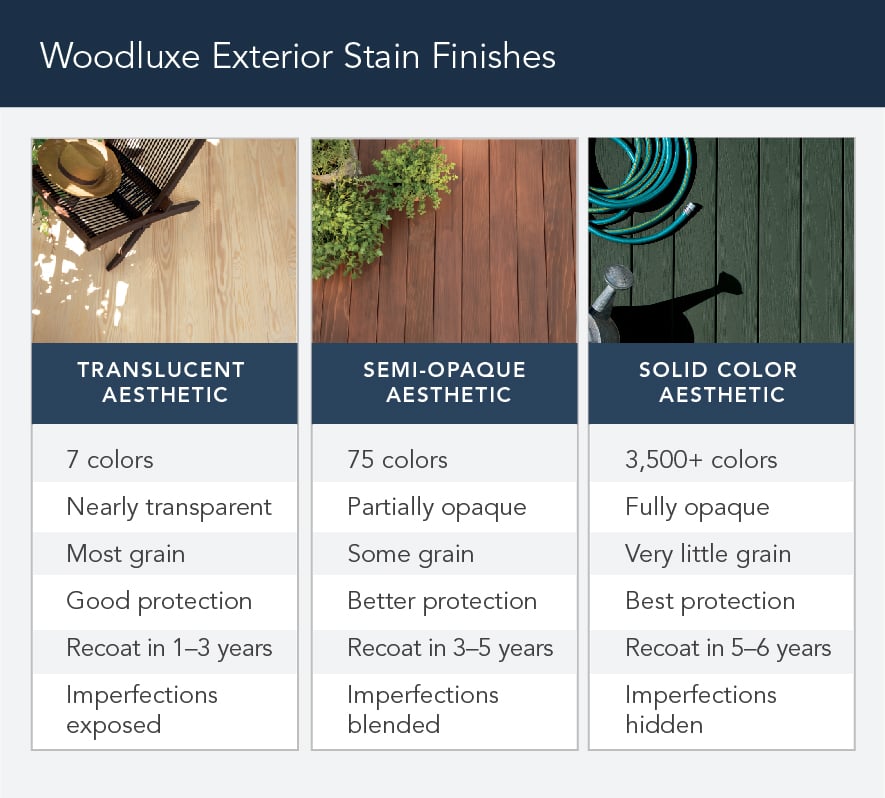
You will need to choose from a range of opacities—from translucent stains that showcase the natural beauty of the wood to solid stains that provide a UV-resistant, paint-like layer of color.
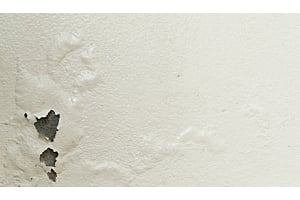
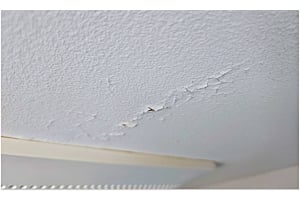
The more opaque your stain is, the longer you can expect the color to last without additional cleaning and re-coating. However, a solid color stain comes with the risk of peeling and flaking over time. Solid stains are water-based products that have a faster dry time and easier clean up than oil-based products, but they don’t penetrate the surface of the wood as well.
Deck Stain Formulas
Stains are available in two types of formulas – water-based and oil-based.
Water-based stains are easier to apply because they dry more quickly and are easy to clean up with just soap and water. Oil-based finishes penetrate the wood more effectively for long-term results but require clean-up using solvents. Oil-based stains are also more prone to mildew. If you have a mold or mildew issue, a water-based stain may be a better option.
Most professionals conclude that an oil-based stain is worth the extra cleanup because of the excellent result. However, improved stain formulas are closing the gaps between oil and water-based options. Benjamin Moore’s Woodluxe collection features an advanced penetrating formula that protects the wood and resists peeling, unlike waterborne stains of the past!
A wood’s natural color affects the finished look, and its surface texture impacts stain absorption, so you’ll never know if a stain color is the perfect fit until you see it on the deck. Choose an inconspicuous place or spare piece of lumber to test stain samples before committing to a product. Benjamin Moore Woodluxe offers homeowners an impressive range of high-quality stain options for every type of aesthetic.
Factors that Impact Stain Performance
Deck Materials
Hardwoods and softwoods respond differently to stains, so it’s important to identify the materials you will be working with. Popular hardwoods include ipe and mahogany. Pine, cedar, and pressure-treated woods are common softwood decking.
Hardwoods are denser materials, appreciated for their durability and natural beauty. To showcase the natural wood grain, many homeowners will choose transparent oil stains for their hardwood decks. Our decking experts recommend Preserva Timber Oil for staining dense hardwoods. This product is available in a few transparent color options and a clear option. The clear coating is not UV-resistant, allowing the hardwood to gray naturally while still protecting it.
Softwoods are more porous than hardwoods, which means they absorb moisture more easily. You may need to wait a longer time before staining a softwood deck so that it has enough time to dry out from any recent rain or rinsing. A softwood deck is also more prone to rotting from moisture, making it important to choose a high-quality stain that will help prevent mold and mildew.
(Note that a newly-built pressure-treated deck needs time to dry out or “season.” You want the green color to fade out as much as possible before staining, which typically takes around 6-8 weeks. )
Condition
Choosing the right wood stain will depend greatly on the current condition of the deck and the amount of restorative work you want to do.
Translucent and semi-transparent stains reveal the natural beauty of the wood and work best for new decks or decks that have been restored to look like new. A solid stain camouflages remaining blemishes on an old deck, giving it a fresh look without as much preparation. Keep in mind, though, that the deck must be clean, dry, and dull before you can successfully apply any stain.
Environment
The deck’s surrounding environment has a significant impact on the stain and staining process that will work best. For example, if a home is situated in wetlands or surrounded by forest, the high moisture levels can cause mold and mildew and require that the deck be cleaned more frequently, particularly when you use oil stains.
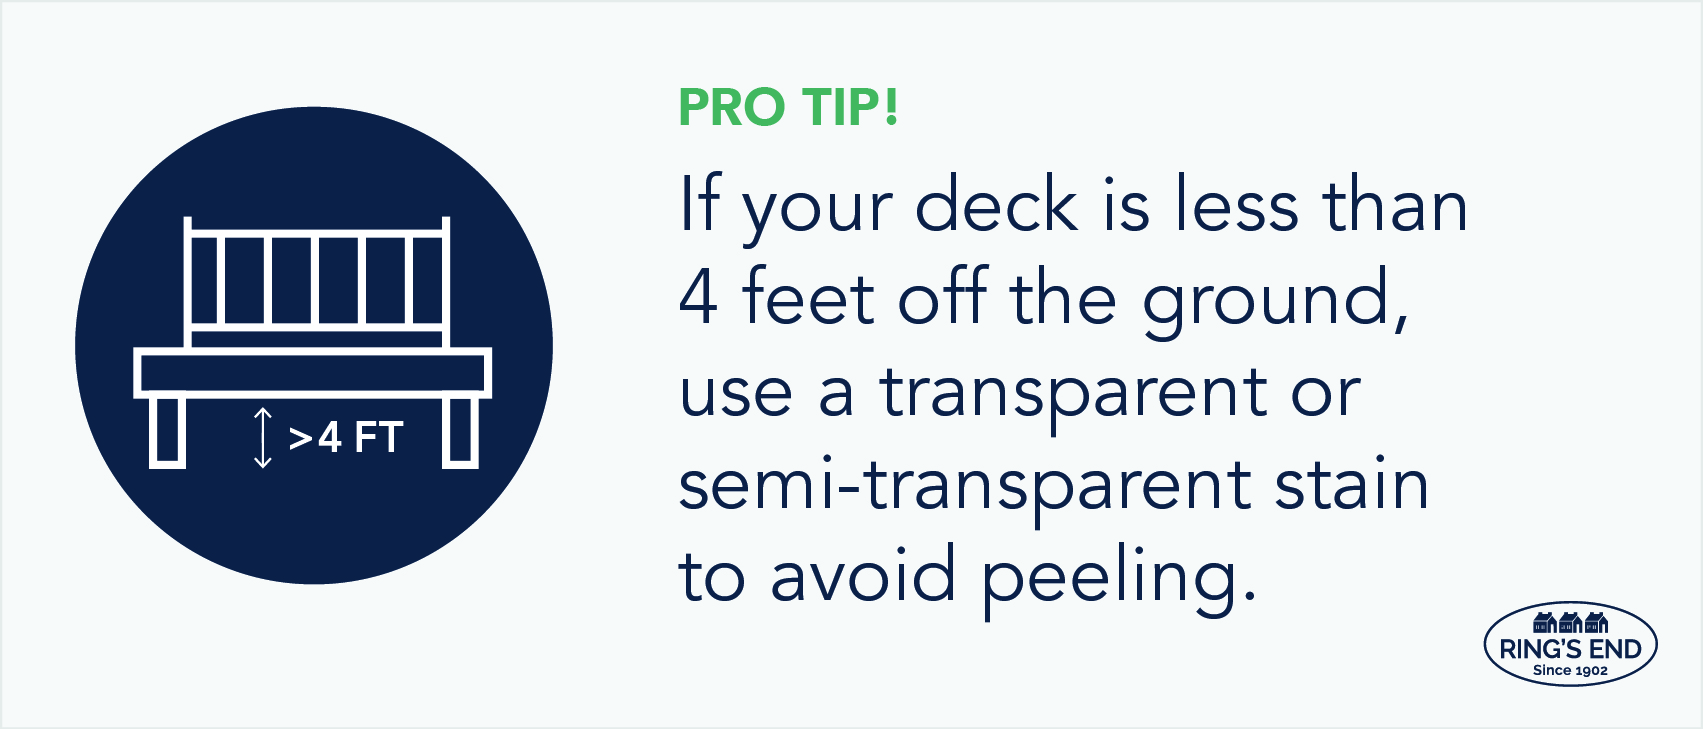
Decks less than four feet off the ground have to contend with high moisture levels and work best with a transparent or semi-transparent stain. If a solid stain is applied to low-to-the-ground decking, the moisture will become trapped underneath the wood and the sun will pull the moisture out along with the stain – causing it to peel.
Step # 2: Pick an Optimal Time to Start Your Project
Moisture and high or low temperatures are enemies of a successful deck stain project. Ideally, you should start the actual staining process after at least a couple of dry days. You will also need around 48 hours of dry weather after your stain is finished to make sure it dries properly.
Even high humidity can affect the drying process, and high/low temperatures can meddle with your stain’s effectiveness. It’s best to do this project during a dry, temperate season (50°- 95° Fahrenheit). And when you’ve settled on the right day or week to stain the deck, try to avoid applying the stain in direct sunlight so that the deck dries evenly.
Keep in mind that your deck stain project will also involve cleaning, repairing, and prepping the boards. These steps need to be factored into your schedule, with at least 48 hours of no rain between cleaning and staining the boards so they have enough time to dry. Use a moisture meter if you’re unsure about the moisture level. Anything under 12-15% is acceptable.
Installing a deck with new lumber?
New boards often contain high moisture levels and could require a few weeks to dry out before starting this project. Check with your lumber supplier or use a moisture meter to make sure the moisture content of the boards is below 12-15% before you start staining.
Step # 3: Clean the Deck Thoroughly
Cleaning the deck is a crucial stage for two reasons. First of all, the stain won’t apply properly to your wood if there is a build-up of dirt or grease or a previous stain that is peeling or flaking.
Secondly, cleaning the entire deck helps reveal any bigger problems such as mold, loose panels, loose nails, or trapped debris. Before you start cleaning, remove all objects from the deck, and cover power outlets or anything else you don’t want to damage with drop cloths and painter’s tape.
Depending on the severity of mold or dirt build-up on the deck surface, you can use deck cleaner or a homemade solution with diluted vinegar and/or dish soap. Minor cleaning can be accomplished with a sponge and garden hose, while a pressure washer may be necessary for removing hardened grime. Just be careful to not set the water pressure too high, or you can damage the wood.
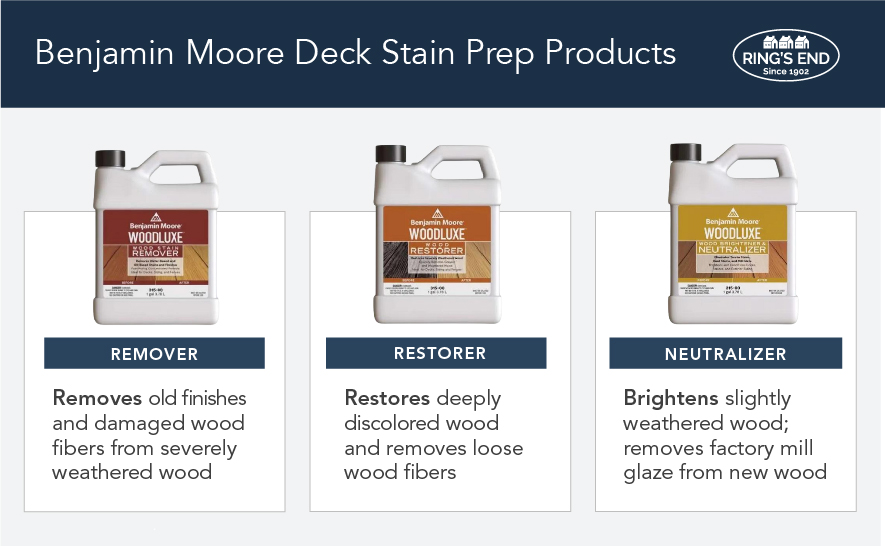
If you are starting with an old pressure-treated deck that has a peeling stain already, we recommend applying Benjamin Moore Woodluxe Remove and using 180-220 grit sandpaper to help take off the old stain and to allow the new coat to sink in. Allow Remove to set for the allotted time (15-20 minutes). Then rinse off the deck with a hose or a low-pressure setting on your pressure washer, sand the deck, and clean it before recoating.
Step # 4: Repair any Damages
If you are staining an older deck, it will be much easier to see damaged sections once it has been thoroughly cleaned. Repairs you will need to make before staining the deck include fixing loose boards, replacing damaged boards, or filling holes. Staining a deck isn’t just about giving it a new look – it’s also about preserving the deck for long-term use.
Step # 5: Prep the Boards
Preparing the surface of the deck through sanding and/or treating the boards with restorative products is especially important to achieve the end result you envision. This step applies to both new and old decks.
New deck boards need “mill glaze” removed that prevents proper stain penetration and adhesion. Mill glaze develops during the production process and it closes the pores of the wood.
Use a wood cleaner product like Benjamin Moore Woodluxe Brightener and Neutralizer to remove this barrier. Let it set for the allotted time (15-20 minutes), then rinse off the deck and sand the boards with 80-grit sandpaper.
Weathered wood will need more significant preparation, particularly if you intend to use a transparent stain that will reveal the wood underneath. Use Benjamin Moore Woodluxe Wood Restorer on severely weathered decks to remove old stains and help the wood regain its natural color. After letting Restore set for the allotted time (15-20 minutes), rinse it off and use 80-grit sandpaper to remove loose and damaged wood fibers and to smooth out the wood for a new coat.
Be sure to sink nails before sanding so that you don’t strip the galvanizing off the top of the nail, creating rust bleed. All this preparation can be tedious, but it’s essential to achieve a quality result!
Step # 6: Apply the Stain
Now that the deck is clean, dry, and dull — it’s time to start staining! Begin with the railings – working from the top to the bottom – so that drips don’t interfere with finished deck boards. The deck boards will need to be stained from the far end of the deck toward the exit. To achieve an even coat, work with the grain and stain two or three boards at a time.
Apply one thin coat of the stain. If staining a hardwood deck, be particularly careful not to over-apply the stain and always remember to wipe up any stain puddles. If the stain doesn't absorb after a few minutes, use a rag to wipe off the excess, otherwise you can end up with shiny or sticky spots.
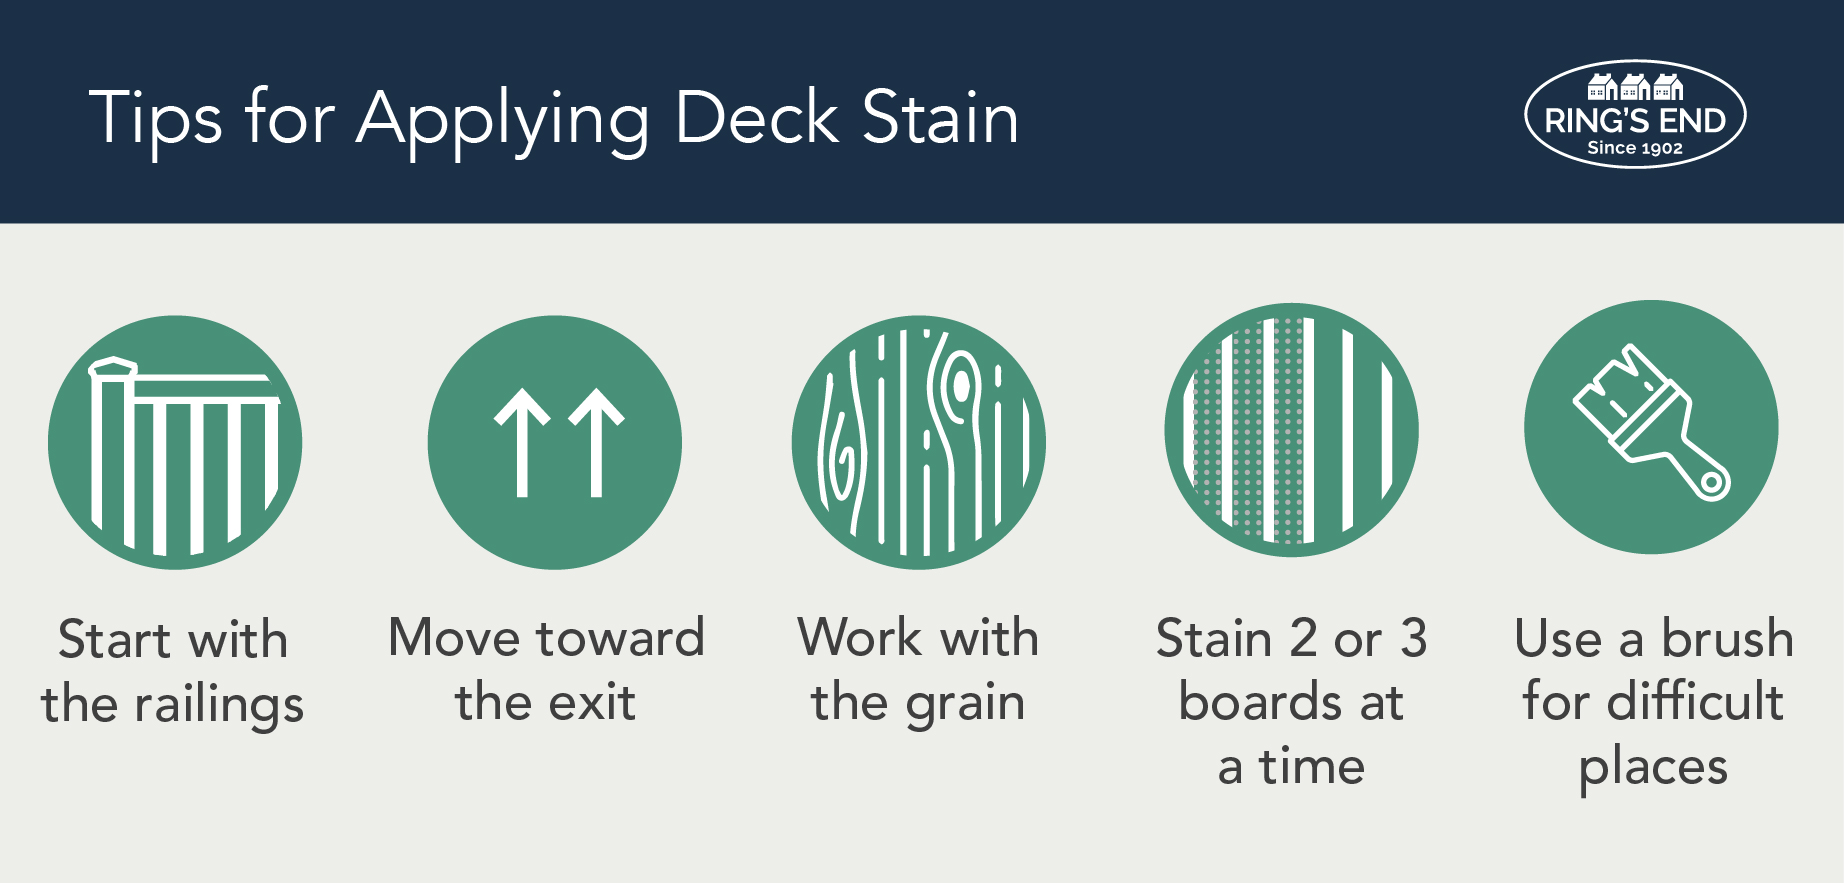
Applying the stain with a paint brush is the best way to uniformly work oil-based stains into the deck, but if you use a paint roller, be sure to go back over crevices and other hard-to-reach places with a handheld brush. This is easiest to do with a partner to avoid splotches.
For water-based stains, use a 100% Polyester Bristle Brush. For oil-based stains, we recommend a 100% Pure White China Bristle Brush.
Step # 7: Let the Stain Dry
Give your finished deck at least 48 hours with no foot traffic – longer if you are working in high-humidity conditions or staining a dense, hardwood deck.
Now is a good time to plan ahead for long-term deck maintenance based on the stain you chose and the weather conditions the deck will be exposed to. If you picked a transparent stain, expect to recoat the deck every 1-3 years. Semi-transparent and semi-solid stains should last a couple of years longer, and a solid stain will give you 5-6 years before needing restaining unless a weather condition like constant sun exposure wears out the stain more quickly.
Whichever type of stain achieves your vision for your deck, Benjamin Moore’s quality ensures you’ll get the longest-lasting, best-looking result possible.
Find Quality Deck Stain Products at Ring’s End
Staining your deck requires a lot of work. With proper planning and quality products, you can make sure all that effort achieves the finished look you envision. Benjamin Moore Woodluxe applied to a properly prepared deck is optimal for beautiful and long-lasting results.
If you’d like expert advice as you plan your deck stain project, talk to our Ring’s End reps using our online chat or by texting (203) PRO-HELP.