Wall paneling is so common in older homes that “how to paint wood paneling” has become a top search term for DIY-ers. Rooms with paneled walls are often dark and dated looking, and paint creates an instant makeover. Whether your paneling is made from wood, veneer, or faux wood materials, you need the right paint products and careful preparation for a paint job that will last. In this step-by-step guide, we’ll cover how to paint wood paneling the right way - and provide some creative color ideas along the way.
Read on for in-depth instructions on how to prep, prime and paint your wall paneling for professional results.
7 Step Process for Painting Wall Paneling
The key to a professional wood paneling paint job is careful prep work. Even older wood paneling or wainscoting that has already been painted will need preparation.
Faux-wood paneled walls are typically sealed with a protective coating that must be sanded off in order for paint to stick. If you paint wood paneling without using a primer first, you’ll need extra coats of paint for complete coverage. For a professional paint finish with the least amount of work, plan on applying a coat of primer followed by two coats of paint.
Supplies You’ll Need for Painting Paneling
- Degreasing cleaner such as TSP
- Bucket and sponge or rags
- Paintable caulk and caulk gun
- Wood filler for knotty pine paneling
- 2.5″ Paintbrush
- 320 grit Sandpaper and sanding block
- Spackle or joint compound, spackling or putty knife
- Tack cloth or damp cloth
- Stain-blocking primer
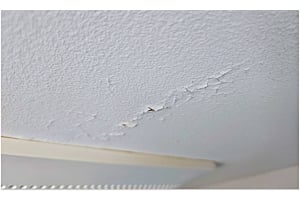
Step 1: Determine what type of paneling you have
Before starting a paint project, it’s important to determine what type of paneling you have. If the paneling is veneer, fiberboard, or composite, it might be damaged by heavy sanding or too much water when cleaning. Solid wood paneling can withstand more aggressive sanding or paint removal.
To find out whether you have solid wood or engineered panels, remove an air vent cover to find a spot where a panel’s edge is exposed. Real wood paneling is made from individual planks, while engineered paneling is a 4×8 sheet of thin material, sometimes with wood veneer on the surface.
Step 2: Clean walls one day before painting
Even though wall paneling may not look dirty, don’t skip this step! Residue from cleaning products or furniture polish builds up over time, creating a slick surface that will keep paint from sticking. Using a sponge, warm water, and a degreasing cleaner, wipe down all the wall paneling. Wipe off any residue with a clean rag, and let it dry overnight to ensure there’s no moisture on the paneling.
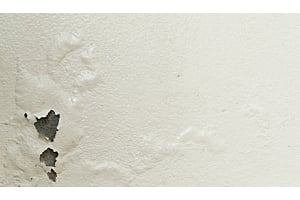
Step 3: Patch holes and caulk seams between panel sheets
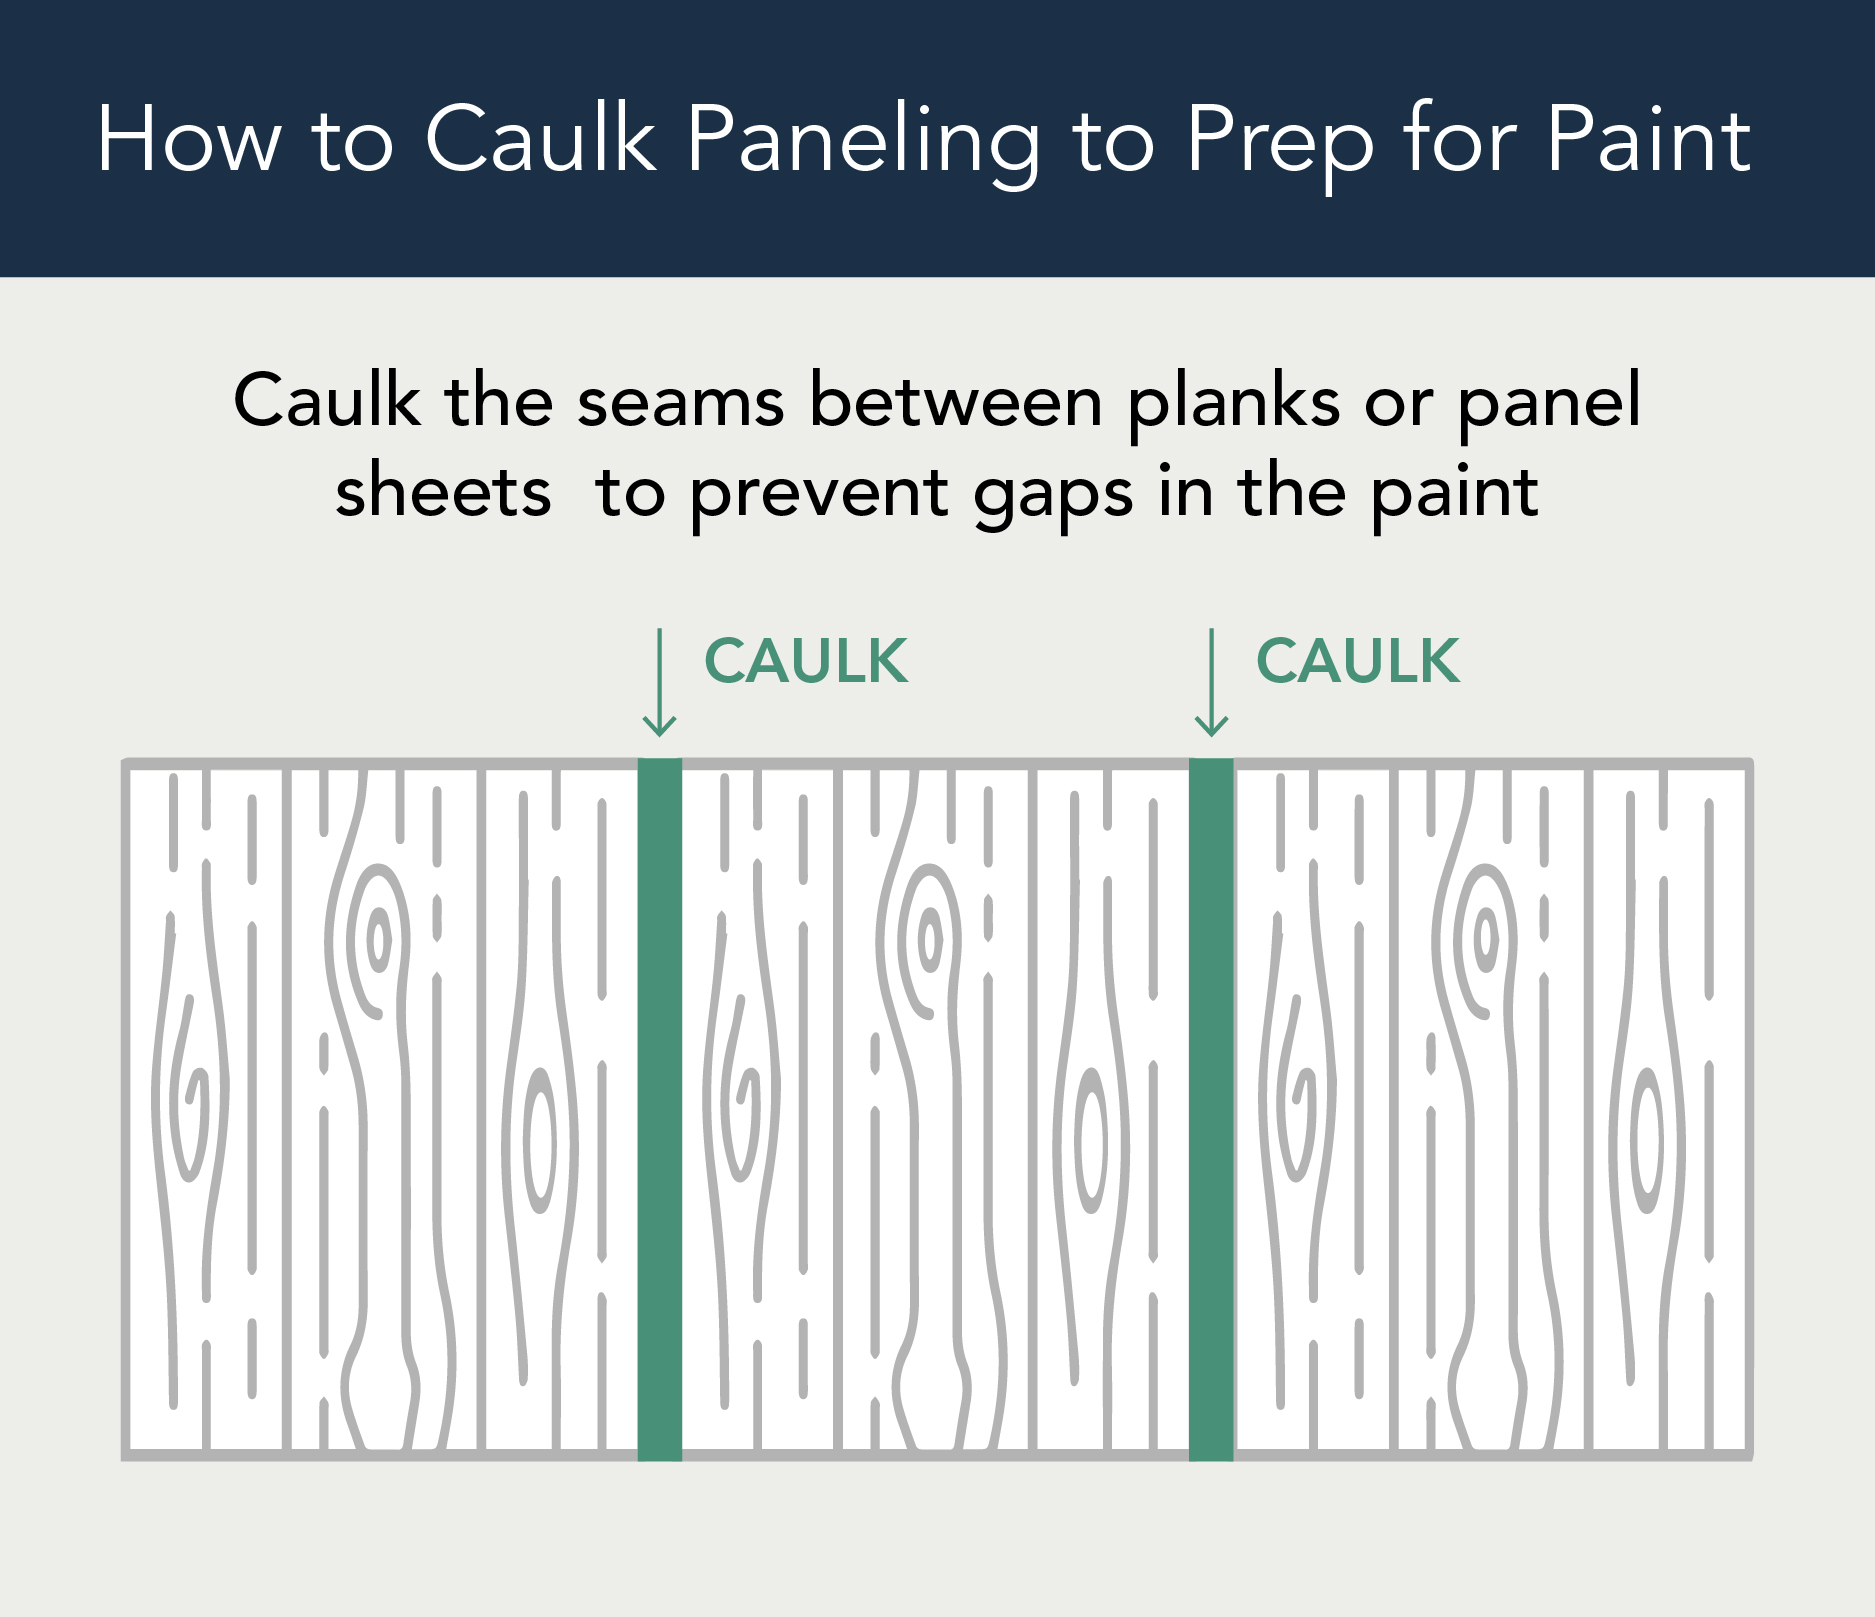
In addition to filling nail holes, the seams between planks or panel sheets should be caulked to prevent gaps in the paint.
Caulk gaps and seams: Always use a paintable caulk instead of spackle. Caulk expands if the panels shift so it won’t crack the way spackle does. Apply a bead of paintable caulk along the corner between the paneling and trim, and along the seams where panels meet. Smooth the caulk with a damp rag or a caulking tool and let it dry completely.
Fill holes or cracks: Use a putty knife to fill nail holes and cracks with a wood filler. Allow the filler to dry completely before sanding. Do not use “quick-dry” spackle; it’s not the right formula for this project and can cause problems with paint adhesion.
Step 4: Sand all the paneling
Fine sandpaper will remove the glossy finish and help the paint stick, without damaging the surface. Using the 320-grit sandpaper, sand all the paneling lightly but thoroughly. If you have engineered panels, be extra careful not to remove the top surface. Vacuum up the dust and wipe down the walls with a tack cloth or damp rag.
Step 5: Prime the entire wall
Using a paint roller, apply primer over the entire surface. A full coat of primer after spackling and caulking is an important step. It helps to conceal the differences between spackled areas and the paneling surface, and creates a surface with grip and texture for the paint to adhere to.
The primer coat may not completely hide what’s underneath – this is fine! Let the primer dry completely before moving on to the next step.
Step 6: Paint
Use a paintbrush to cut into corners and edges first, then finish the rest of the wall with a roller. Working in 2-3 foot sections, use the roller to apply the paint with long, even strokes. If your paneling has deep grooves, it may be easier to paint them with a brush and then finish with the roller.
When you finish a section, start another section two feet away and work back towards your first section; then feather the edges together. Use the paintbrush to paint the baseboards, molding and trim.
Pro Painter’s Tip: Never pass the brush across wet paint, because it will leave a mark. Always start two feet away and feather the painted sections together for a professional finish without brush marks.
Step 7: Apply a second coat of paint and let it cure
Make sure the first coat of paint is dry before applying a second coat. Check the instructions on your paint can for the “drying time to recoat”. This may take several hours depending on the temperature and humidity. When the second coat is finished, allow plenty of time for the paint to dry. It can take up to two weeks for paint to fully cure after it has dried. Be gentle with the wall paneling and avoid banging into it or scrubbing it until the paint cures.
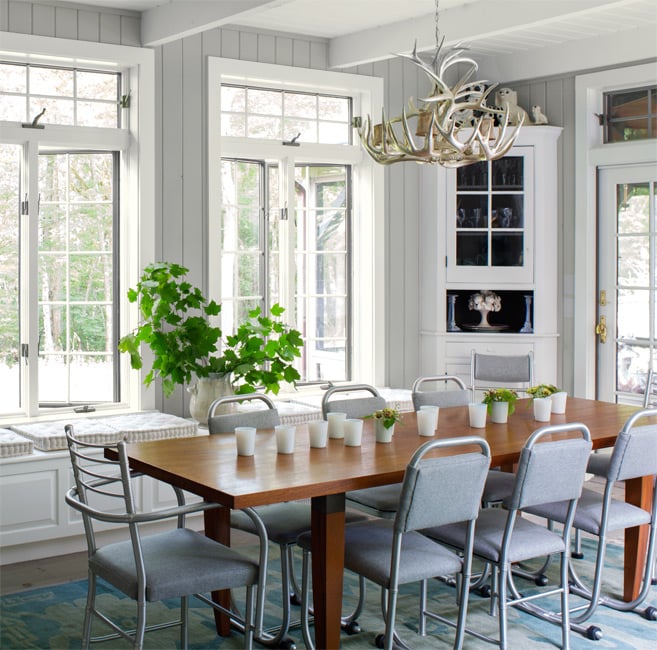 Benjamin Moore Coventry Gray wall paneling with Decorator’s White trim
Note: A lighter paint color on dark wood may require a third coat, but this will be less likely if you use a high-quality primer.
Painting wall paneling like a professional takes time and effort, but it’s worthwhile to achieve a smooth, lasting finish. Choose high-quality paint, spend some time practicing your technique, and you’ll love your freshly painted paneling.
Picking the Right Paint & Primer for Wall Paneling
The Best Primer for Paneling
Different paneling materials require different paint products, so it’s important to choose a primer according to the material your paneling is made from:
- For engineered or veneered paneling, INSL-X® Stix® primer, specifically designed to bond with challenging surfaces, provides the best results.
- For hardwood paneling, INSL-X® Aqua Lock® or Fresh Start® High-Hiding Primer provides better stain blocking for real wood, plus very good adhesion.
- For tannin-rich woods like cedar or redwood, your best option is to use an oil-based primer such as Fresh Start® Multi-Purpose Oil-Based Primer, 024.
If your paneling has been previously painted, find out whether the old paint is oil-based or latex paint. In older homes the woodwork was usually painted with oil-based paints, and new paint will not stick to oil-painted surfaces unless the right primer is used.
- Oil-based paint: use an alkyd primer like Benjamin Moore Fresh Start All-Purpose Primer; then you can paint with either an alkyd or acrylic latex paint.
- Latex paint or unpainted wood: choose an acrylic latex primer like Benjamin MooreFresh Start High-Hiding All Purpose Primer; the high-hiding formula is also best when making a significant color change, like painting dark trim back to white.
Pro Painter’s Tip: To test existing paneling paint, dip a white rag in 70% isopropyl alcohol and scrub it across the surface. If the paint does not come off, you have oil-based or alkyd paint. If it does come off, you have a water-based acrylic or latex paint.
The Best Paint for Wall Paneling
Once you’ve chosen the right primer, it’s time to select paint. Benjamin Moore offers three excellent interior paints at different price points. Waterborne alkyd paints like Benjamin Moore ADVANCE are as durable as traditional oil paints. They’re also available in over 3,500 designer colors. Since they will not yellow over time, alkyd paints are ideal for crisp wood paneling.

ADVANCE is a premium water-based paint that’s made with alkyd resins, which replicate the flow and feel of oil paint. Created with cabinets and interior woodwork in mind, ADVANCE forms a durable, scrubbable surface. Benjamin Moore ADVANCE offers a lot of bang for your buck, with smooth application and a hard finish that makes it our number one choice for wall paneling paint.

AURA is an ultra-premium waterborne alkyd paint that offers Benjamin Moore’s best coverage and a richer depth of color; it’s scrubbable and scuff-resistant, which makes it a great option for paneling and trim.

Regal Select is a premium durable acrylic latex that’s easy to use, affordable, and washable. While Regal is not quite as durable as ADVANCE and AURA, it is slightly less expensive and makes a high-quality option for painted paneling.
The Best Paint Sheen for Paneling
Interior woodwork is usually painted with a semi-gloss or glossy sheen so it’s easier to wipe clean. Glossy paint finishes also highlight woodwork details and are more durable than flat finishes, but they can be more difficult to work with; careful prep work makes a big difference.
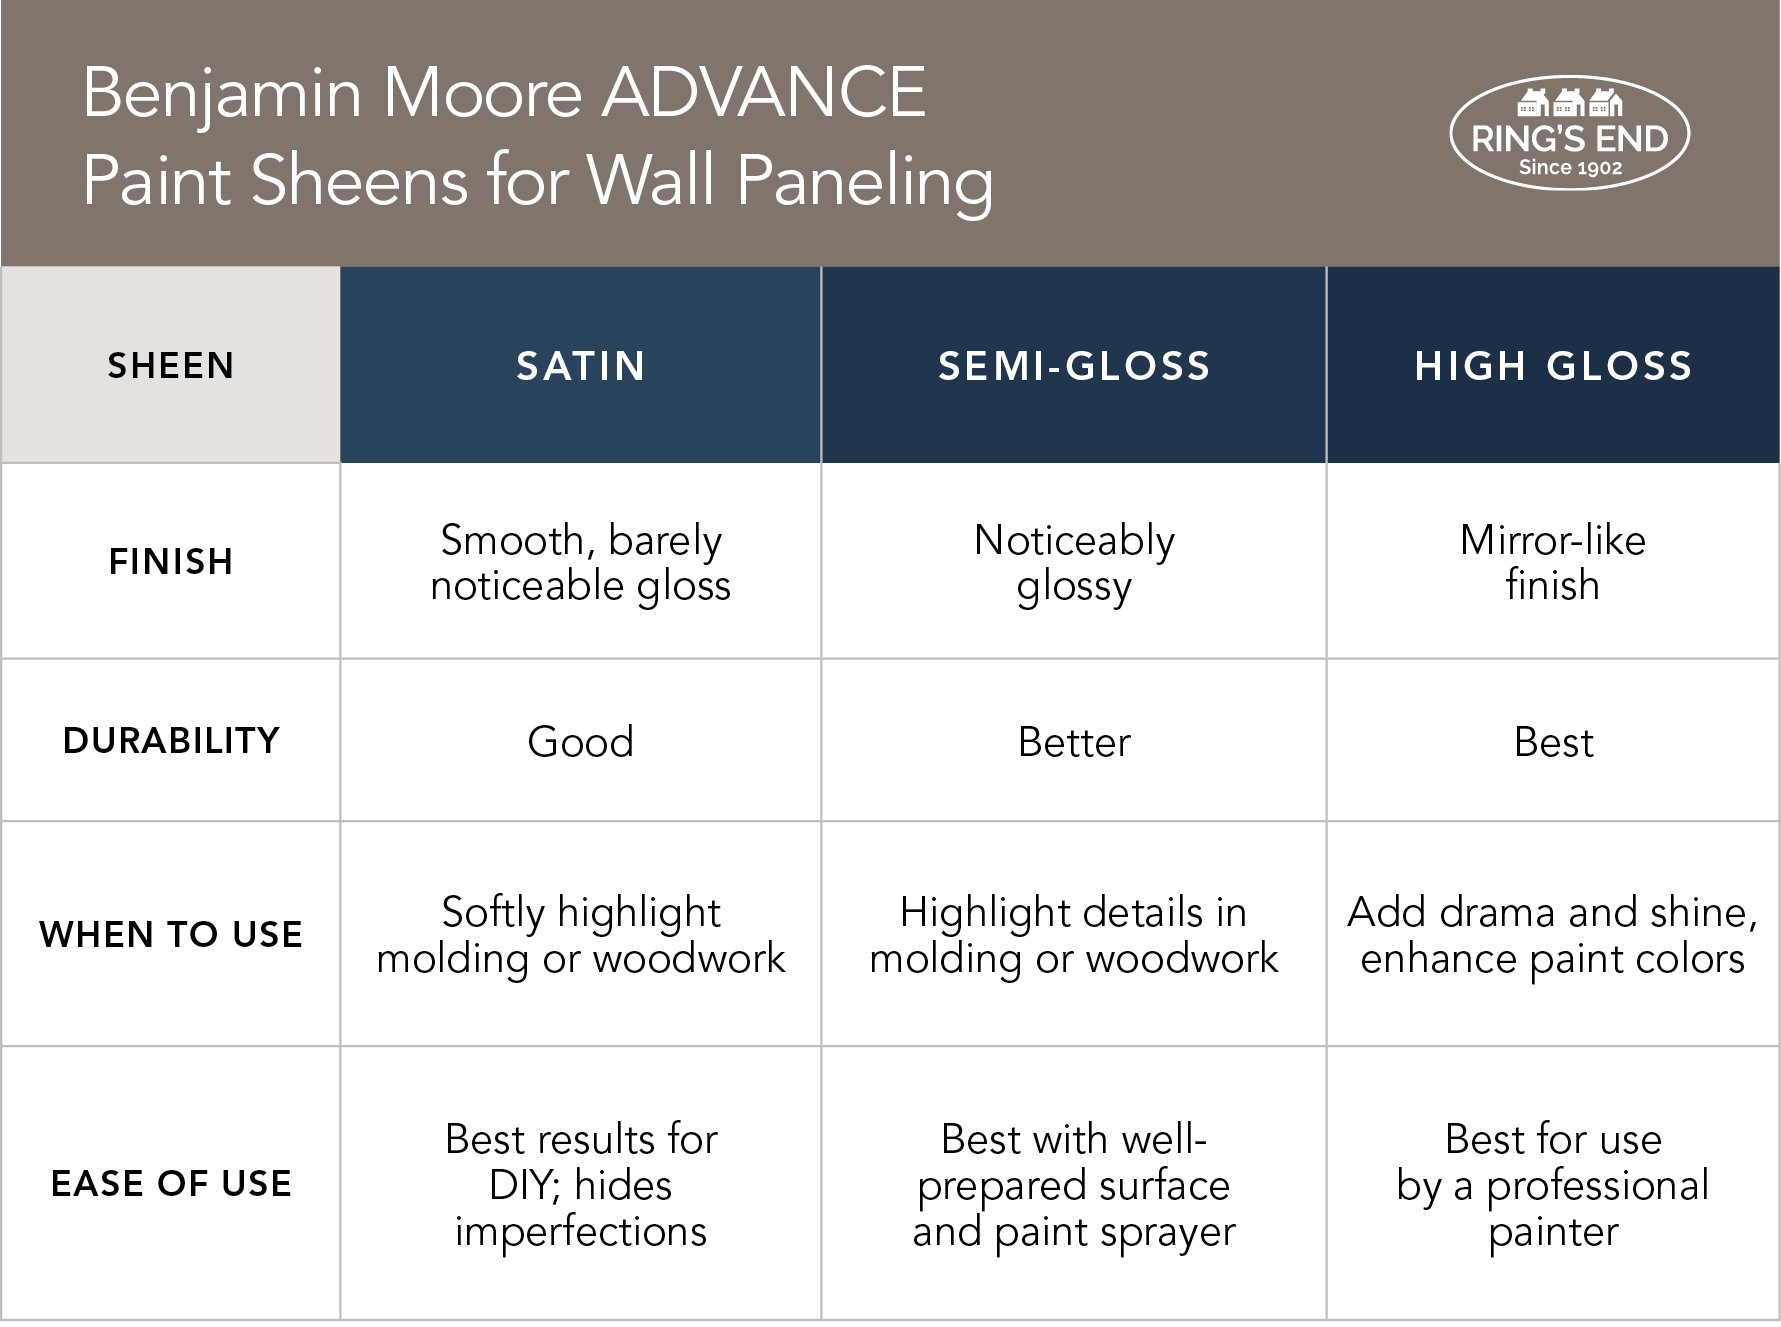
If you’re filling the grooves in paneling to create a smooth surface, use a matte or eggshell finish to match the appearance of drywall.
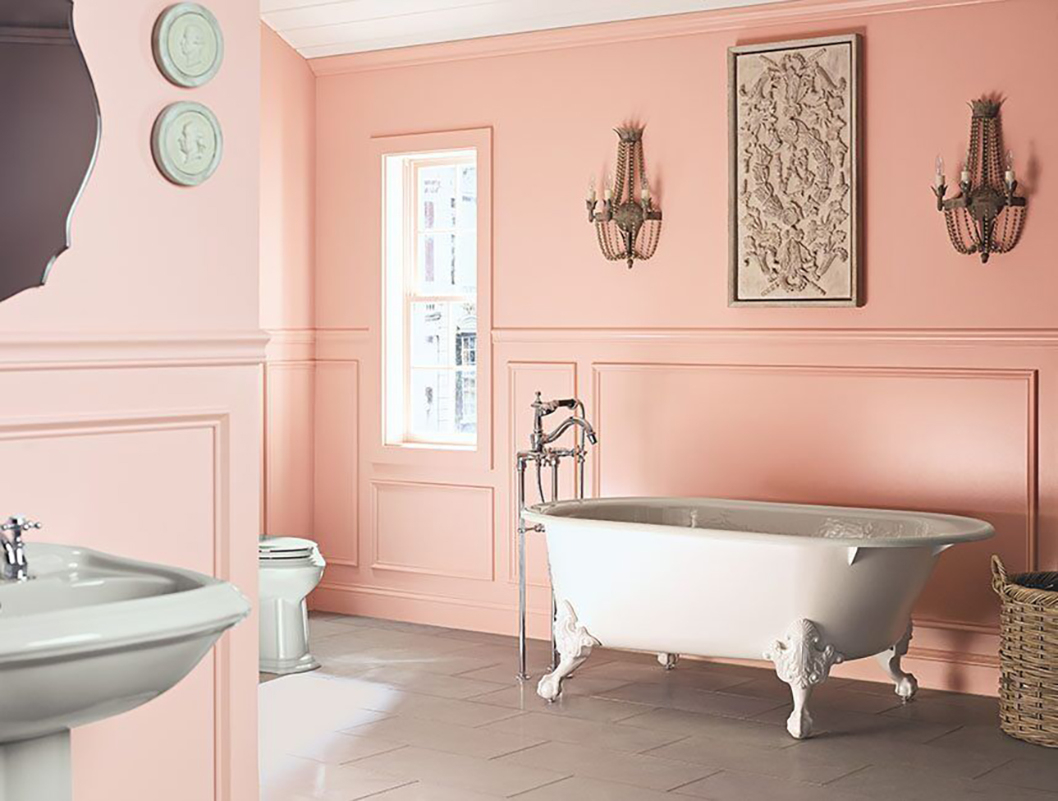
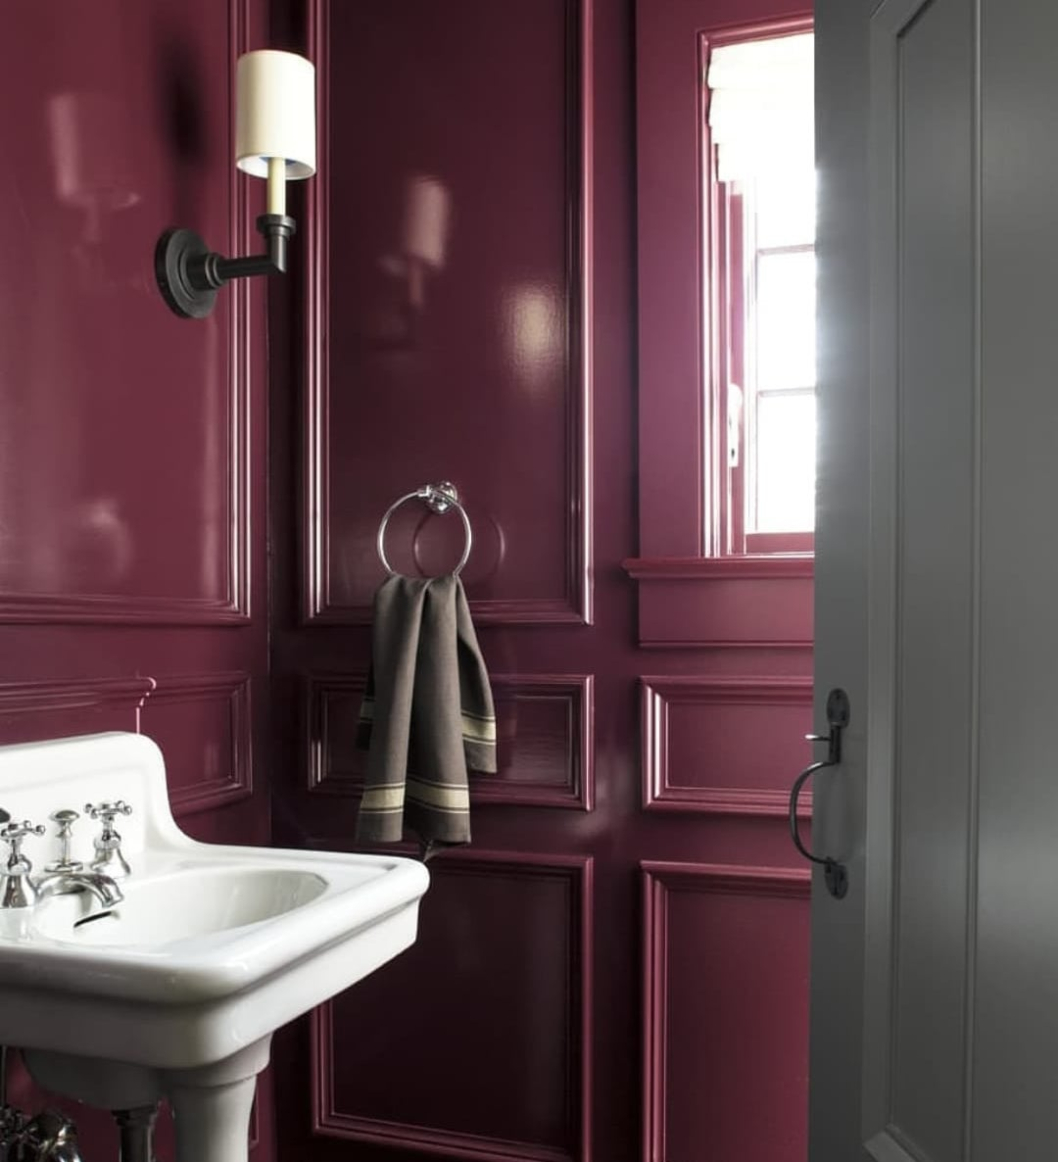
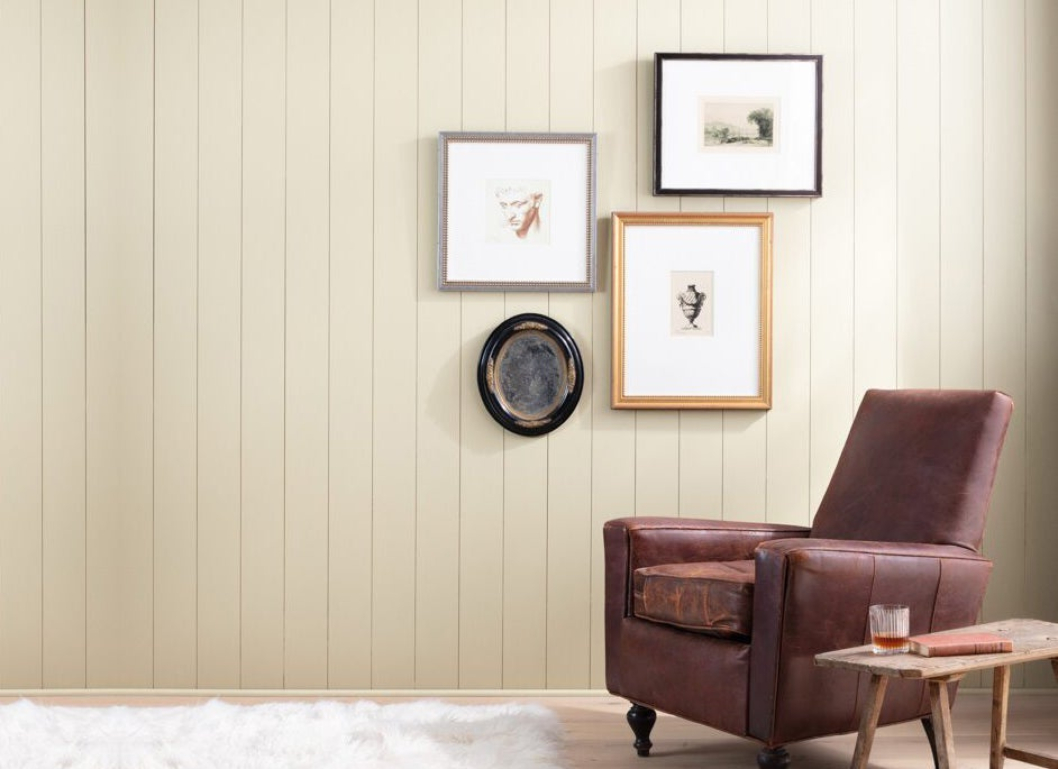
See Different Sheens & Paneling Styles in Action
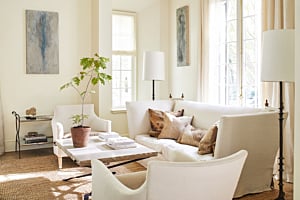
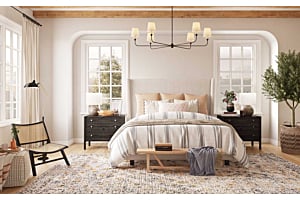
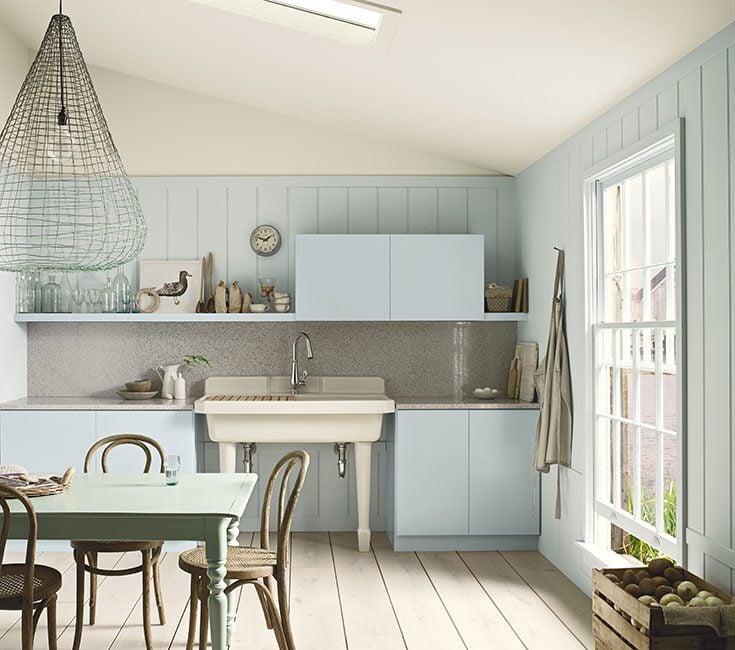
Wood paneling adds texture to the walls and vintage character to a space. While white paneling is popular today, colorful woodwork is a statement-making interior detail that dates back centuries. If bold color is too much, choose pale neutrals to create contrast between walls and trim.


Buy Wall Paneling Paint Online At Ring’s End
Ring’s End carries all Benjamin Moore paneling paints in-store and online, conveniently shipping anywhere in the U.S. For more helpful tips on selecting paint products, check out our Interior Paint Guide. Our paint professionals are ready and waiting to answer any questions you have about your paint project. Chat with us online, or text us at (203) PRO-HELP.