
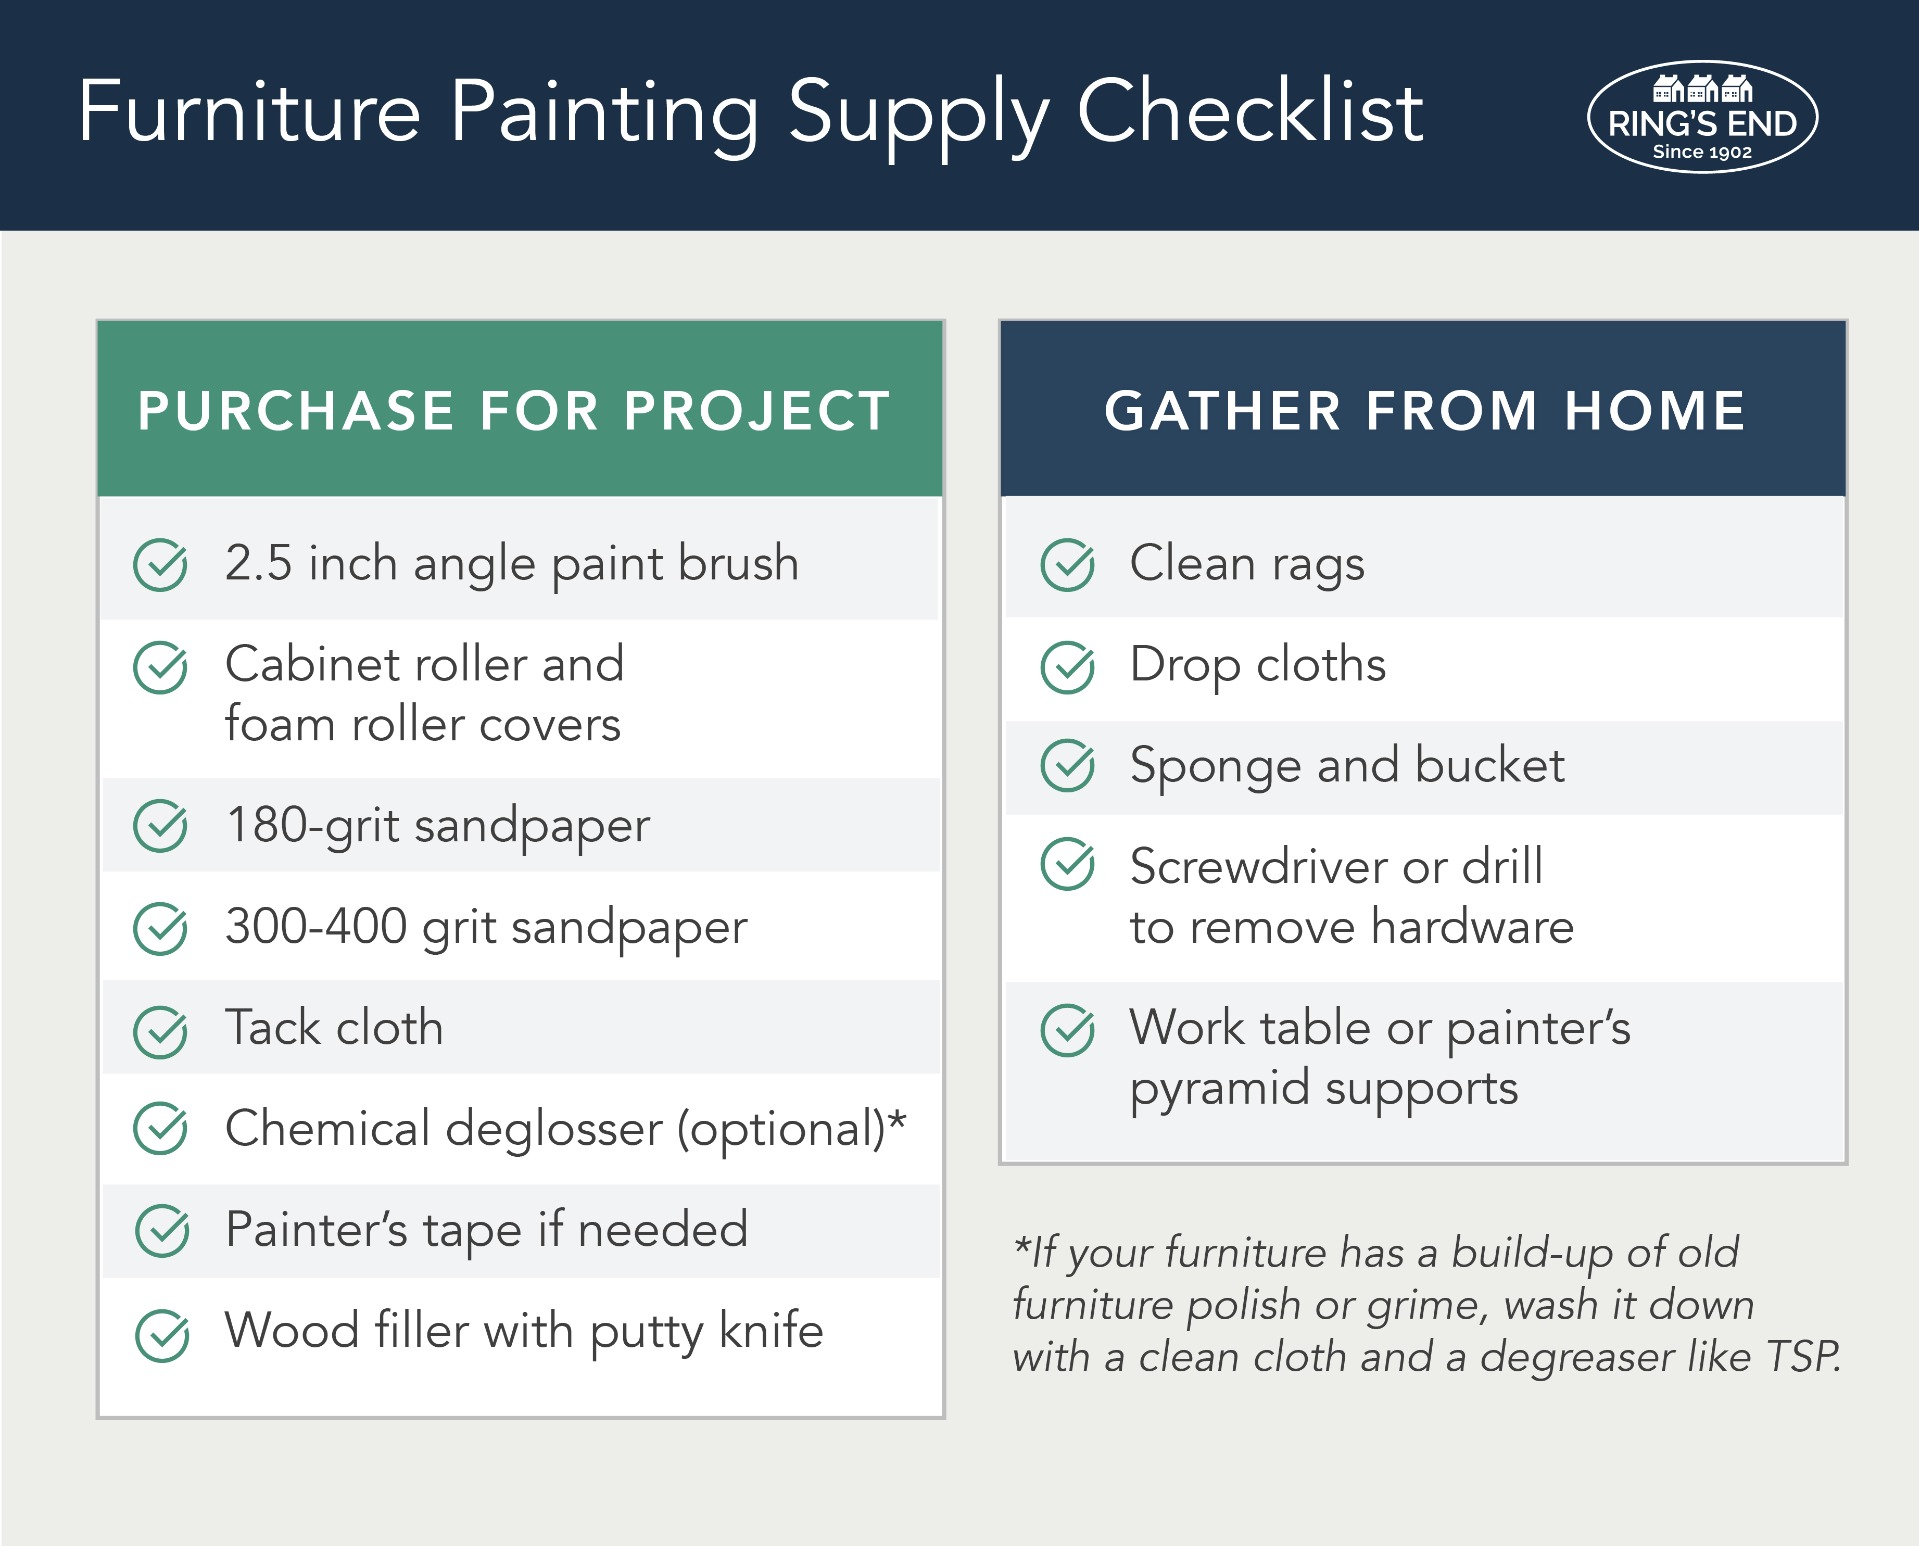
Whether you’re bringing new life to your old furniture or decorating on a budget with vintage finds, a furniture makeover is one of today’s most popular DIY projects. Follow our step-by-step guide, and soon you’ll be painting every piece of furniture like a professional! Plus, our pro tips at the end of the article will help you choose the best paint for your furniture project. Read on to learn how to get a durable, smooth finish on your wood furniture!
How to Paint Furniture in 9 Steps
A professional-looking paint job begins with careful prep work.
Plan for a coat of primer and 2-3 coats of paint with drying time in between coats. Create a painting area in a clean, dust-free room where the furniture won’t be disturbed, such as a garage or spare room. Set your furniture on a plastic-covered table so you can reach every angle and avoid missing spots. A table is also a big help when painting cabinet doors and drawers from large furniture pieces. Let’s get started!
Step 1: Clean and repair
Don’t skip this step! If your furniture has a build-up of old furniture polish or grime, wipe it down with a clean cloth and a degreaser like TSP. Then sponge it off with clean water and let it dry overnight.
With a screwdriver or power drill, remove any drawers or cabinet doors and lay them flat on your work table. Remove the hinges and knobs and label where they came from. Use wood filler or paintable caulk to repair any cracks, joints, or nail holes. If you’re replacing the hardware and won’t reuse the existing holes, fill the holes with wood filler. Let the repairs dry and then sand until you have smooth, flat surfaces.
Step 2: Use sandpaper and tack cloth
Sandpaper removes the surface shine to help the primer coat adhere. This is especially important for furniture that has varnish, shellac, or laminate. Using 180-grit sandpaper, sand all surfaces thoroughly. Use the sanding sponge for any molding or trim. Wipe away the sanding dust with a slightly damp cloth, then wipe again with the tack cloth.
Step 3: Apply a coat of primer
You can create an even finish without a professional sprayer by carefully using a small (we recommend 4”) high-density foam roller and a paint brush with angled bristles. You’ll need this combination of tools for both the primer and the paint. Use the roller as much as possible, especially on flat areas and cabinet frames. Then fill in rounded spindles, ornate molding, and hard-to-reach crevices with the angled brush.
If you’ve had problems with chipping paint in the past, the problem may have been the primer! Be sure to buy a high-quality primer for long-lasting results. Our go-to primer for painting furniture is Benjamin Moore’s INSL-X STIX Waterborne Bonding Primer. It’s a premium-quality, acrylic-urethane primer that adheres to almost every surface. If you have any stains or wood knots you may want to spot-prime those areas with a Shellac-based primer.
If you need a little practice, start with the backs of cabinet doors and interior areas. Always work from the center outwards; roll the middle of any door panels and finish off edges with the brush. When you change the side of the furniture you’re painting, double check the edges/corners for drips or brush marks. Be patient and let the primer dry according to the instructions.
Step 4: Sand again after priming
This is your final opportunity to fix any dents or gaps. Surface imperfections will be highlighted by the paint’s shine, so you want a surface that’s as smooth as possible. Let any repairs dry and sand everything again with 220 grit or up to 300-400 grit sandpaper. Use a sanding block to get into grooves and corners and remove any primer drips. After sanding, wipe off the piece with a damp rag and go over it again with the tack cloth. Careful sanding pays dividends with better adhesion and a smoother surface!
Step 5: Apply the first coat of paint
Finally, you’re ready to paint! Just as you did with the primer, use both the foam roller and the angled brush to apply the coat of paint. For ornate or round legs, use the side of the brush to pat the paint on, then gently smooth it with the tip of the brush. It may be tempting to apply a thick layer of paint — you actually only need an even thin coat. You’ll have fewer drips, better paint leveling, and more complete drying with a thinner coat.
Let everything dry thoroughly. Be sure to check your paint’s label for the recommended drying time before recoating. This may take several hours depending on the temperature and humidity.
Step 6: Spot-sand after the first coat
Spot-sanding after each coat of paint erases brush strokes, drips, or roller marks to give you the smoothest possible finish. Sand lightly with 300-400 grit sandpaper. Wipe all surfaces with a damp rag to remove dust, and follow up with the tack cloth to prepare for the final coat.
Step 7: Apply the final coat of paint
Even though your furniture piece may look great after one coat, a second coat of paint is very important. It provides complete coverage and builds the necessary paint thickness to create a protective coating. Use the brush and roller to apply the final coat of paint.
Step 8: Let the paint dry thoroughly
Check your paint’s drying time and let the furniture piece sit for the required time – 24 hours is even better. While paint may feel dry to the touch, it still needs the full drying time to develop a durable finish.
Step 9: Reassemble your furniture
Once the paint is dry you can carefully reassemble your furniture piece by replacing the drawers and hardware. If you need to drill new holes, use a template made out of cardboard to help mark the right locations. Once your furniture is re-assembled, carefully move it into place and enjoy!
Remember most paint takes a few weeks to fully cure; handle all pieces gently for the first 3-4 weeks. After that, your newly painted furniture will be durable enough to withstand daily living.
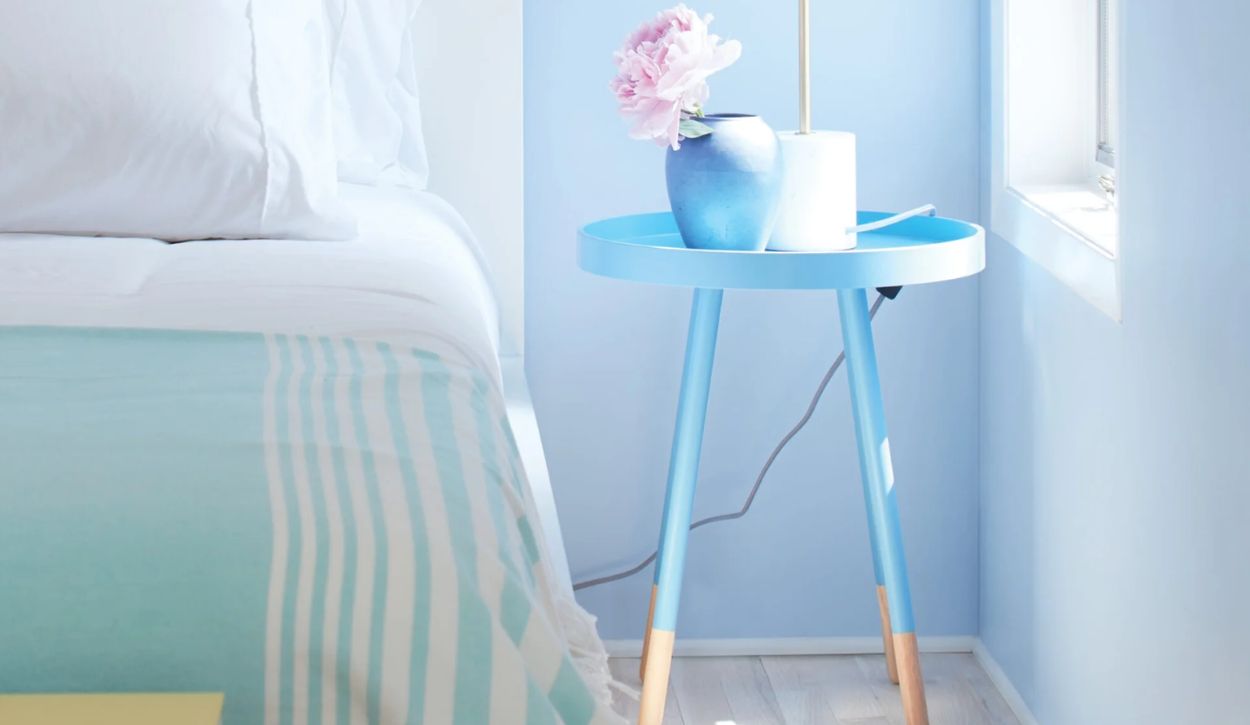 Table painted with Benjamin Moore ADVANCE in Windmill Wings 2067-60
The Best Paint to Use on Furniture
You’re taking the time to paint your furniture the right way...you also want to choose the best paint products to make your project a success! Our paint experts highly recommend Benjamin Moore ADVANCE. This slow-drying alkyd paint is known for its ability to level — or smooth out — exceptionally well. As a water-based alkyd paint, it replicates the hard, durable coating of an oil-based paint, but without the high VOCs and difficult cleanup!
Ring’s End carries Benjamin Moore ADVANCE paints in-store and online, conveniently shipping anywhere in the U.S.
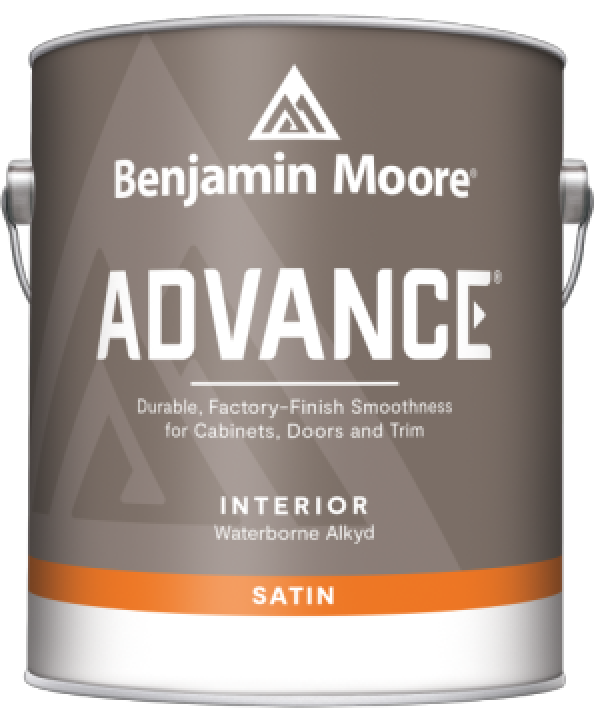
Benjamin Moore ADVANCE
Grade: Premium waterborne alkyd enamel
Finishes: Satin, Semi-Gloss, High-Gloss
Colors: 3,500+
Dry Time: 16 hours between coats
If you need a paint product that dries faster and is self-priming, Milk Paint is a great option. General Finishes Water-Based Milk Paint is durable and quick-drying paint. This product allows you to quickly refresh old-looking furniture into something new and exciting. It's available in a classic Low Lustre finish and a variety of popular colors.
If you have any questions about your project, our paint pros would love to help! We also gathered the supplies you’ll need in this convenient Furniture Painting Kit. Give us a call, chat with us online, or text us at (203) PRO-HELP.