

Painting a room takes practice to achieve professional-looking results. The more times you do it, the more you’ll learn which techniques and products work best for you and your unique environments. If this is your first time painting walls—or maybe you’ve given it a go and want to troubleshoot some problems you encountered so you can do it better next time—we hope to make the process a bit easier for you and shortcut the learning curve with tips from our paint pros.
This guide is divided into sections about different stages of the painting process so you can find the info that’s most helpful to your project:
If you have questions on your paint journey, please reach out to our helpful and friendly team through the live chat or by texting (203) PRO-HELP. We are happy to help!
Painting Prep Checklist
On average, it takes about 30 minutes to get a room set up for painting—depending, of course, on the size and condition of the space. If you have holes that need to be patched, that will take a bit more time.
It may be tempting to grab your paint brush and jump in, but lack of preparation nearly always causes delays in the end.
Here’s a simple checklist that covers the most important prep tasks:
- Has everything been removed from the walls including outlet covers, HVAC registers, blinds, art, and anything else removable? (Trust us – it’s not worth leaving it on the wall and painting around it! This will slow you down and cause problems down the road.)
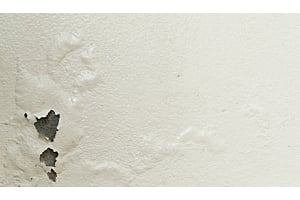
- Are the walls and baseboards clean and free of dust, cobwebs, food stains, grease, or dirt? (Avoid getting dust and dirt in your brushes and rollers at all costs!) If the walls have extensive staining, you’ll need to prime as well – find more details on this in the techniques section.
- Are the walls completely dry? If you wipe them down with a wet cloth, make sure there’s no moisture left on the surface before you start painting. Tack cloth is our favorite way to wipe surfaces before painting because it cleans without water.
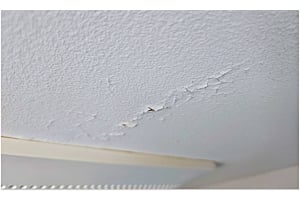
- Are there holes that need to be patched? You’ll need to fill them with putty, let it dry, then give it a quick sanding so the area is smooth and flush with the wall. Finally, clean off any residue left from sanding. If you have any deep or large areas that need repair (any areas greater than 2”x2”), we recommend taking care of the patching a day or two beforehand so the putty can dry completely.
- Is the floor and furniture covered with a reliable drop cloth? Plastic drop cloths are common and cheap, but we recommend canvas or butyl coated because they’re much less likely to slide around, more absorbent, and last through many painting projects. Plastic is an economical choice for draping over furniture where it’s less likely to accrue paint drips.
- Have you taped off trim edges? Some experienced painters may prefer to skip this prep step, but if you’re new to painting, we do recommend using painter’s tape along the edges of your baseboards, door trim, and window frames. There are several different types of painter’s tape you can choose from depending on your project. Check out this tape guide for more information.
Once you’ve checked off everything in this list, you’re ready to pull out your paint supplies and get started!
Selecting Paint & Supplies
Before project day, you’ll want to make sure you’ve ordered or purchased all your paint supplies. There’s nothing more frustrating than starting to paint and realizing you don’t have the right roller cover — except of course, running out of paint midway through the project! (Use our paint calculation formula to make sure you order enough.)
Choosing a high quality paint and the right supplies takes some research, so take time to plan this out rather than heading to the store and grabbing a random option.
In addition to the variety of multi-purpose paints available, there are many specialty products that are formulated to meet the needs of almost any scenario. If you choose a product that’s best suited to your project and your level of experience, you’ll find the process of painting a room will be easier and the results more satisfying. For example:
…If you’re painting a bathroom, Benjamin Moore AURA Bath & Spa offers moisture resistance in a matte finish that can be scrubbed clean without damaging the paint.
…If you’re painting a kitchen, Benjamin Moore Kitchen & Bath provides a scrubbable finish that’s more durable than standard wall paint.
…If you’re painting a light shade over dark color paint, Benjamin Moore AURA has extreme color-hiding properties so you can paint the wall in fewer coats.
We could go on! But each project has a unique set of needs, so we’ve gathered together our top recommendations for all the supplies you’d need in these guides:
Paint Product Guides
Types of Benjamin Moore Interior Paint and Their Differences
Guide to the Best Paint Primers for Every Type of Project
The Best Order to Paint a Room
1. Paint the ceiling
If you’re painting the ceiling in addition to the walls in a room, the first step should be to paint the ceiling. This part of the process is most likely to cause splatter and paint drips, so you don’t want to risk marking up a freshly painted wall.
2. Paint the trim
Whether to paint the trim or walls first is a hotly debated question! If you’re painting trim and walls, 9 times out of 10, our pros say it’s going to be easier to paint the trim first. It’s generally easier to cut wall paint up to the edge of the trim and get a clean line than the other way around.
The caveat here is if you’re painting decorative molding that has a complex profile it can be more efficient to paint the wall, let it dry, then tape it off and paint the trim—for example, you may paint the walls on the weekend, then come back and finish up the trim the next week.
3. Cut in the walls, then roll
When it’s time to paint the walls, start by cutting in around the trim and corners first, then roll on the first coat of paint across the walls. There are a couple of techniques to achieve paint consistency.
If you’re painting alone, the best approach is to make sure the paint you’ve cut in is dry enough to recoat before applying a roller over it. If you use paint with a fast dry time (~1 hour), the point in the room where you started painting is typically dry enough for the roller by the time you complete all the cut-in work.

If you’re painting with someone else, one person can cut in the wall, while the other person follows with the roller. Complete the cut in and rolling for one wall before beginning the next wall. In this scenario, the cut-in edge will still be wet, which is the best strategy for avoiding a problem called picture framing that occurs more often with dark colors.
4. Repeat the process with a second coat
Most colors and paints will need two coats for a smooth, solid finish. Let your first full coat of paint dry, then repeat the process—start with brushing on your cut-ins, then roll.
Allow the second coat to dry fully, then assess if there are any areas that need additional coverage. If you see many patches or inconsistencies, we recommend applying a full additional coat.
Spot-rolling final touch up does work for smaller areas. Just make sure to use fresh, stirred paint in your paint tray to avoid patchy inconsistencies in the paint color and texture.
Can you paint an entire room in one day?
Yes, many times you can paint a whole room in a day, but there are certainly variables that impact the time a paint project takes.
Painting interior walls in spaces like bedrooms, hallways, bathrooms, and dining rooms is often feasible to tackle in 3-5 hours. However, areas like kitchens or large living rooms may require more time due to the room size or amount of brushwork required to work around cabinetry. Making dramatic color changes may also require more time to accommodate additional coats. Choosing a high-hiding paint can help reduce coats and save time.
Calculating Paint
Running out mid-project is a common mistake that can lead to inconsistent finishes if you need to buy more later. Paint batches can have slight color variations, so ordering enough from the start ensures a uniform look and saves time and hassle.
The two main reasons people often underestimate the amount of paint they’ll need are:
Not accounting for enough coats – This can be caused by failing to prime a porous surface, purchasing a cheap paint that doesn’t provide thick enough coverage, or needing extra paint to cover textured surfaces
Not calculating for enough coverage – Many people just pick up one or two cans of paint without first calculating the square footage of the walls in the room. You’ll save a lot of time and inconvenience if you measure your walls and estimate your coverage before ordering. Here is the simple formula we use for estimating the amount of paint you’ll need:
Painting Surface Square Footage Calculator
Please enter your room's length, width, and height to calculate the total square footage of your room's walls and ceiling.
Please Note you will need to subtract any window, door, closet, trim, or other surface square footage that you are not painting.
Formula for calculating the wall area:
2 X Wall Height (Room Length + Room Width)
For example, here’s how the calculation would work if you’re painting an 8 x 12 room with 9 foot ceilings:
2 x 9 (8 + 12) = 360 sq ft
On average, a one gallon can of Benjamin Moore paint covers about 400 square feet, so for this paint job, you would need one gallon of paint to cover the walls with two coats.
When in doubt, err on the side of having a bit of excess paint. It’s well worth being prepared with all the supplies you’ll need before the project starts so you can avoid running out or scraping the sides of the can at the end, which creates inconsistent color patches. And it’s always helpful to have some leftover paint for touch ups down the road!
Pro Painting Techniques
We asked our paint pros to share their secret-sauce painting tips to help you avoid the most common mistakes beginners make. Try these 8 techniques to make your DIY project run smoothly!
“Don’t skip priming.”
A lot of paints are marketed as “paint plus primer”. Most times, these are great paints! But, unfortunately, the label has led to a bit of confusion over whether or not painters should prime the walls first.
When paint is “self-priming”, it contains more solids to provide thicker coverage, and its formula resists absorption into the surface while also adhering to it. In essence, the paint itself can act as a primer coat underneath the top coat—it does not mean that one coat of the paint will provide all the coverage you need for a quality finish.
In some cases, going with two-coats of a self-priming paint is a great option that can get a job done quickly. But the majority of the time, paint doesn’t provide enough adhesion, and the cost can really add up compared to using a primer as your first coat.
>> Click here to find out when to prime and when you can skip it
“Cut in the edges and corners first.”
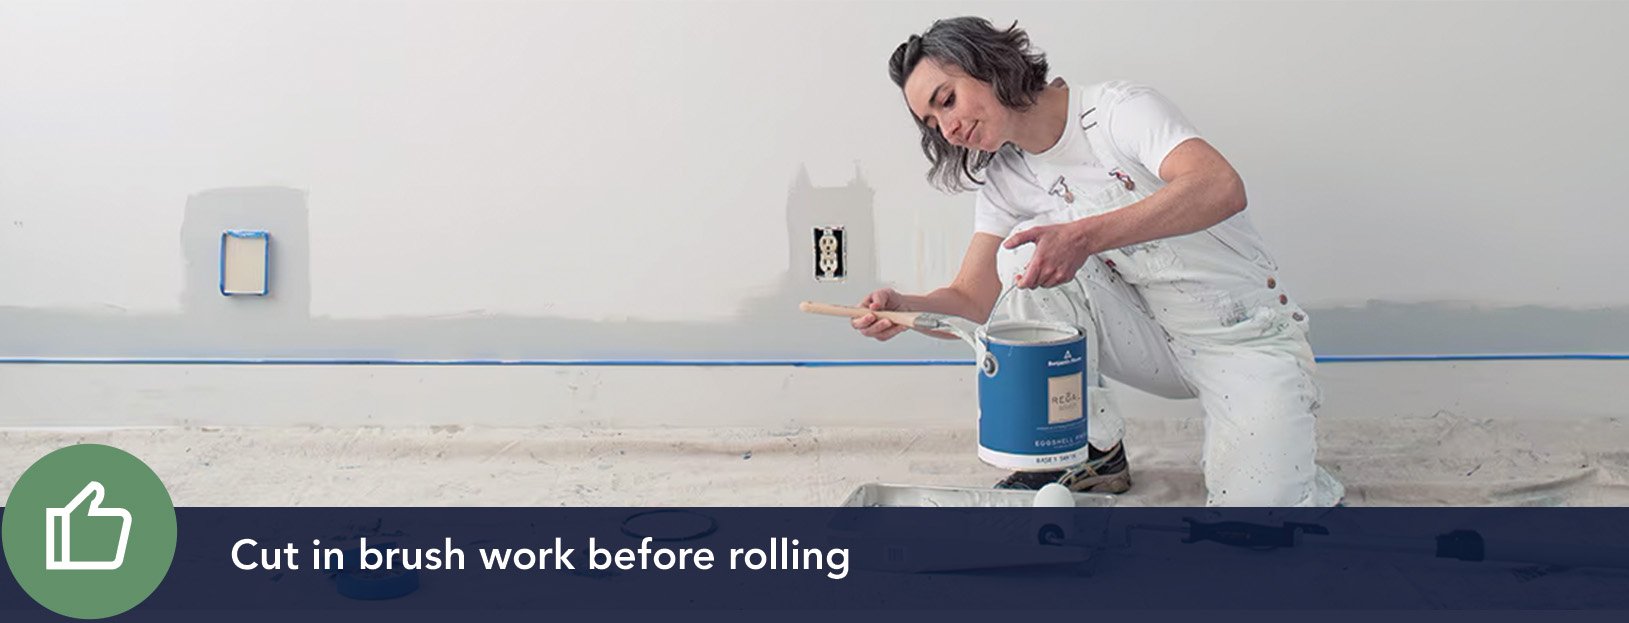
Next to “Do I have to prime?”, the number one question we hear is – “Do you roll or cut in first?” Our pro painters are unanimous on this! Before you start rolling, use an angled brush to paint a 2.5” cut line along your baseboards, moulding or ceiling line, and window and door trim, as well as in the corners. It may feel a bit more laborious at the start, but there are important benefits:
- Prevents overlapping marks: It adds a buffer area to keep the roller from coming too close to trim or edges, so you don’t inadvertently roll too far and bump the ceiling or baseboard — a common mistake!
- Easier rolling: With the edges already neatly painted, you can roll more quickly and confidently, focusing on even coverage in larger areas.
- Better finish: Cutting in first blends the brush strokes into the rolled areas, creating a more seamless and professional-looking finish.
After you cut in and before you start rolling, wash out your brush. Don’t let it sit with paint in it while you finish the job.
“Mix the paint thoroughly before you begin – and every time you use it.”
Our pros recommend “batching” or blending multiple cans of the same color for consistency. If you’ll be using multiple cans of paint, mix them together. For example, if a contractor needs 6 gallons of paint, he starts with the 5-gallon bucket of paint, then after he has used about a gallon, he’ll mix in the 1-gallon can with the bucket to make sure the color is consistent.
Also remember that every time you pour out paint, stir it first. Otherwise the color will be inconsistent and you may see flashing or uneven patches on the wall when it dries.
“A quality paint is way easier to apply.”
About the only thing going for cheap paint is its cost. Low-quality paint comes with a myriad of issues that make a DIY paint project tougher:
- It dries unevenly, which makes it sticky when you go back to recoat
- It’s more likely to show “flashing” — shiny or dull patches on the wall
- It “levels” poorly, leaving lap marks and brush strokes in the finish
- It’s thin, requiring more coats to get full coverage
- It drips and splatters easily
And speaking of easy application, if you’re new to painting, we recommend starting with a matte or eggshell paint for walls. The flatter a paint finish is, the more imperfections it hides. Satin or semi-gloss paints are much more likely to show brush strokes and lap marks.
“Reload your brush and roller frequently”
As soon as you notice the paint isn't spreading smoothly or starts to look thin and streaky on the surface, you should reload your paint roller or brush.
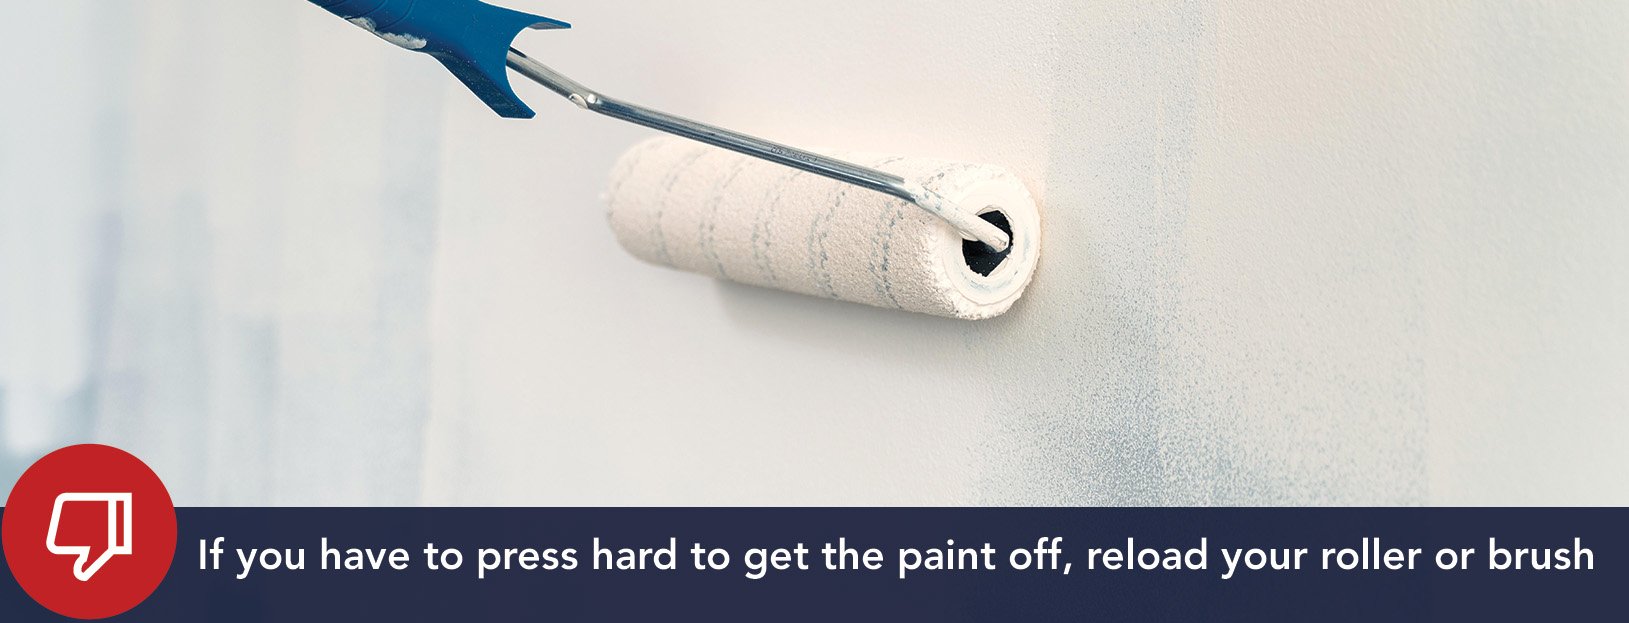
As a rule of thumb, if you have to press harder to get paint off the brush or roller, or if it leaves dry edges, it’s time to dip back into the paint. Keeping your brush adequately loaded helps maintain consistent coverage and avoids visible brush marks.
“Don’t overload the brush”
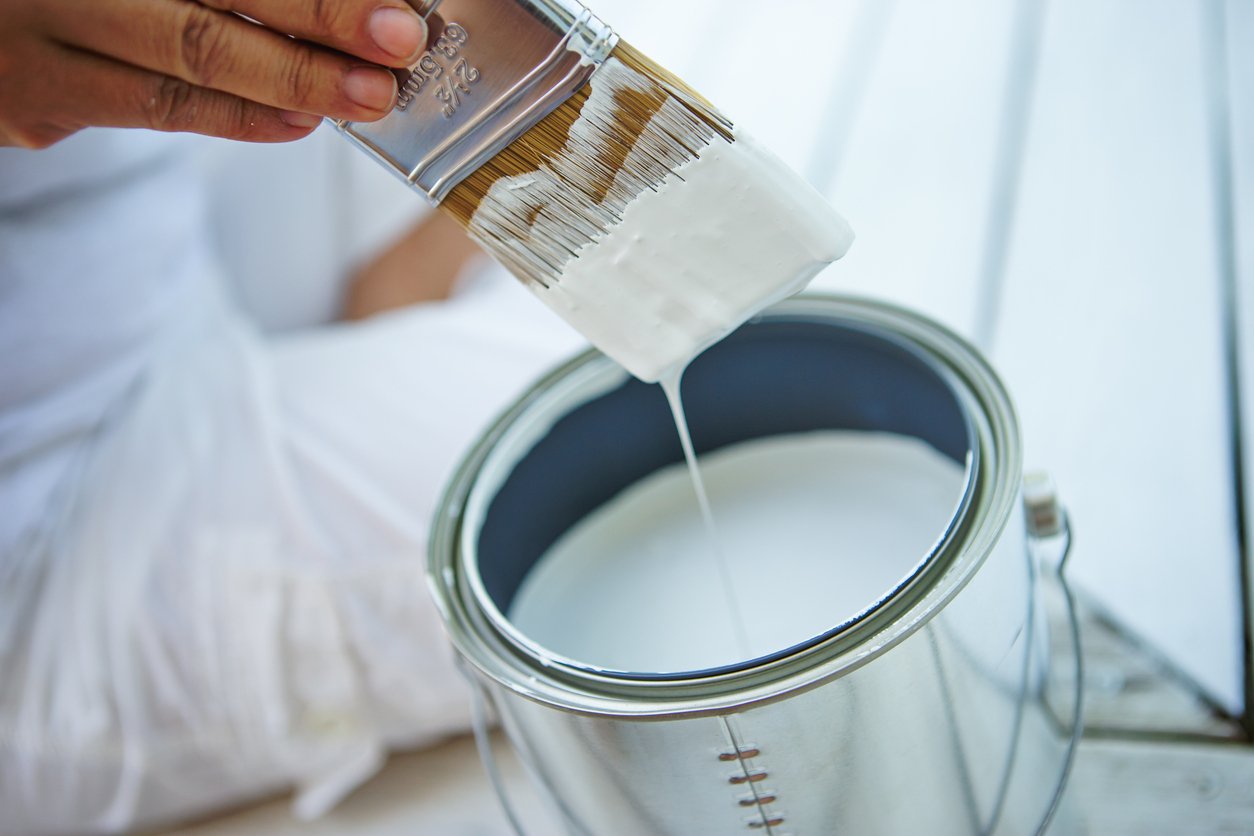
On the flip side, you want to make sure you don’t overload your brush. Only dip your paintbrush about one third of the way into the paint. Then tap it on the side of the can once on each side.
Don’t overbrush—swipe on the paint, then go back over it once or twice to smooth it out, otherwise you’ll start to leave more brush marks
Another common mistake that leaves brush marks? Going back over wet paint too soon. Once you’ve painted on that first coat, wait until the paint is totally dry before touching it with a brush again.
“Use an extender pole”
One insider secret all paint pros know is to paint with an extender pole.
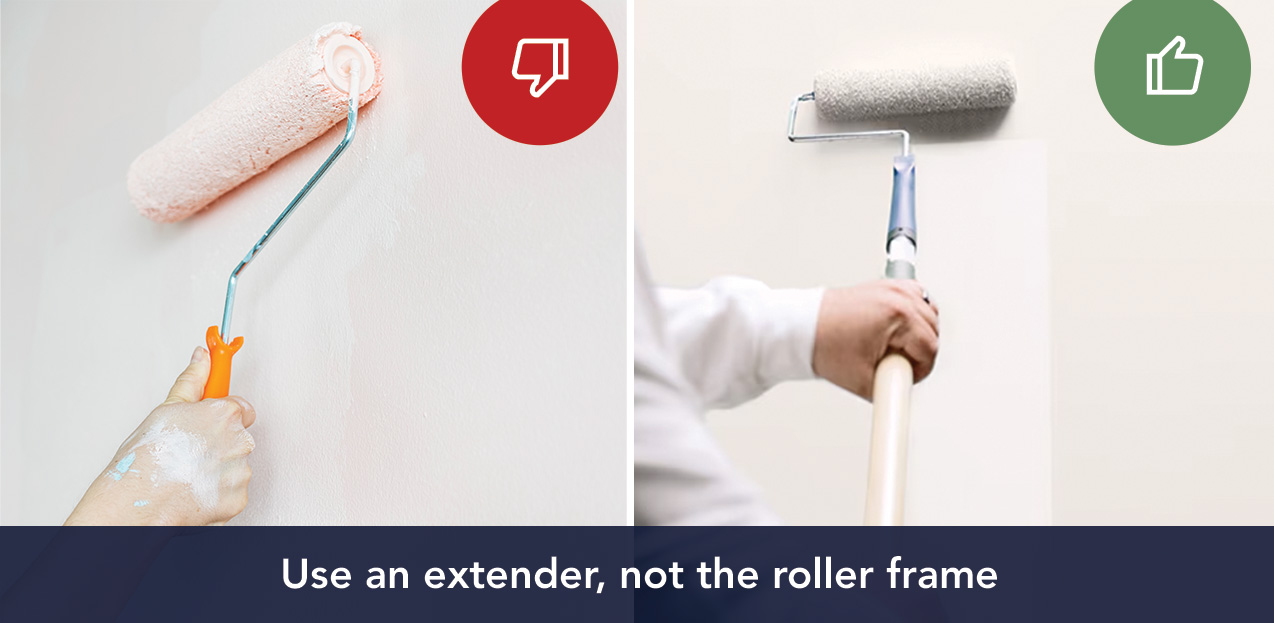
Unless you’re working in a tight, narrow space, attach an adjustable extender to your roller handle. This will allow you to use two hands and keep your hands below your chest as you roll—it’s half the strain on your body! Plus your paint distribution will be much more even. Just be careful not to bump paint onto other surfaces.
Extension poles come in a wide range of sizes from 2’ to 16’ so there’s an option for pretty much any project.
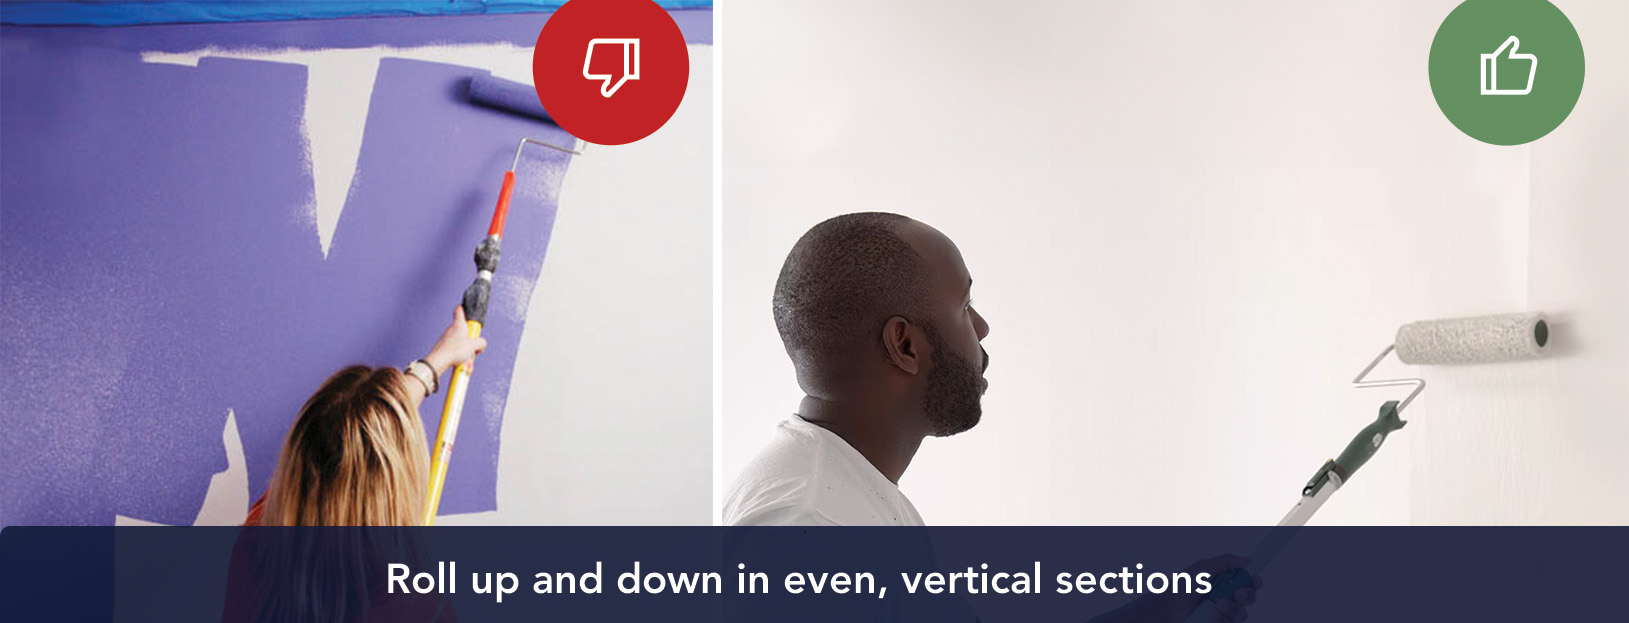
“Work in sections top-to-bottom”
When it’s time to start rolling, paint in sections. Roll from top to bottom about two rollers wide, then go back to where you started in the section and roll over it again. When you start a new section, slightly overlap the previous one so that there’s no gap. Don’t create boxes or “W” shapes you need to fill in—this is just going to give you an inconsistent finish. Always roll in the same direction!
And remember to stop a few inches from the top and bottom so you don’t bump the ceiling or floor.
Order All Your Painting Supplies Online at Ring’s End
Still have questions about painting your room? Our paint team is always happy to help with ideas, product recommendations, and solutions to your questions. You can contact a real person using our online chat, by phone, or by texting (203)-PRO-HELP.
Here at RingsEnd.com, we carry a complete line of paint supplies and tools – and we also ship Benjamin Moore products virtually anywhere in the U.S. (excluding AK, HI, and SC). Avoid the hassle of waiting for a paint order to be mixed by ordering your Benjamin Moore products online. You’ll find ordering paint and supplies ahead of time is a great time-saver!
Live in the Northeast? You can also pick up paint orders at one of our 34 conveniently-located paint stores or arrange for delivery from Ring’s End to your door.