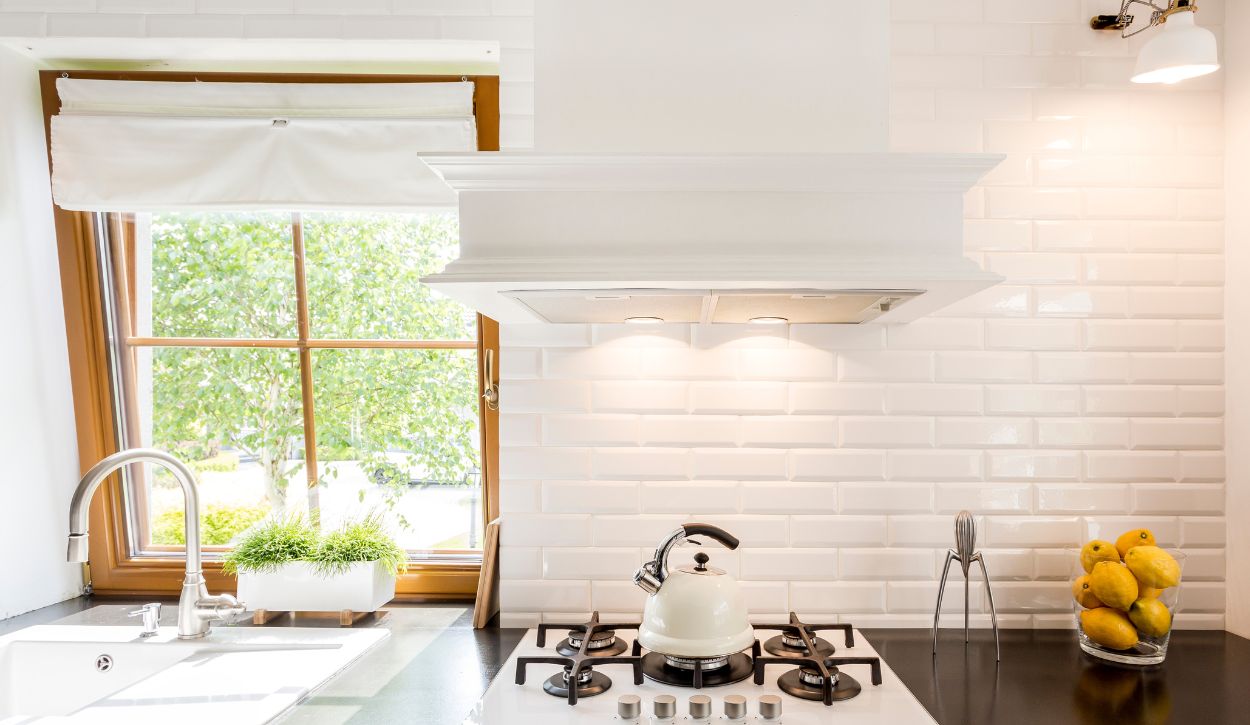
Painting tile is an effective way to update the look of a kitchen or bathroom without the cost of having new tile installed. In this step-by-step guide, our paint pros walk through how to paint tile for the best results.
Can you paint tile?
There are pros and cons to painting existing tile, and some tile surfaces aren’t worth the effort. For example, we don’t recommend painting tile floors or countertops (frequent use will wear off the paint), or painting shower tiles that come into contact with running or pooling water (the paint will peel). Shower or floor tiles have to be coated with a multi-component epoxy, not a standard interior paint product.
And while some minor cracks are easy enough to fix, significantly damaged tile should be replaced rather than recoated.
That being said, plenty of ceramic tile surfaces will benefit from a coat of paint, such as an outdated tile backsplash. If the tile is on a vertical surface and it’s in good condition, painting it can transform the space at a minimal cost.
Ultimately, replacing tile is always the best long-term solution — since any paint job will eventually start to wear off. But complete replacement isn’t always feasible. With the right prep work and supplies, painting will accomplish a fresh new look in the meantime.
Painting Tile Supply List
- STIX primer
- ADVANCE paint (or AURA Bath & Spa)
- 4”-6.5” mohair blend roller
- 1.5″ – 2″ angled paint brush
- Krud Kutter or TSP
- Scrub brush or sponge
- Tack cloth
- Paintable acrylic caulk
- Putty knife
- Tile grout (if needed)
- Sander and 220-grit sandpaper
- N95 mask
- Dropcloth
- Paint tray
- Painters tape
Step #1: Clean the Surface Thoroughly
Cleaning the tile is one of the more involved steps in this paint project, but it’s worth the effort to get the surface as clean as possible. Any grease, mildew, or other contaminants will interfere with paint adhesion and undo all your hard work.
We recommend cleaning tile and grout with a soft-bristle scrub brush or sponge and an all-purpose cleaner and degreaser like Krud Kutter. For projects that require an even stronger solution, use TSP. After cleaning with an all-purpose cleaner, rinse the tiles to make sure no residue is left behind.
Step #2: Repair Damaged Tiles
Significantly damaged or chipped tile should be replaced instead of painted, but it’s a simple fix to fill minor cracks. Apply paintable acrylic caulk to any cracks in the tile, smoothing out the surface with a putty knife. (Stay away from 100% silicone caulk. Even though it’s great for waterproofing, it cannot be painted.)
You’ll also need to fill in any holes in the grout. Apply grout paste with a putty knife or your finger (wearing gloves), wiping away the excess with a damp cloth. Although the grout lines will be covered by the paint, they still need to be repaired before you paint for a smooth, even finish.
Step #3: Sand Down the Sheen
The golden rule of painting is that the surface must be clean, dry, and dull for paint to adhere properly. The main reason ceramic tile is so difficult to paint is that the glossy surface resists being coated.
To prep the tiles for a coat of primer and paint, dull the surface by lightly sanding with 220-grit sandpaper (be sure to wear a mask). Pay particular attention to repaired areas, as these will need to be sanded down to create an even surface. Just be careful not to sand too aggressively or you can damage the grout or tiles.
Pro Tip: After sanding, clean the tiles with water (or a cleaning solution if needed) and use a tack cloth to remove remaining particles. Anything that is left on the surface will show through the final coat!
Step #4: Prime the Tile
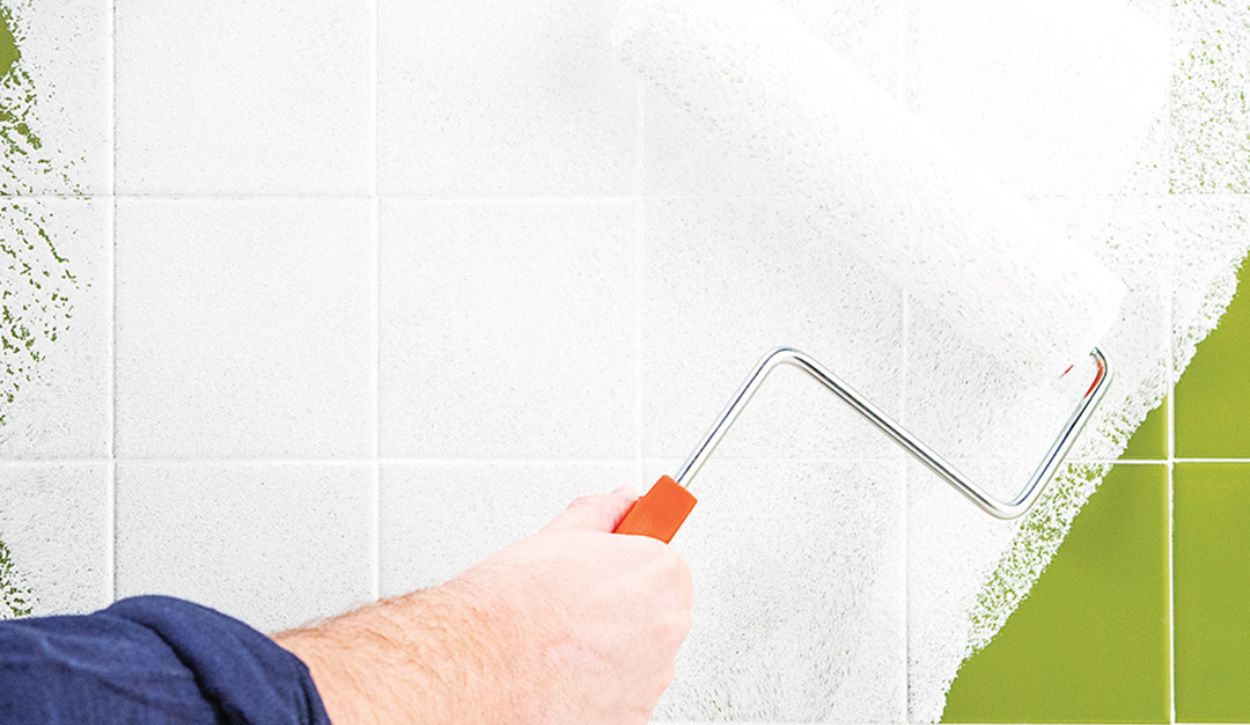 Prime tile with a strong bonding primer like INSL-X Stix
The best primer for painting tile is a “bonding” primer that is specially formulated to adhere to challenging surfaces. Our paint pros highly recommend INSL-X Stix Primer. This product is easy to work with and adheres extremely well to all types of glossy surfaces, including ceramic tile (find more details in our Stix Primer Review).
Note that if you’re using a strong bonding primer like INSL-X Stix, sanding the glaze off the tiles isn’t required, but it’s still recommended to help the paint stick to the surface as well as possible.
Apply 1-2 coats of Stix primer before painting (depending on the condition of the surface and how significant the color change will be). Also pay close attention to the grout areas — you may need a second coat because of how much primer the grout absorbs. Let the primer fully dry before topcoating with paint.
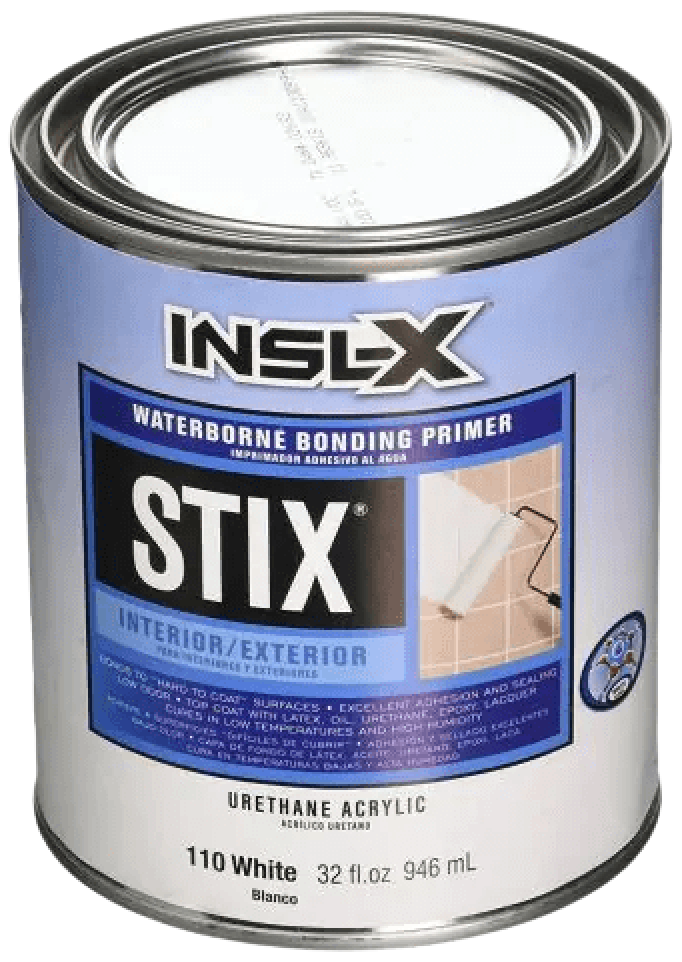
INSL-X Stix Bonding Primer
Formula: Acrylic waterborne bonding primer
Colors: can be tinted in light to medium Benjamin Moore colors
Dry Time: 30 minutes to touch, 3-4 hours to recoat
Step #5: Paint the Tile and Let it Cure
Once you’ve done the work of prepping the tiles, painting is the easy part! The best way to paint tile is with a mohair mini roller, cutting in the edges and corners with a 1.5”-2” angled brush. (Don’t use a sponge paint roller on tile. Sponge rollers are prone to slipping and sliding when applied to smoother surfaces and can add bubbles if pressed too hard.)
Be careful not to over apply the paint, instead focusing on creating a smooth, uniform finish. Apply 2 coats of paint for the best coverage. Our recommended tile paint products do not require a sealer.
Add character to a tile backsplash or tile walls by using a stencil to paint a pattern!
Follow your paint product’s guidelines very carefully when it comes to letting the paint dry — between the first and second coats and after the final coat is done. Recoating the paint or returning a space to use too soon is an easy mistake to make, but it will ruin the paint job you worked so hard on!
If painting bathroom walls or the walls above your shower, wait 24-48 hours to allow the paint to cure before adding moisture into the air. Exposing the paint to moisture before it’s had a chance to harden will cause it to bubble and peel.
Pro Tip: After the paint has cured, you can use a mild cleaning solution (soap and water or a gentle all-purpose cleaner) on your painted tile, following manufacturer guidelines. Cleaning the tile too often or with harsh cleaning products will damage the paint finish.
The Best Paint to Use on Tile
When you start with a high-quality bonding primer, you can successfully paint tile with a variety of paint products. We recommend Benjamin Moore ADVANCE because of its durability and how well it levels (find detailed information in our ADVANCE Paint Review).
ADVANCE is a waterborne alkyd paint, which means it performs like a high-quality oil paint but with easy clean-up and low-VOCs. This product has a long dry time (16 hours between coats) which allows it to flow into a very smooth finish that hides lap marks.
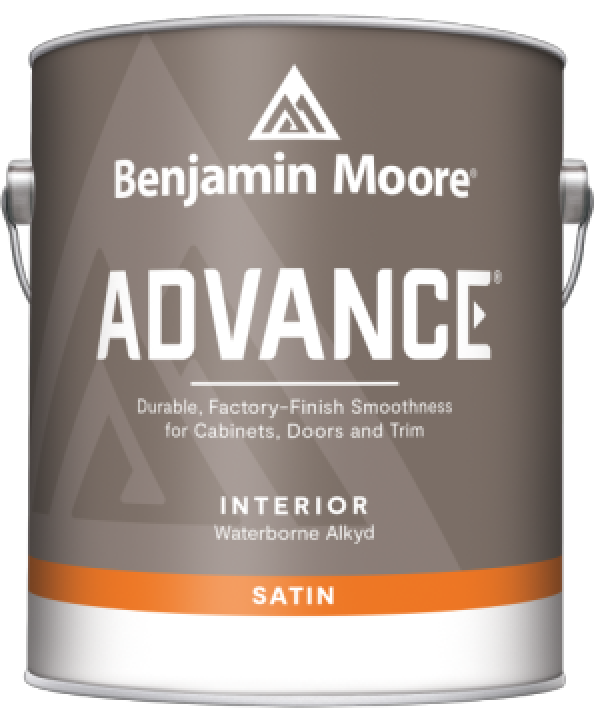
Benjamin Moore ADVANCE
Formula: Waterborne alkyd enamel
Finishes: Satin, Semi-Gloss, High-Gloss
Colors: 3,500+
Dry Time: 4-6 hours to touch, 16 hours to recoat
Looking for a matte tile paint? Check out Benjamin Moore’s AURA Bath & Spa. This specialty paint is engineered to hold up in high-humidity environments, creating a mildew-resistant, washable coating in a matte finish. Keep in mind that Bath & Spa is intended for surfaces exposed to moisture from steam. You can use it to paint bathroom tile or the tile above a shower, but surfaces that come into regular contact with running or pooling water would need to be coated with an epoxy paint product.
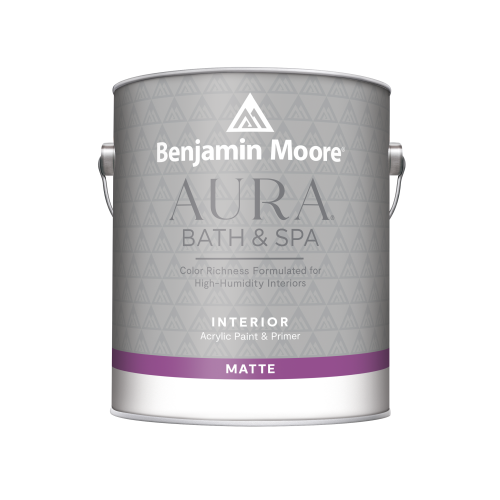
Matte Tile Paint: Benjamin Moore AURA Bath & Spa
Formula: Proprietary 100% acrylic
Finish: Matte
Colors: 3,500+
Dry Time: 1 hour to touch, 1 hour to recoat
Get Your Tile Paint Products at Ring’s End
Whether you’re a homeowner tackling a DIY project for your home or a pro helping a customer with their kitchen or bathroom makeover, Ring’s End has all the products you need to make this project a success — including INSL-X Stix, ADVANCE, and AURA Bath & Spa.
As an authorized Benjamin Moore retailer, we carry Benjamin Moore paints in-store and online — shipping anywhere in the U.S.! If you have any questions about tile paint products or how to paint tile, you can visit our paint experts in-store, chat with our team online, or text us directly at (203) PRO-HELP.


