

Staining Guide for Most Common Hardwoods
Alder & Aspen
These hardwoods are popular in the unfinished furniture industry. However, they absorb stain unevenly. Wood conditioner is recommended.
Ash & Chestnut
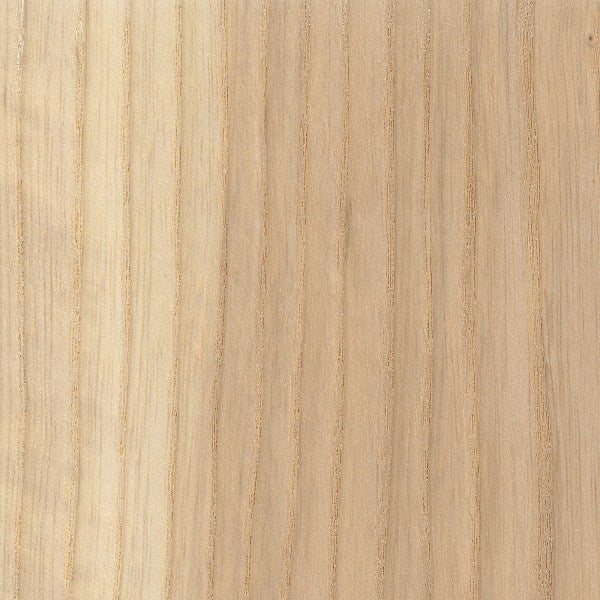
These hardwoods have strong grain patterns and large, open pores that absorb stain readily. Very attractive in nearly any color of stain
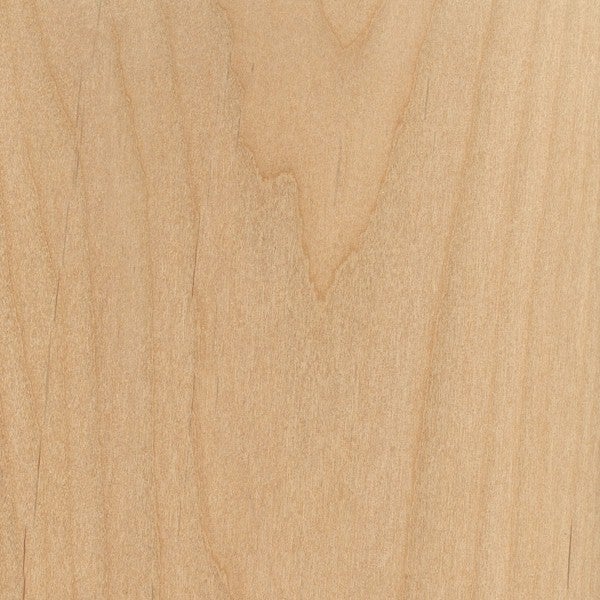
Birch
Often substituted for maple in furniture and kitchen cabinets because it is inexpensive. Does not absorb stain evenly. Wood conditioner is recommended.
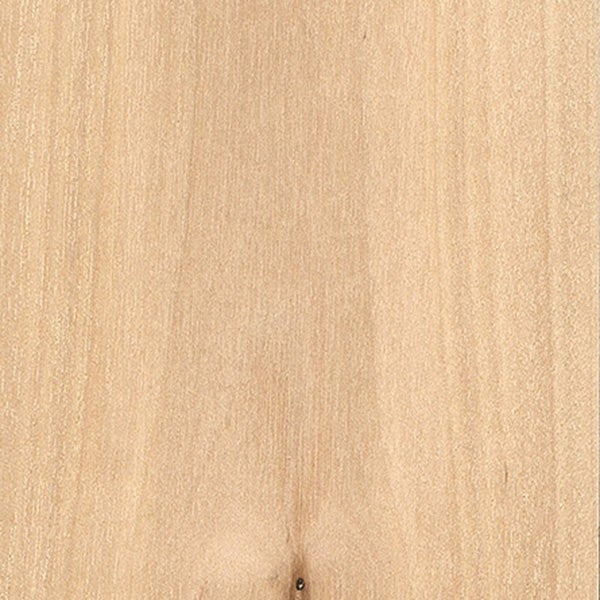
Cherry
Has a subtle grain pattern and small pores which do not absorb as much stain, making it difficult to make any significant changes to its color. Most woodworkers prefer to keep this wood natural in color.
Mahogany & Rosewood
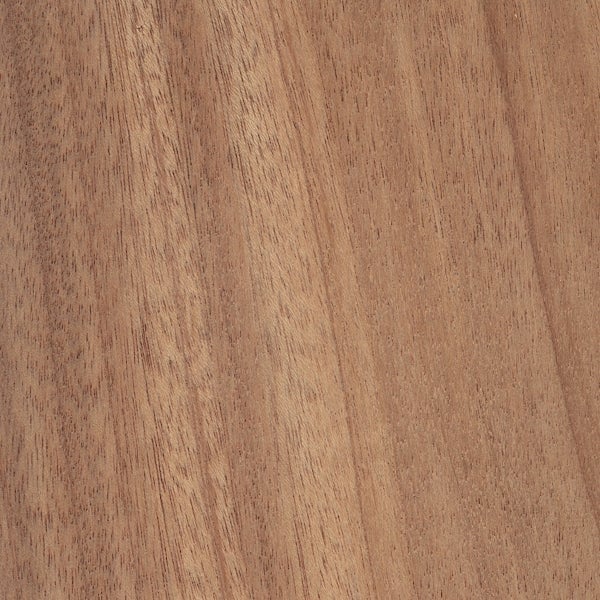
Typically additional staining is not necessary. Always use an oil-based stain to ensure compatibility with the natural oils in these woods.
Maple
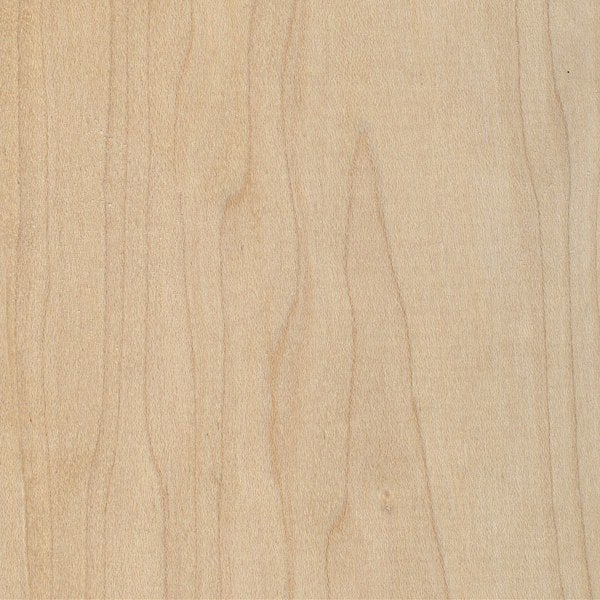
Is extremely dense, tight-pored wood that does not absorb stain well, even after the application of pre-stain conditioner. Not recommended to stain.
Oak

A popular hardwood with a strong grain pattern and large, open pores that absorb stain readily. Very attractive in nearly any color of stain.
Pine & Fir & Cedar
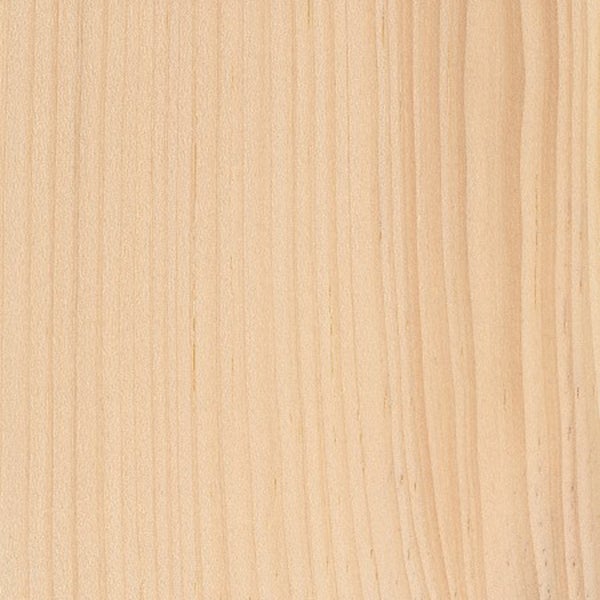
These species absorb stain unevenly, especially around knots and blemishes. Always use a pre-stain wood conditioner to lessen the appearance of blotches.
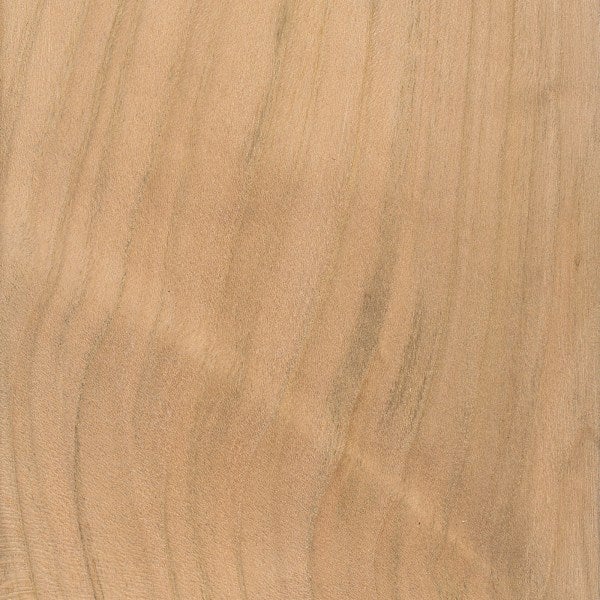
Poplar
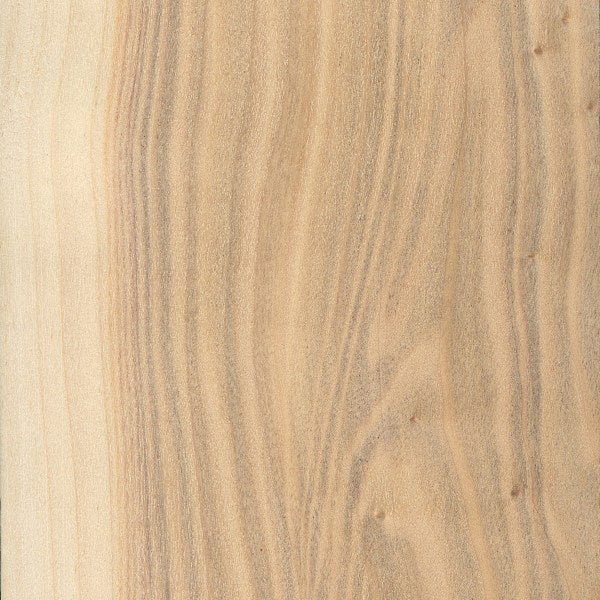
Has a grain pattern similar to cherry, but lacks the same reddish hue. When stained with colors containing red dyes and pigments poplar can be made to look like cherry but is less expensive.
Preparing a Wood for Stain
It’s never a good idea to just apply wood stain without adequate prep work.
For starters, you should use a wood conditioner. Wood conditioner helps any wood species except a new stain color consistently and evenly. This results in a smooth finished product without blotching or dark spots. Wood conditioner is a particularly good choice with soft wood species like pine or maple, which is also quite porous.
Use an oil-based conditioner with your wood furniture if you also plan to use an oil-based stain. Similarly, water-based conditioners are best combined with water-based stains. An added benefit of water-based conditioners is that they stop the woodgrain from “rising” or forming bumps when you apply the stain later.
What if Wood Has Cracks or Breaks?
In this case, you can purchase sustainable wood filler. This essentially fills in the gap and allows the wood to be stained as an entire piece.
To use wood filler, take a putty knife and apply the filler carefully. Sand the putty smooth before applying any stain or finisher.
The Benefits of Applying Wood Conditioner
Why bother applying wood finisher to your furniture or interior surfaces? There are two big reasons:
For one, wood is a naturally porous material regardless of species (although some wood types are more porous than others). Wood absorbs dirt, oil, and other moisture, which can eventually cause it to degrade. By applying a finisher, you protect your wood furniture and other surfaces for years to come. This protection boosts the appeal and usability of any wood item.
For another, wood finishers can alter or improve your furniture’s appearance. You can apply a wood stain, which adds color and highlights different aspects of your wood pieces, like the wood grain. Finishes also seal in this and any natural color, increasing your wood pieces’ longevity as well.
Most finishes also add warmth and a polished machine to wood furniture and surfaces.
All in all, it’s a great idea to add interior wood finishes to all of your home’s wooden pieces.
Choosing a Type of Wood Stain
Sanding
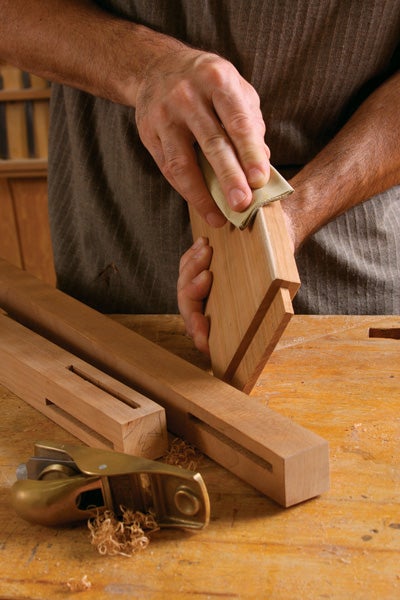
Sanding is one of the most important steps in wood finishing. A thorough sanding is often what separates acceptable results from beautiful results.
Sand in the direction of the grain for a smooth, uniform finish and remove all sanding dust using a vacuum, tack cloth, dry paint brush or cloth.
End-grains (areas where the wood has been cut against the grain), such as the front side of a table, tend to soak up more stain than surfaces cut with the grain. With additional sanding to end-grain areas, you can better control the absorption of stain.
Rough sandpaper below 100-grit is only used to quickly remove wood or layers of old finish. Medium sandpaper 100-grit and 120-grit is ideal for removing shallow scratches, dents and rough edges that could cause splinters. Either of these two grits can be used for a first sanding of most projects. A final sanding with fine sandpaper 220-grit will remove any scratches left by the medium sandpaper and will eliminate any remaining loose fibers in the wood.
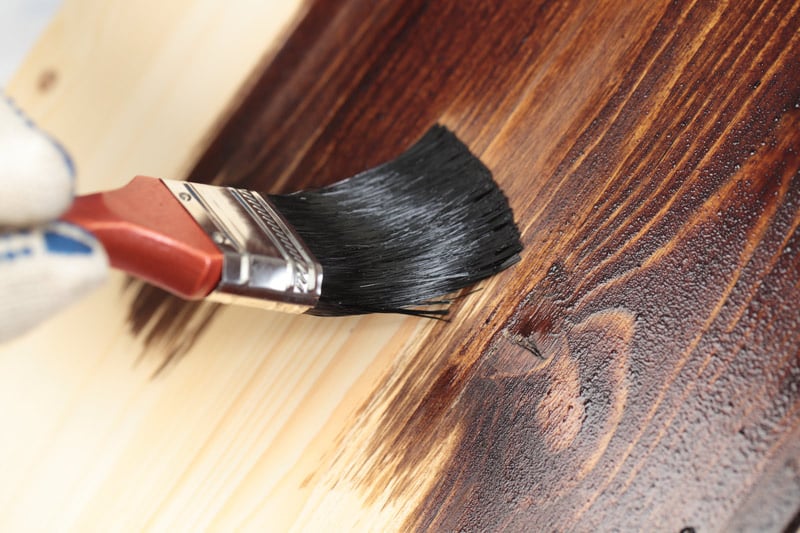
Staining
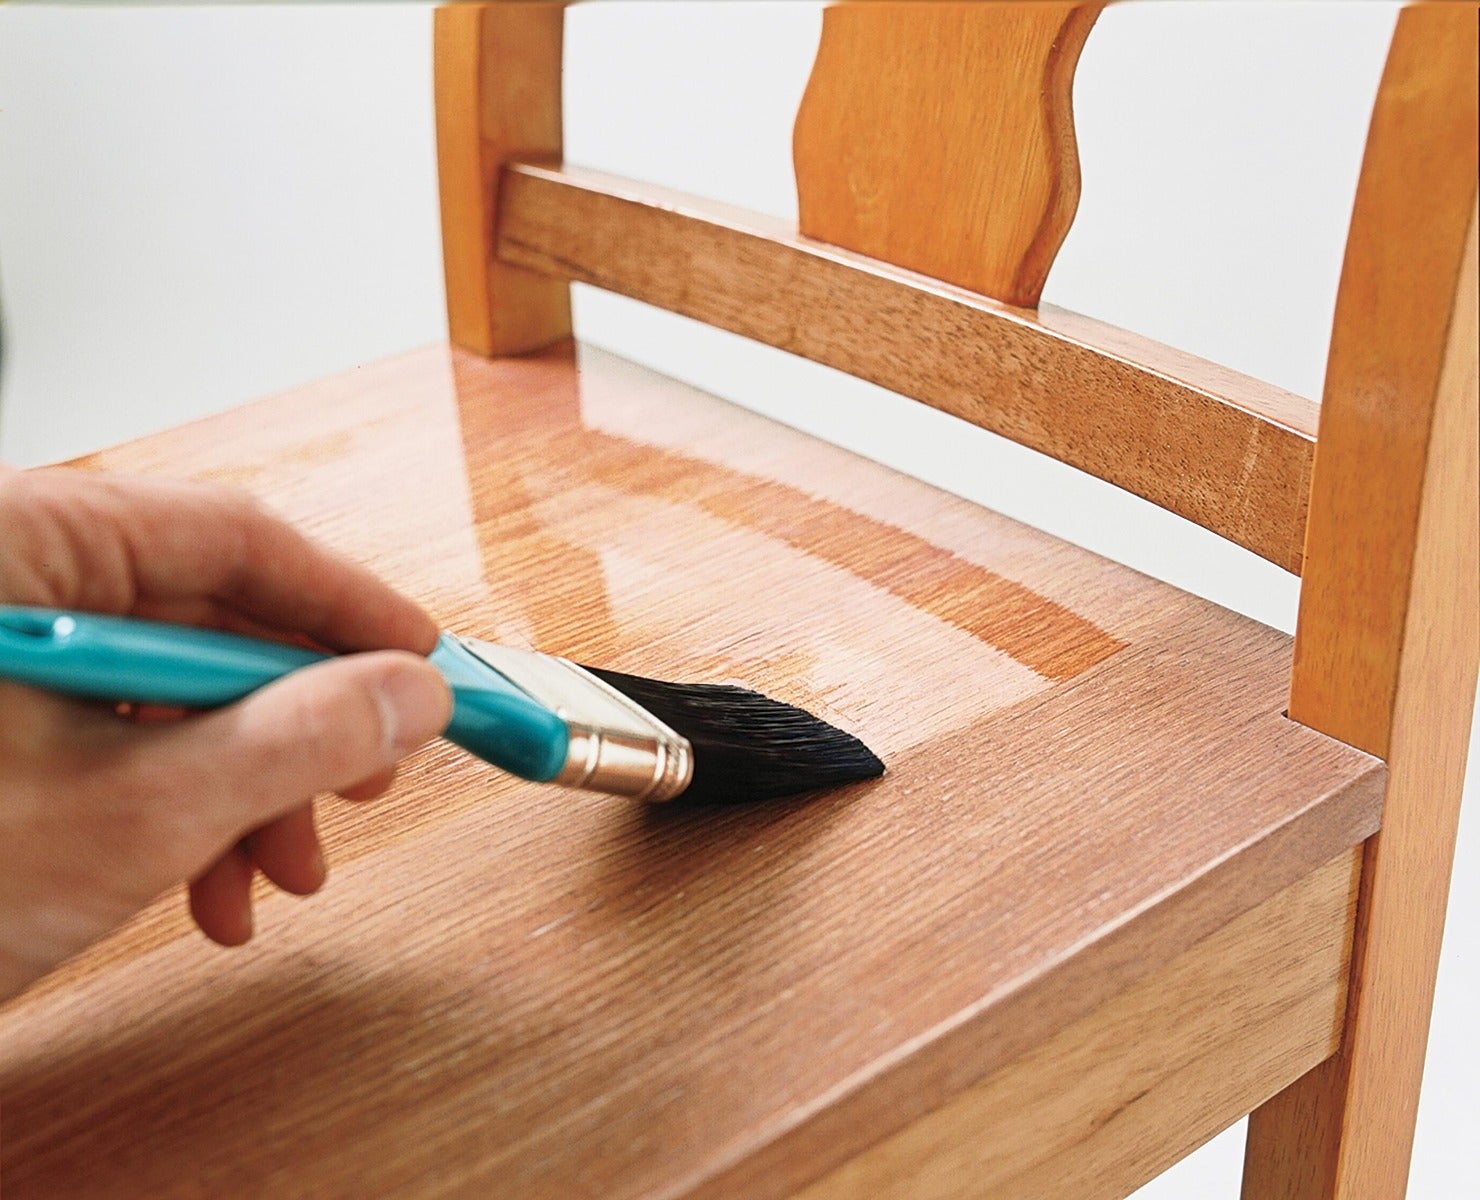
So the stain doesn't leave blotches on the wood, always apply a thin coat of wood conditioner first, using an inexpensive brush. Give the conditioner about 15 minutes to dry before applying the stain – but don’t sand it; there’s no need.
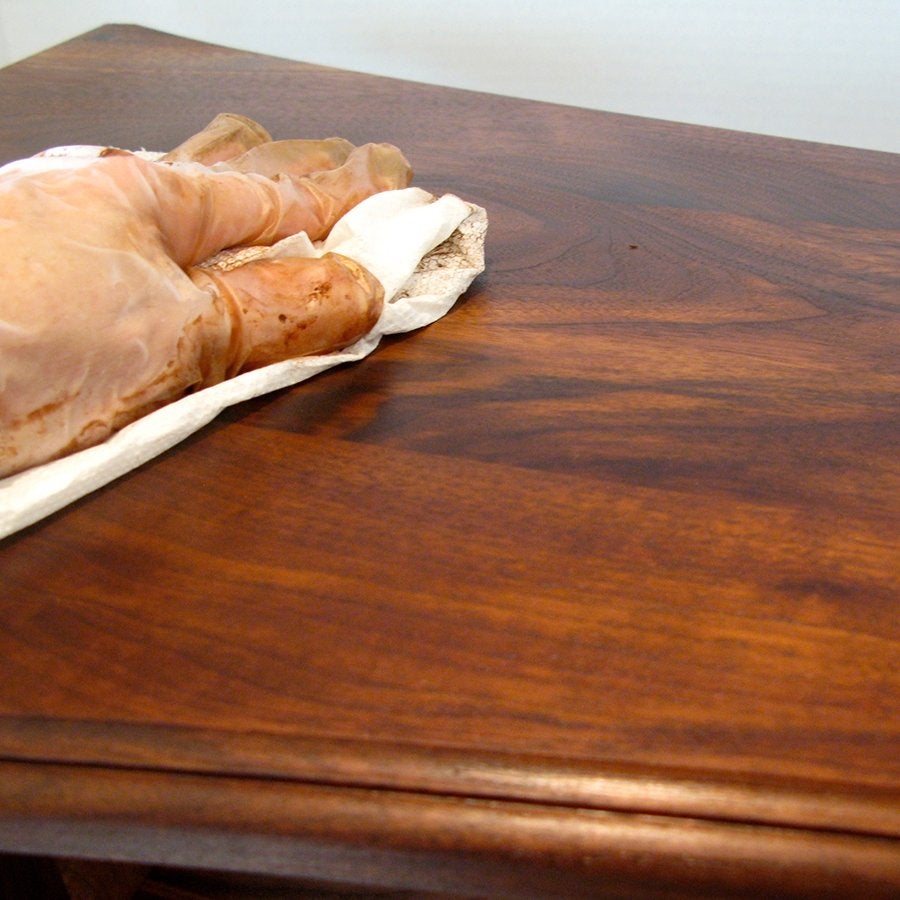
Apply stain with a brush or a rag, depending on preference. All that matters is applying a nice, even, liberal coat over the wood.
Be sure to wipe off all the excess stain going in the direction of the grain of the wood. That will guarantee that the stain gets into the wood, instead of laying on top – and it really shows off the grain of the wood to advantage. Grab another clean dry cloth often to prevent swirl marks from wiping with stain-saturated cloth.
Stain only provides color, not a finish. Always apply a finish on top of stained wood.
Clear, protective finishes will come in a few major types. Gloss finishes at a glossy sheen to the finished product, while semi-gloss finishes added just a slight shine without being as noticeable. Satin sheens are ideal for smoother, more relaxed finish. Ultimately, the choice of protective wood finishes up to you. Remember that the type of finish you pick only affects its appearance, not its durability.
Protective Finishes
Whether you choose to stain your wood or not, you must apply a clear protective finish. It will add richness and depth while protecting the wood from nicks, scrapes, splits and everyday wear.
Choose the right brush. Use natural brushes for oil-based finishes and synthetic-bristle brushes for water-based and water-based oil finishes. Always brush with the grain. It's the best way to work the finish into the wood pores and ensure an even appearance.
Smooth a dry coating with fine sandpaper between finish coat.
Apply thin coats. Thick ones take longer to dry and are more likely to drip or wrinkle. Do not overwork the finish. Simply apply a thin coat and move on to the next area to prevent brush marks.
![]() TIP
TIP
Shake Finishes, Don’t Stir Them
People often make the mistake of trying to mix finish ingredients by shaking them. Don’t do this! When you shake your clear protective finish, you’ll add a bunch of unwanted bubbles and the ingredients may not be thoroughly mixed anyway.
Instead, stir your protective finish to make sure that everything is evenly dispersed. Stirring your finish will also make it easier to apply to your finished wood furniture or other surface.