


With cold weather upon us, making sure your windows and doors have tight seals is important for both your comfort and your wallet! Weatherstripping and caulking are two ways to keep the warm air inside your house (and the cold air out). Having a tight seal is also beneficial in the summer when you want to keep the warm air outside and cool air in.
What is Weatherstripping?
Weatherstripping is an easy and inexpensive DIY project to seal the moveable areas of your home, such as windows, doors, or mail slots.
There are many different types of weatherstripping, but the most commonly used materials are foam, felt, and vinyl. When used on a door jamb, for example, weatherstripping adheres to the sides and top of the door frame and seals the gaps, thus eliminating any air leaks.
The type of weatherstripping you use depends on where you're applying it.
Choose the Right Weatherstripping
Felt Weatherstripping
Felt Weatherstripping is inexpensive, but only lasts a couple of years and can deteriorate with moisture and in inclement weather, so it is best used in lower-trafficked areas that won't get wet.
Foam Weatherstripping
Foam weatherstripping is also fairly inexpensive and is made from open or closed-cell foam. Rubber foam weatherstripping comes in different widths and thicknesses. Attic doors and hatches, storm windows, basement doors, and (inside) mail slots are all good places for foam tape.
EPDM Rubber Weatherstripping
EPDM rubber weatherstripping can come in different shapes depending on the width of the gap you’re trying to seal. For example, Frost King D-Section Weatherseal is for medium-sized gaps and Frost King Ribbed Profile Weatherseal is for wide gaps. EPDM rubber will not crack or freeze, even at extremely cold temperatures, and the high-compression material will retain its shape. EPDM rubber weatherstripping is most commonly used on windows and doors, and can even be used on car doors.
V-Strip or V-Seal Weatherstripping
V-Strip or V-Seal weatherstripping has a built-in hinge that allows it to be applied around doors and windows to seal out drafts.
Aluminum Weatherstripping
Aluminum weatherstripping is commonly referred to as a door sweep and adheres to the bottom of a door to seal the gap between the door and the floor. These are more durable than felt or foam and are corrosion-resistant for areas that are heavily trafficked and exposed to moisture.
The Benefits of Weatherstripping Windows and Doors
In the winter, reducing airflow and cold drafts will ensure that you’re keeping the warm air inside of your house, and doing so as efficiently as possible. Likewise, in the summer, you’ll be keeping the cool air in and saving energy and money by lessening the burden on your air conditioner.
Weatherstripping can also help keep out dirt, dust, and pests! Adding weatherstripping to your garage door is a great way to help keep out mice and insects, as the weatherstripping will act as a gasket between the door and the ground.
How to Weatherstrip Windows or Doors
Before you start your project, go around your house and try to find places that may benefit from weatherstripping. If you can see daylight between a window sash and window frame, or between a door jamb and door frame, air is likely flowing through there. Sometimes you can even feel the draft if the gap is large enough. One trick to determine whether you have a draft is to wet your hand with water and run it along the perimeter of the window or door in question – you’ll be able to sense any air infiltration.
Step One: Clean the Area
First, make sure the area of the application is clean and dry. It’s also best not to apply weatherstripping in temperatures below 20 degrees Fahrenheit.
Step Two: Measure Twice, Cut Once
Measure your area more than once before making the cut! The weatherstripping should be applied in one continuous strip and should fit snugly at the corners. Use scissors or a utility knife to cut the weatherstripping to size. If you have to cut through aluminum, a hacksaw will work best.
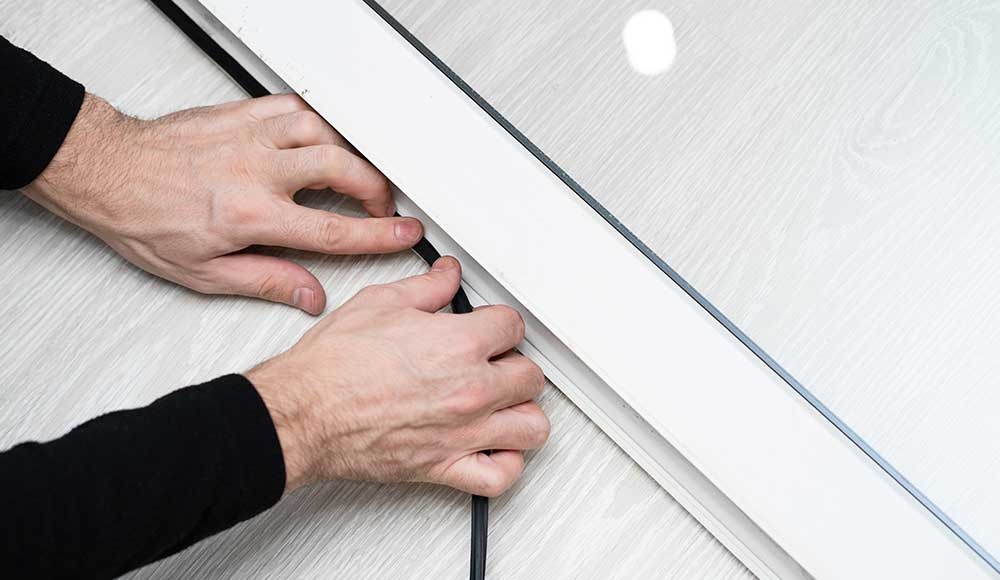
Step Three: Apply the Weatherstripping
Please always follow manufacturer instructions while installing. Many weatherstripping products are self-adhesive, which makes application easy. However, you may want to reinforce weatherstripping with staples or nails every couple of feet. Metal or vinyl weatherstripping that does not come with self-adhesive strips typically must be nailed in place.
When weatherstripping doors, apply it all along the door jamb.
For windows, the weatherstripping should be between the window sash and the window frame. If you're applying v-strip weatherstripping to a window, you must remove the window sash to install it.
No matter where you weatherstrip, the material should compress when you close the door or window, but should never be difficult to open or close.
Other Weatherproofing Tactics
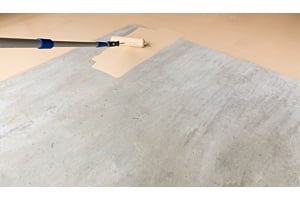
Weather Caulking
For components of your home that are stationary, you can use caulk to seal off airflow. Examples include baseboards, moulding, and around window casements. You are essentially plugging up any gaps and cracks to block any air from moving through. Silicone caulk can be applied in temperatures as low as -20 degrees Fahrenheit.
Check out our Caulk Guide for best caulk tips.
Specialty Sealing Products
Outlets and switch plates are often places where air infiltrates a home, and for that, there are specialty outlet sealers that are installed behind the outlet or switch plate. A window air conditioning unit is another place that can get really drafty in the winter. Frost King Window Air Conditioner Covers can help protect your units from winter weather as well as reduce drafts and heat loss.
Pipe Insulation
Another DIY that’s beneficial to any homeowner is pipe insulation. Be sure to read our guide on How to Insulate Pipes and Prevent Pipes from Freezing!
Shrink Kits
If your windows are really drafty and you aren’t planning on opening them for the entirety of the winter, shrink kits may be a good option for you. These kits come with clear plastic sheets that you adhere to the perimeter of your window frame (inside) and shrink wrap them tight with a hair dryer. The plastic blocks out any drafts.