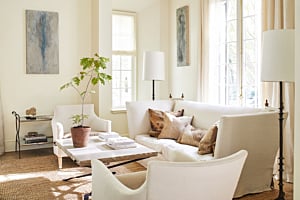

In the latest installment of our She-I-Y series, Tasha is back to teach you how to refinish a wood end table. This guide will help you give old, worn furniture new life! Maybe there’s an old table in your basement that’s been collecting dust, or perhaps you’re looking for something in a particular color or finish but can’t quite find the right piece within your budget. Facebook Marketplace and local thrift stores are great places to find inexpensive furniture begging for makeovers. Decorating with a repainted end table is a great economical and eco-friendly way to elevate your home with whatever pop of color you choose.
End Table Refinishing Supply List

Ring’s End has everything you need to refinish an end table. For this project, you’ll need:
- NSL-X STIX Primer
- Benjamin Moore AURA Interior Satin Paint
- Brooklyn Poly 2-1/2” Angle Sash - SuperTuff Tack Cloths
- 180 Grit Sandpaper
- Paint Tray
- Whizz 4” Foam Roller
- Whizz 4” Foam Roller Covers, 2-Pk

For paint, Tasha chose to use Benjamin Moore AURA Interior in Satin because its performance and color vitality is unmatched. It has extreme hide, so you won’t need more than two coats, and it has a self-leveling finish for ultimate smoothness and adhesion. Additionally, AURA paint has Benjamin Moore’s proprietary Color Lock Technology, which offers superior resistance to color rub-off, UV damage, and fading – perfect for a piece of furniture that’s prone to surface wear, such as an end table. AURA is available in Benjamin Moore’s 3,500+ colors as well as an exclusive collection of 240 colors called AURA Color Stories.
Steps for Refinishing an Wood End Table

Step 1: Remove Hardware
Before doing anything, remove all hardware from the furniture. If there is hardware that you’re unable to remove or a part that you don’t want painted, cover it with painter’s tape.
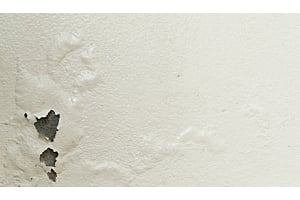
Step 2: Sand the Wood Surface
Sanding the surface will give the primer something to bite onto. This step isn’t completely necessary, but sanding will allow the paint to adhere better to the wood, meaning less touch ups and a smoother surface once you’re done. You can use a sanding machine if you have one, but you’ll have to use a sandpaper sheet or sponge to get into small areas and crevices.
Step 3: Remove Dust Particles
Use a tack cloth to thoroughly remove all dust particles from sanding.
Step 4: Apply Primer
Lightly stir your primer and use a paint tray and foam roller to roll a layer of primer onto the table. A foam roller will leave a smooth finish, which is ideal for painting furniture. Use a paintbrush to reach certain spots that you can’t get to with the roller.
Step 5: Lightly Sand Again
After the primer dries, lightly sand the table again for a nice, even surface. Again, this is not necessary, but will allow for much better topcoat adhesion and smoothness.
Step 6: Apply Top Coat
Lightly stir your paint before pouring it into a clean tray. Evenly apply your first coat of paint on top of the primer with a clean foam roller. You may notice that the white primer is showing through the coat of paint, but you will have nice, even coloring after your second coat. Like with the primer, use a clean paintbrush for any hard-to-reach places or small crevices. For reference, in the video, the paint color Tasha is using is Dollar Bill Green (2050-20), a gorgeous deep, dark green with blue undertones.
Step 7: Apply Second Coat of Top Coat
After letting the first coat of paint try for 1 hour, apply your second coat of paint. After a second coat of AURA, you should no longer be able to see the white primer underneath. AURA paint will be dry to the touch after just one hour, but it’s recommended to wait two weeks before washing the painted surface; this will allow the paint enough time to fully cure.
Choosing a Paint Color for Your End Table

As previously mentioned, Benjamin Moore offers over 3,500 different colors, along with the exclusive AURA Color Stories collection of 240 colors. We encourage you to come in to one of our Paint & Design Showrooms where our experienced designers can help you achieve the perfect look for your DIY project. Take home paint chips or samples to test colors in different rooms and lights. And most importantly, have fun! Don’t forget to tag @RingsEnd in your projects and let us know what you’d like to see next from Tasha.