
Your home and your space should be a reflection of your style. Decorative hardware is a key aspect in refining that style, and choosing those pieces can have a large effect on the overall look of the space. Door and cabinet hardware is the final touch to your home and needs to feel unique and welcoming.
Product Style
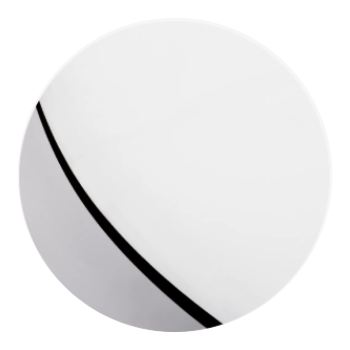
Contemporary
Clean lines, round edges, and a strong build make contemporary style hardware a solid choice. Like the name signifies, this 'of-the-moment' style choice channels features that are on trend. If you’re looking for something impactful that results in a curated look, contemporary style hardware can create a lasting impression.
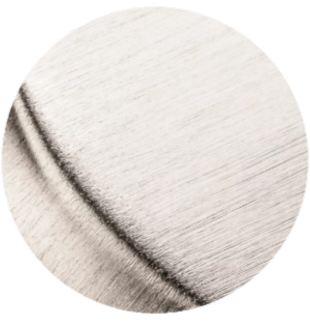
Rustic
Rustic design places an emphasis on the natural and organic. Our rustic designs are unpretentious with a relaxed feel. Rustic finishes are calming and approachable in neutral colors. If you’re a fan of texture and a natural look, our rustic style designs are right for you.
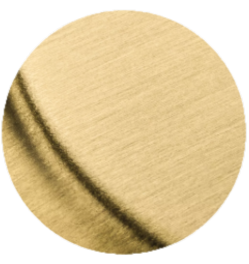
Traditional
Curving lines and symmetry evoke a sense of luxury that the traditional style is known for. Each detail and fluid line in a traditional design works toward an elegant appearance. Mix traditional style elements to create an ornate overall look that is timeless and refined.
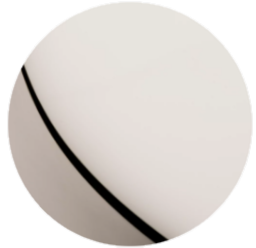
Transitional
The transitional style blends elements of contemporary and traditional design. Transitional is less formal than traditional and more comfortable than contemporary. This design style is trend-proof as it contains classic silhouettes with fewer details and simpler lines. Align yourself with the sophisticated and welcoming appearance of transitional style to strike just the right balance in your home.
Cabinet Knob

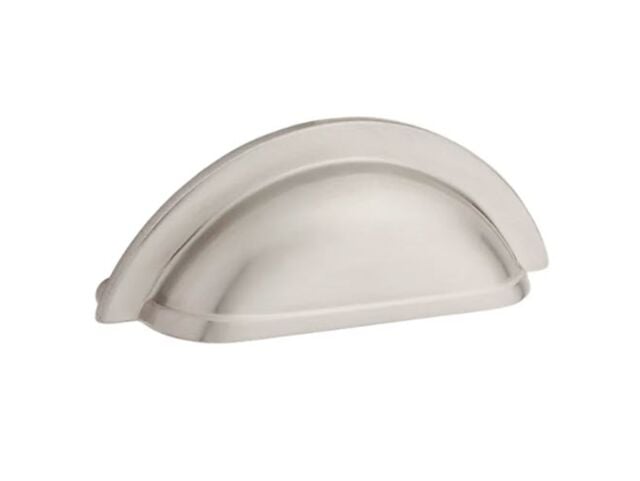
Cabinet Cup Pull
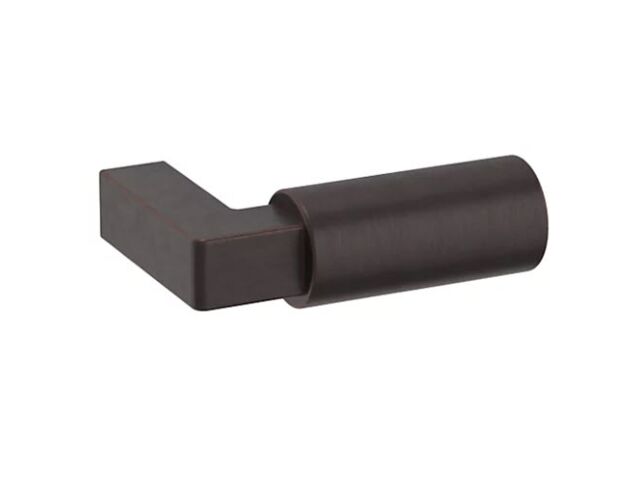
Appliance Pull
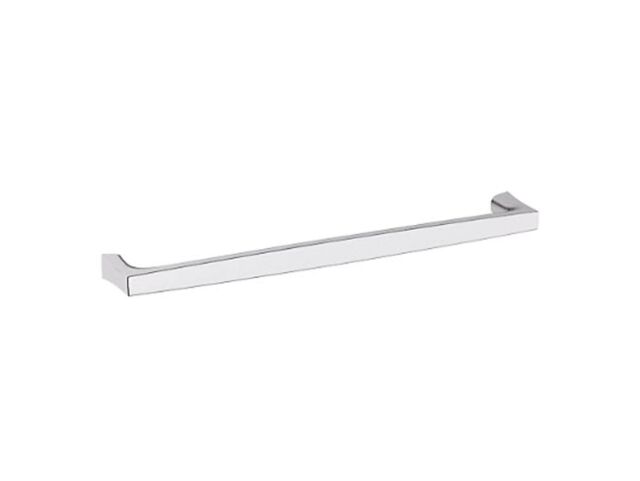
Cabinet Pull
Finishes
Do the finishes in the different product lines match?
In most cases, yes. This is driven by the finish code. If the finish code is the same for a finish that is available in both the Estate and Reserve lines, it will match.
Prestige has much fewer finishes and the codes differ in some cases. These will not be guaranteed to match with either Reserve or Estate.
Why is the finish on the product I purchased different from the finish on the display I saw at the store?
-
If you selected a living finish, there is no protective coating on that finish, and over time it will change and patina over time by design.
-
If you selected a product that includes hand-relieving, variances in luster, hue, and appearance are the result of the final stages of the finished development which are handcrafted and will vary. This is also by design, as these finishes represent a hand relieved artisan style.
Hand Relieved Finish Variances
Product finishes, that are hand relieved, may vary in luster, hue, and appearance because of handcrafted variances in the final finishing step. Other product finishes, that are hand relieved (Satin Brass & Black 050, Satin Brass & Brown 060, Venetian Bronze 112, Antique Nickel 151), may also vary in luster, hue, and appearance as a result of these handcrafted variances.
Lifetime PVD Finishes
Baldwin®'s proprietary Lifetime Finishes™ in Polished Brass, Polished Nickel, and Satin Nickel, create a surface highly resistant to the effects of weather and normal wear and tear, including coastal applications.
Living Finishes
For those who appreciate the rich patina finish found on a well-loved vintage piece, living finishes continue to change over time. Product finishes that are LIVING (Non-Lacquered Brass 031, Vintage Brass 033, Oil-Rubbed Bronze 102, Distressed Oil-Rubbed Bronze 402) will vary over time. These finishes are not eligible for a finish warranty.
Lifetime (PVD)
Satin Nickel - 056
Lifetime (PVD)
Polished Brass - 003

Lifetime (PVD) Polished Nickel - 055
Lifetime (PVD)
Satin Brass - 044
Polished
Chrome - 260
Satin
Black - 190
Venetian
Bronze - 112
Non-Lacquered
Brass - 031

PVD?
What is PVD?
PVD is a Physical Vapor Deposition Finish applied to Baldwin Hardware. PVD Finish is a durable and corrosion-resistant coating.
How is it applied?
The Hardware is placed in a Vacuum Chamber and subjected to a high-voltage charge. Vaporized metal is attracted to the hardware and deposits on its surface creating a hard coating.
What are the benefits of PVD?
-
The finish is resistant to weathering, deterioration, UV rays, and salt-air damage
-
The finish is durable and resistant to corrosion and tarnishing
What finishes are available in PVD?
Polished Brass, Polished Nickel, Satin Brass, and Graphite Nickel.
How to Measure
Cabinet Cup Pull
Measure Center to Center. Installed with 8-32x1 mounting screws. (Center to Center = Distance between the screw holes)
Appliance Pull
Measure Hole to Hole. Installed with 10-24x1.3 in. mounting screws. (Hole to Hole = Distance between the centers of the two mounting holes on the back of the knob)
Classic Knob
Measure Center. Installed with 8-32x1 mounting screws. (Center to Center = Distance between the screw holes)
(Other) Knob
Measure Center. Installed with .75 in. mounting screws. (Center to Center = Distance between the screw holes)
*Please refer to the application section of the individual items for more details*
How to Clean
The recommended cleaning method for cleaning Cabinet Hardware would be to use warm, soapy water and a soft cloth to gently wipe down the hardware, then dry it thoroughly with a towel. As well as, to always check the specific finish instructions on the manufacturer's website for any special cleaning needs.
Do Not Use:
-
Abrasive cleaners: (These can scratch the surface of your hardware.)
-
Ammonia: (This can damage certain finishes.)
-
Harsh chemicals: (Check the product label before using any cleaning solution.)
For Finishes such as:
-
Tarnished brass: (Try a paste of baking soda and lemon juice to restore the shine.)
-
Polished nickel: (A simple soap and water solution is usually sufficient.)
-
Bronze: (Use a specialized bronze cleaner to maintain the patina.)
-
Living Finish: (For finishes designed to age naturally, like "living finishes," simply spray with rubbing alcohol and let air dry.)
How to Install
Appliance Pull:
Measure and mark:
-
Decide where you want to place the pull on your appliance.
-
Measure the distance between the mounting holes of the new pull.
-
Transfer these measurements to the appliance surface and mark the exact locations for the screw holes with a pencil.
Drill pilot holes:
-
Use a drill bit slightly smaller than the diameter of your screws to drill pilot holes at the marked locations.
Align and install:
-
Carefully align the appliance pull with the drilled holes.
-
Insert the screws through the pull and into the pilot holes, ensuring they are going in straight.
-
Tighten the screws evenly until the pull is securely mounted.
Important considerations:
-
Check for level: Use a level to ensure the pull is installed straight.
-
Screw length: Make sure the screws provided are the correct length for your appliance's thickness.
-
Specific instructions: Always refer to the manufacturer's instructions that come with your appliance pull for any unique installation requirements or special considerations.
Cabinet Cup Pull:
Measure and mark:
-
Determine the center of the cabinet door where you want the pull to be positioned vertically.
-
Use a pencil to mark the center point
Use a template (if available):
-
Align the template with the center mark you made.
-
Trace the screw hole locations onto the cabinet door.
Drill pilot holes:
-
Use a drill bit slightly smaller than the screw diameter to create pilot holes at the marked locations.
Attach the cup pull:
-
Line up the cup pull with the marked holes.
-
Insert the screws and tighten them securely.
Important considerations:
-
Placement: For most cabinets, place the bottom screw of the cup pull 2.5-3 inches from the bottom of the door.
-
Level check: Double-check that the cup pull is level before fully tightening the screws.
-
Screw length: Use screws appropriate for the thickness of your cabinet door.
-
Specific instructions: Always refer to the manufacturer's instructions that come with your Cabinet Cup Pull for any unique installation requirements or special considerations.
Cabinet Pull:
Measure and mark:
-
Decide on the desired placement for your pull on the cabinet door.
-
Use a tape measure to mark the center location for each pull.
-
Ensure consistent spacing between pulls on multiple cabinets.
Template (optional):
-
For precise alignment, consider using a drilling template specifically designed for cabinet hardware.
Drill pilot holes:
-
Use a drill bit slightly smaller than the screw diameter to create pilot holes at the marked locations.
-
Drill through the cabinet door, avoiding drilling all the way through the cabinet.
Install the pull:
-
Align the pull with the pilot holes.
-
Insert the screws through the pull and into the pilot holes.
-
Hand-tighten the screws, ensuring the pull is straight and level.
-
Double-check and fully tighten the screws as needed.
Important considerations:
-
Cabinet material: Depending on the material of your cabinets (wood, laminate, etc.), you might need to use different screws or drill bits to prevent splitting.
-
Check the instructions: Always refer to the specific instructions provided with your cabinet pull for any unique installation requirements.
-
Alignment: Ensure the pulls are aligned consistently across all your cabinets for a polished look.
-
Specific instructions: Always refer to the manufacturer's instructions that come with your Cabinet Pull for any unique installation requirements or special considerations.