My Cart
You have no items in your cart.
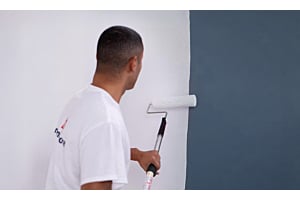
Painting kitchen cabinets can be a cost-effective way to perform a kitchen makeover during a home remodel. With proper preparation, the right products, and careful technique, you can achieve a professional and durable finish that resists chipping. Below is a comprehensive tutorial to help you through the process.
If you’re painting new wood cabinets, they will only need priming. Previously painted cabinets, on the other hand, require thorough cleaning, degreasing, and sanding before priming and painting.
When repainting, you'll need to test the existing paint type, remove any loose or chipped paint, and potentially use a deglosser to ensure proper paint adhesion. Repainting may also require more extensive surface preparation to address wear, existing paint imperfections, and potential wood damage. A smooth finish requires a smooth surface to work with!
To do this project properly, you'll need:
Household supplies include a putty knife, screwdriver or drill, sponge and bucket, clean rags, tack cloths, painter's pyramid supports, and a step ladder.
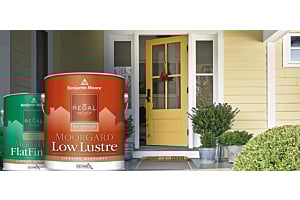
To get the smoothest paint job possible—and one that lasts—it’s crucial to use not only the correct type of paint for cabinets, but also a high-quality paint.
Most homeowners today choose an alkyd or high-grade acrylic paint instead of oil-based paints. Waterborne alkyd paints, like Benjamin Moore's ADVANCE, offer the durability of oil-based paints with lower VOCs, making them safer and more environmentally friendly.

Formula Type: Alkyd
Recommended because: durability and smooth finish create a beautiful finish with long-lasting results
Fine Paints of Europe Hollandlac Sign Enamel is known for its durability and smooth finish. It requires longer drying times, which helps eliminate brush and roller marks. Their Brilliant 98 line offers a high-gloss sheen for a mirror-like finish, ideal when applied with a professional sprayer. The Satin sheen is more forgiving and suitable for brush and roller applications. You’ll need their alkyd-based undercoat for the best adhesion.
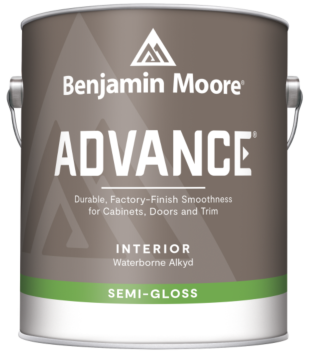
Formula Type: Water-borne alkyd
Recommended because: premium, furniture-like finish is available in 3500+ colors
Benjamin Moore ADVANCE is a favorite among professional painters. It delivers a furniture-like finish and is available in over 3,500 colors and three sheens. Advance’s flow and self-leveling properties are some of the best on the market. This durable paint offers the application and performance of traditional oil paint in a waterborne formula that cleans up with soap and water.
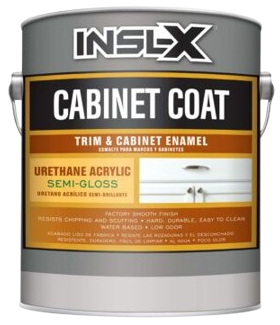
Formula Type: Urethane acrylic
Recommended because: superior bonding properties create a highly durable coating
INSL-X Cabinet Coat is a specialty urethane acrylic paint from Benjamin Moore that’s formulated for—you guessed it!—cabinets. Like its primer cousin Stix, Cabinet Coat has superior bonding properties that provide a highly durable coating over wood and laminate surfaces. Its leveling is excellent, although not as high-grade as Advance, due to its faster dry time. Cabinet Coat is ready to recoat in as little as four hours—a big advantage if you’re looking to complete a home improvement project in a weekend.
Wood cabinets have texture that allows for adhesion, but laminate cabinets have a smooth, hard, non-porous surface that will not bind to paint. You need a specialized primer for these slick surfaces to ensure proper adhesion. Use a bonding primer specifically formulated for laminate, and lightly scuff the surface with a fine-grit sandpaper to create texture before applying the primer.
Be extra careful with your application technique, as laminate is more prone to chipping and peeling if the paint isn't applied correctly. You’ll want to choose paints with strong adhesion properties, such as 100% acrylic paints, rather than latex or enamel paints.
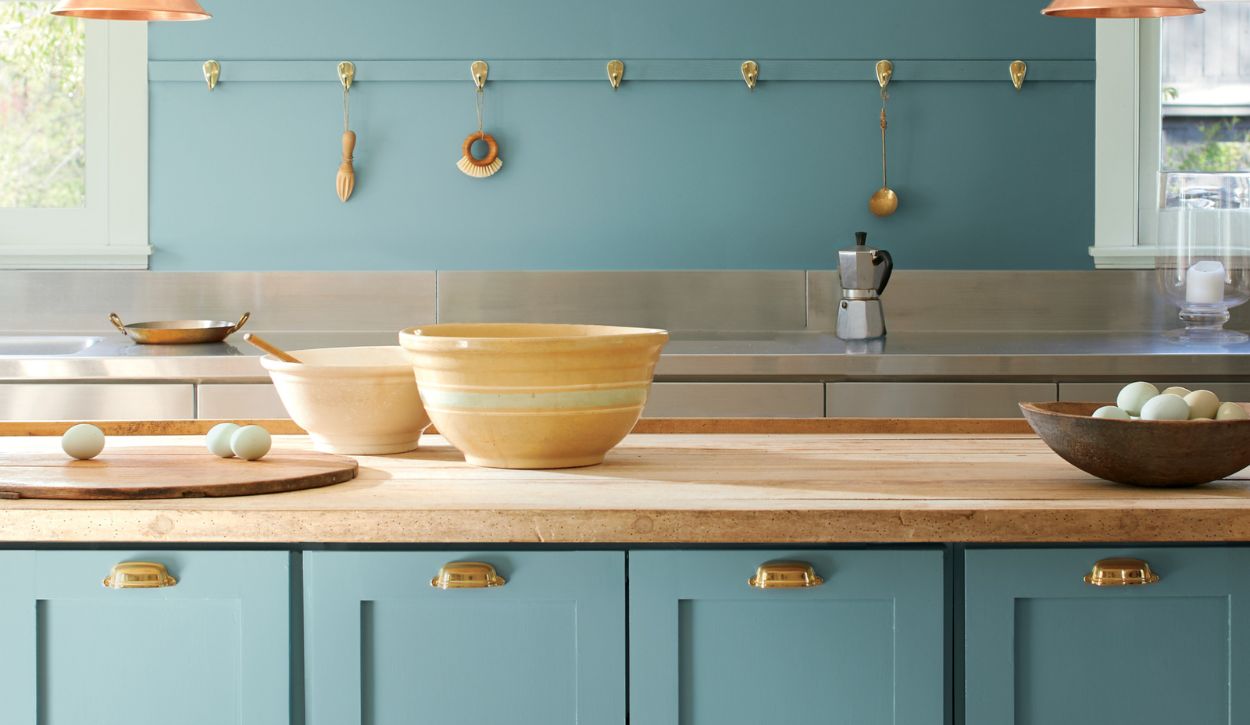
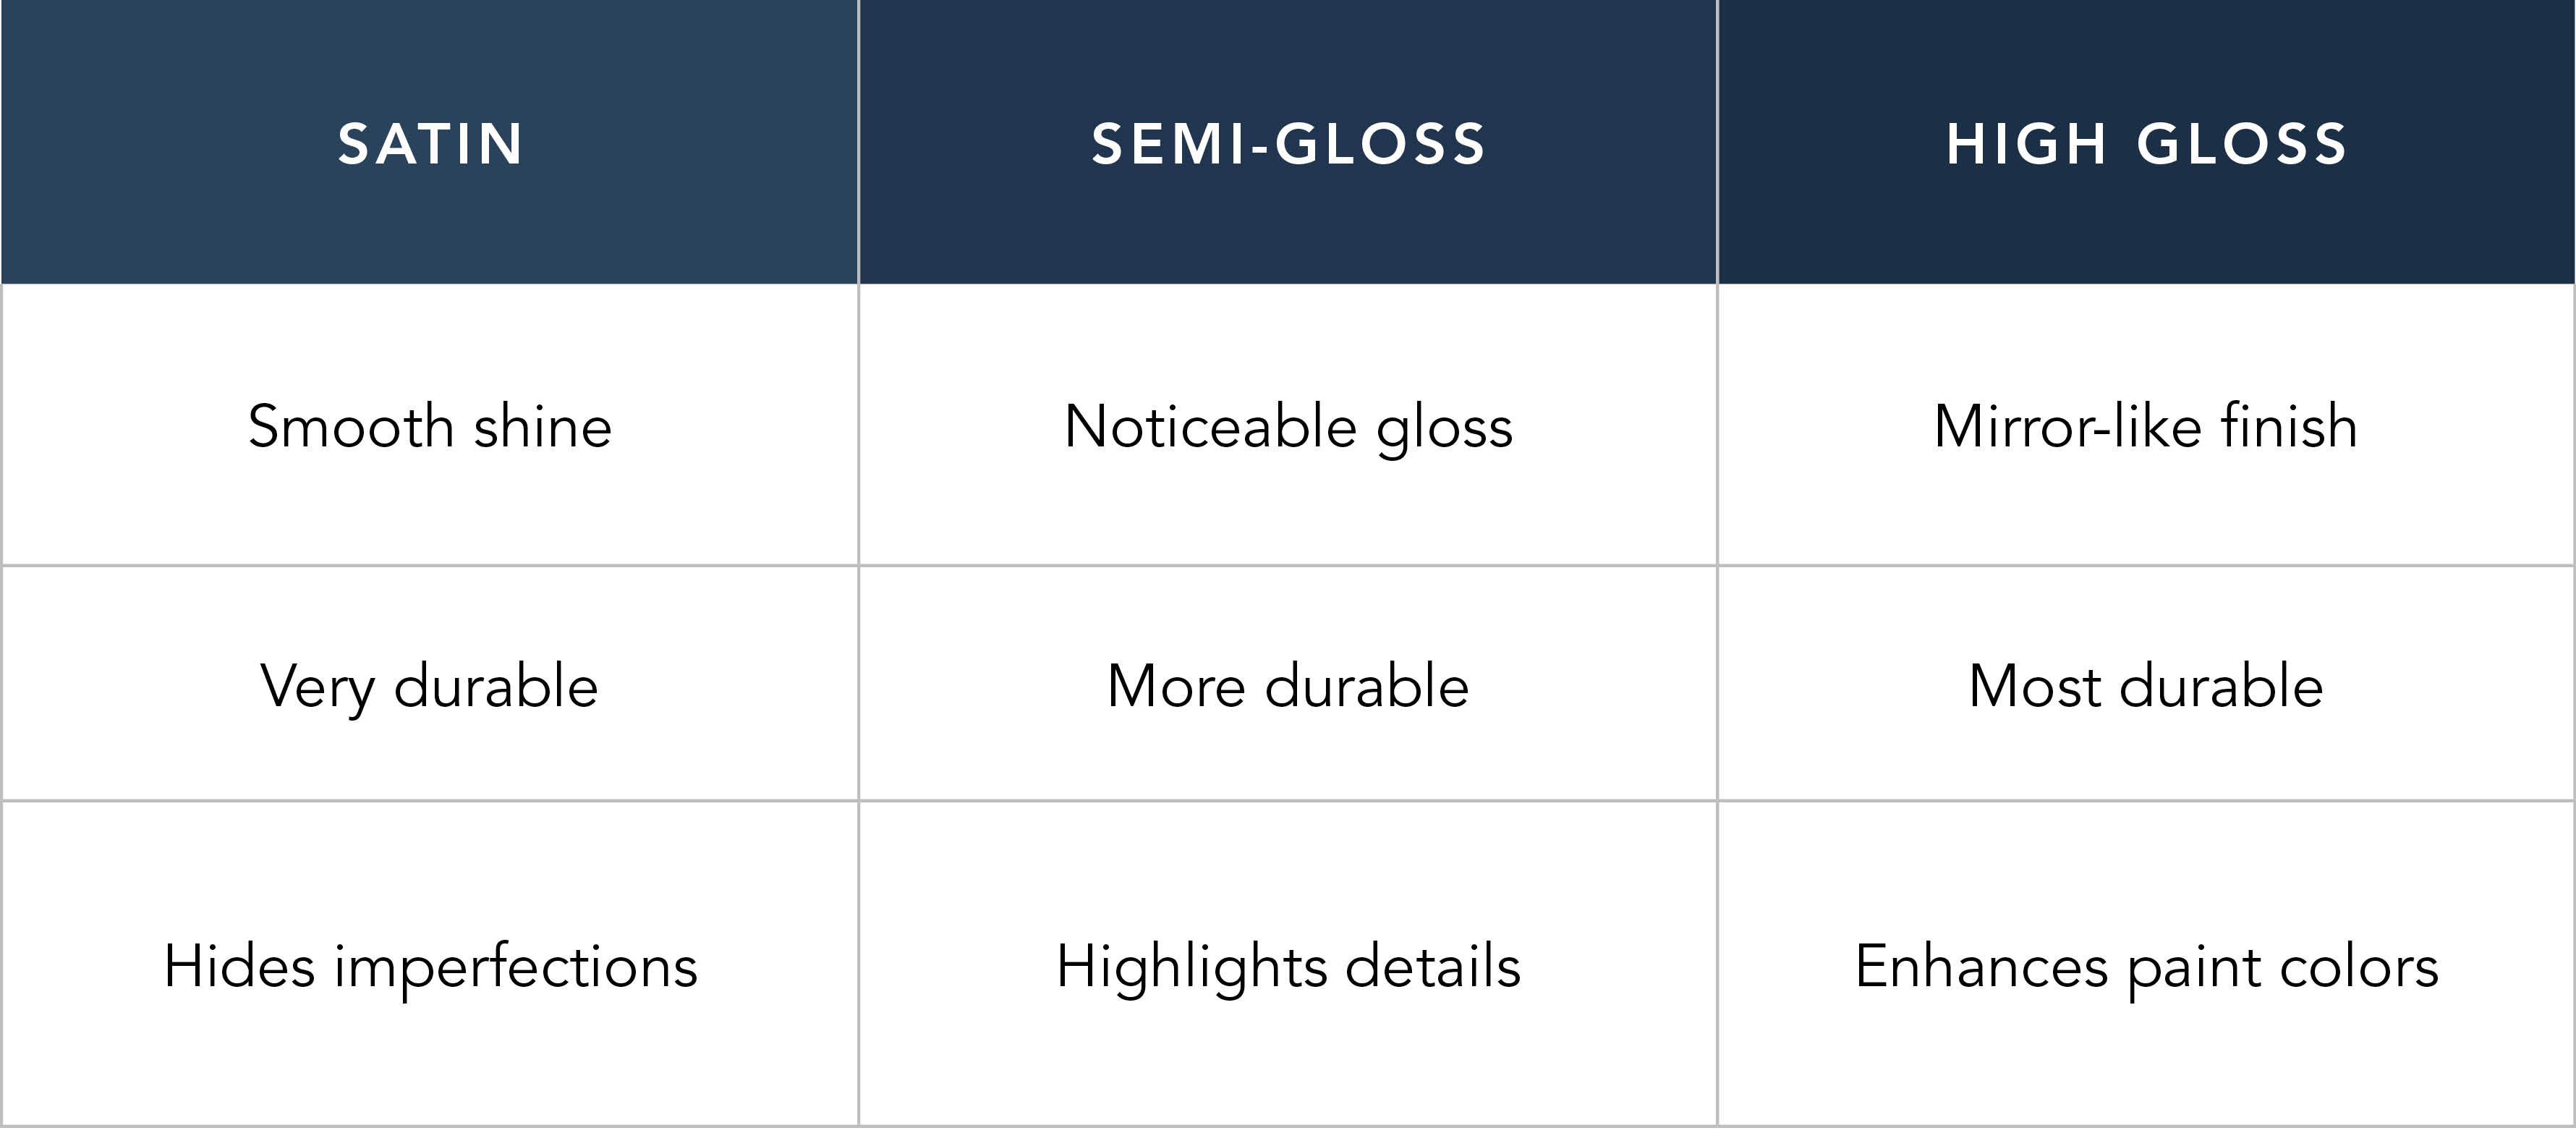
The sheen you choose affects both the appearance and durability of your cabinets. Glossy finishes like satin, semi-gloss, or high-gloss are easier to clean and more resistant to wear, making them ideal for kitchen cabinets. However, higher gloss levels can highlight imperfections and brush strokes, so meticulous preparation is essential. A sprayer will also give smoother results with semi-gloss or high-gloss paint.
Proper preparation is crucial for a successful painting project, especially when working with cabinetry. Let’s walk through the process step-by-step:
Designate a clean, well-ventilated area for painting and drying. Painting in a hot, humid garage or cold, wet basement can negatively impact your cabinet painting project. The temperature of the space should be controlled —heat will make the paint dry too fast, showing brush strokes, while cold and moisture will slow down the dry time, causing sagging.
Cover worktables with plastic drop cloths to protect surfaces. Empty the cabinets and protect countertops, backsplashes, and floors with painter's tape and drop cloths.
Use a screwdriver or drill to remove cabinet doors, drawer fronts (if removable), hinges, and knobs. Lay the doors and drawer fronts flat in your workspace. If you're replacing hardware and won't reuse existing holes, fill them with wood filler.
Pro Tip! Number your cabinet doors on a piece of painter’s tape so when it’s time to reassemble, you’re not left wondering which door goes where. Keep your hardware organized too — store it in labeled bags with the original screws to save time during reassembly.
Cabinet blocks, often called cabinet boxes or cabinet frames, are the fixed components attached to the walls and floor. These parts form the main body of your cabinetry and typically are not removable. It's important to leave these cabinet blocks in place to maintain the structural integrity of your kitchen setup.
While you won't remove them, you should still follow the same prep steps as your doors and drawers. Be sure to protect adjacent areas, using painter's tape, protective plastic, or painter’s brown paper to protect countertops, appliances, and walls from paint splatters or overspray.
Kitchen cabinets are probably going to be dirty. Make sure to clean all cabinet surfaces thoroughly with a degreaser to remove grease and residues. This step is key, so don’t skip it! Make sure to clean as thoroughly. Note that some degreasers or deglossers may require rinsing after application. When you’re done, allow surfaces to dry completely.
Then, lightly sand all surfaces with a sanding block or 120/220-grit sandpaper to scuff them slightly, which helps the primer and paint adhere better. Pay attention to crevices and molding details.
If the cabinets have a glossy finish that won’t knock down with light sanding, consider using a chemical deglosser to help the new paint adhere.
After sanding, wipe down the surfaces with a damp rag, then use a tack cloth to remove any remaining dust.
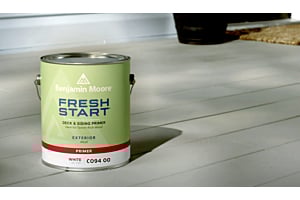
Choose a primer suitable for your cabinet material and existing finish. A multipurpose primer like Benjamin Moore’s Fresh Start High-Hiding All-Purpose Primer works well for most projects. Apply a thin coat using a foam or mohair roller for flat surfaces and an angled brush for corners and details. Foam is excellent for creating a smooth finish, while mohair has a slight nap which helps prevent sliding during paint applicatioan. Start with the backs of the cabinet doors to practice your technique.
Always work from the center outwards; roll the middle of any door panels and finish off edges with the brush. When you change the side of the door you’re painting, double check the edges/corners for drips or brush marks. Be patient and let the primer dry according to the instructions.
Once the primer is dry, lightly sand the surfaces with 220-320 grit sandpaper to smooth out imperfections. This step ensures a smooth base for your paint. If you’re not happy with the smoothness of your priming coat, feel free to add another coat. Starting with a smooth, even primer will lead to better results after your top coats. Wipe away the dust with a tack cloth.
Using your foam or mohair roller and angled brush, apply the first coat of paint, going in the direction of the wood grain. Roll the paint on flat surfaces and use the brush for edges and detailed areas. Apply thin, even coats to avoid drips and uneven coverage.
Allow the paint to dry thoroughly based on the manufacturer’s time to recoat instructions. Patience is key! High-grade cabinet paint is formulated to level out as it slowly dries. Keep the room ventilated and the temperature controlled.
After the first coat of paint is dry, apply a very light sanding to the surfaces again with 220-320 grit sandpaper to remove any brush strokes or imperfections. Clean the surfaces with a tack cloth before applying the next coat.
Apply a second coat of paint, following the same method as before. This top coat will enhance the color and provide a more durable finish. Allow ample drying time based on the manufacturer’s time to recoat instructions.
Contact Ring's End for local painting contractor recommendations.
Text (203) PRO-HELP or start an online chat to connect with a real person.
After painting, let everything dry in your workspace for at least 24 hours. Paint may feel dry to the touch but can take several weeks to fully cure, so handle the doors and drawers carefully during reassembly to avoid smudging or damaging the finish.
Avoid cleaning with chemicals until the full curing period has passed. Often using mild soap and water with a soft, non-abrasive cloth can be used if needed.
Check the manufacturer’s instructions for the cure time of your paint.
Once the paint is fully dry, reinstall the hardware or attach new hardware. Use a cardboard template to align new holes accurately if you're replacing knobs or pulls. Rehang the doors and replace the drawers, and enjoy your kitchen’s new look!