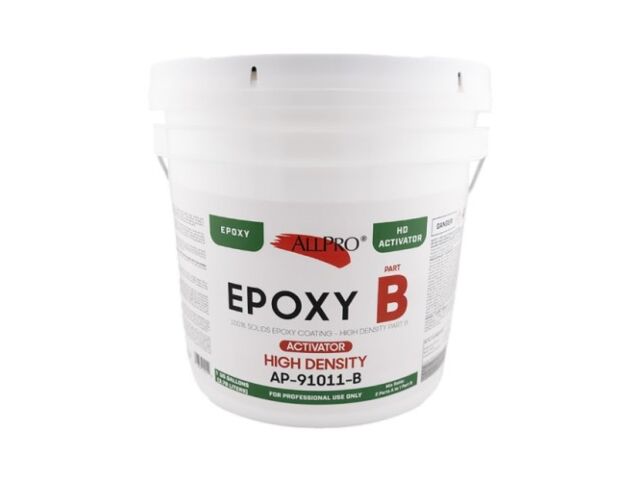
AllPro Epoxy Floor Coatings, 100% Solids, Part B, High Density Activator, 1 Gallon
*NOTE: Must purchase ALLPRO PART A, AP91000A, sold separately. Part B will not work individually.
ALLPRO® Part B, High Density Surface Tolerant 100% Solids Epoxy Primer is a specially formulated Part-B component for the Part-A of ALLPRO®91000A.
Epoxy two-component, high performance chemical resistant gloss epoxy for applications when the concrete may be containing grease, oils, or other contaminants. Due to the high density of the resin system, the coating is not self-leveling and will result in an orange peel finish. For a smooth finish, apply a second coat of ALLPRO® Epoxy using the standard Part B. See the product data sheet for AP-91000 Epoxy for additional information.
Recommended Substrates interior properly prepared concrete floors.
Part A Base Options:
| Type | Interior |
|---|---|
| Size | Gallon |
| Color | Clear |
| Coverage | 160-200 Sq. Ft. per gallon |
| Brand | AllPro |
| Material | 100% Solids Epoxy |
| Manufacturer Code | AP-91011-B |
Surface Condition: The surface to be coated must be clean, sound, and dry. Remove dust, dirt, laitance, grease, oil, curing compounds, waxes and any other contaminants. Any rough spots, projections or surface imperfections should be removed or patched to achieve a level surface prior to the application of any coatings.
Old or Previously Coated Concrete: Concrete surface must be cleaned and mechanically prepared using shotblasting, sand blasting, and/or diamond grinding. All oils, sealers, curing agents, waxes and fats must be removed prior to product application. Do not apply onto wet substrates. Chloride, moisture, and pH levels should be checked prior to application. If the moisture content exceeds 4%, one of our moisture vapor barrier activators must be used. All cracks, divots, depressions, or surface imperfections should be filled and repaired prior to application. Divots or depressions must be filled with a slurry of AllPro Epoxy and sand or aggregate, AllPro Crack Filler or an approved patching compound.
New Concrete: New concrete should be allowed to cure for a minimum of 30 days. Compression resistance of concrete must be at least 25 MPa (3625 lbs./inch2) after 28 days and traction resistance must be at least 1.5 MPa (218 lbs./inch2). Shotblasting, sand blasting, and/or diamond grinding is required to remove the surface laitance that appears during the concrete finishing and curing process.
Surface Profile: All existing coatings, laitance, curing compounds, and bond breakers must be removed via shot blasting, scarifying or diamond grinding and provide a suitable profile in accordance with ICRI CSP-2 or CSP-3, but not to exceed the thickness of the coating system. Abrasive blasting or grinding is to leave the concrete in a uniform texture. Over-blasting will result in reduced coverage rates of subsequent coats of primer and finish. Sweep and vacuum any remaining dust, dirt, or contaminants with a wet/dry vacuum. All dirt, foreign contaminants, and laitance must be removed to assure a trouble-free bond to the substrate.
Moisture Content Testing: After the floor has been cleaned and abraded, moisture content tests are highly recommended. Three (3) tests are required for the first 1,000 S.F. and an additional test for every additional 1,000 Sq. Ft. in accordance with ASTM F1869 Standard Test Method for Measuring Moisture Vapor Emission Rate of Concrete Subfloor Using Anhydrous Calcium Chloride Moisture Emissions Test. Other acceptable test methods are ASTM F2170 In-Situ Probes or ASTM F2659 Non-Destructive Electronic Moisture Meters. The moisture content must be less than four (4) pounds (4%) of moisture per 1,000 sq. ft. per 24 hrs. for the standard converter. The 5751 Epoxy Vapor Barrier and 5752 Epoxy Fast Set Vapor Barrier Activators are more surface tolerant and can withstand up to 25 pounds of moisture per 1,000 sq. ft. per 24 hr.
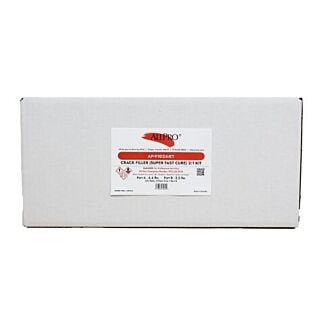
Crack Filling & Patching: Patch divots in the floor with a slurry of AP-91000 AllPro Epoxy and sand or aggregate, AP-91024 AllPro 100% Solids Fast Set Crack Filler or an approved patching compound. Fill cracks with SP-91024 AllPro 100% Solids Fast Set Crack Filler or AllPro Polyurea Crack Filler in accordance with the product data sheet. Expansion joints shall be filled with an approved joint sealant.
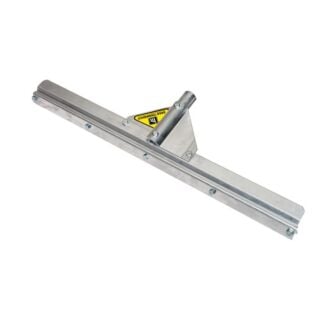
Application: For the best results, always plan out your floor and ensure adequate materials, tools and time are available before starting. Paint to a natural break in the surface, such as a corner or edge. After mixing, pour the mixed material onto the floor in a long ribbon 12 to 18 inches wide. Do not scrape or drain containers as there may be un-mixed product on the sides that will not dry properly and leave a defect on the floor. When cutting-in larger surfaces and painting edges or corners, apply with a disposable solvent resistant china-bristle brush. Using a flat or notched squeegee, spread the material to a uniform thickness using sufficient pressure to work the material into the pores of the surface. Immediately back-roll and cross-roll the material with a clean lintfree 3/8” to 1/2” nap solvent and shed resistant woven roller cover for best results. Always maintain a wet edge during application by rolling into the previously applied coating. If necessary, apply again at a right angle. Roller covers will require replacing periodically to prevent catalyzed product from setting up on roller cover or contaminating more freshly placed material. For best results, finish by uniformly tipping off with the roller in one direction.
POT LIFE: All times are approximations-
- 100-120 Minutes @ 59° F & 50% Relitave Humidity
- 50-60 Minutes @ 77° F & 50% Relitave Humidity
- 25-30 Minutes @ 95° F & 50% Relitave Humidity
Mix only what can be immediately used. Exceeding the pot life will likely affect color, gloss, and workability of the product.
Dry Times: Tack Free Time: 6-8 Hours, Recoat time: 6-8 Hours, as soon as the product can be walked upon with normal shoes, it can be recoated. Full cure: 7 Days. Recoat Window: After waiting 24 hours or longer, this product must be abraded to create a mild profile before re-coating.
*NEITHER COMPONENT WILL WORK UNLESS MIXED WITH THE OTHER! Must combine Part A & Part B, sold separately.
Coverage: 160-200 Sq. Ft. per gallon, depending on the system thickness requirements and the profile and porosity of the surface to be painted. See data sheet for the return to service times for he respective service conditions.
Mixing Tools & Speed: Use a paddle mixer and a variable speed drill at low speed (300 to 450 rpm). Take care not to whip air bubbles when mixing as the bubbles will be difficult to remove once the product is applied to the concrete floor.
Related Products
-
-
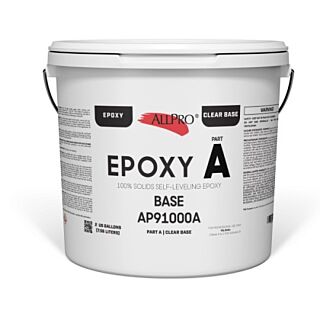 AllPro Epoxy Floor Coatings, 100% Solids, Self-Leveling, Part A, Clear Base, 2 Gallon SKU: AP91000A$103.00each
 -
-
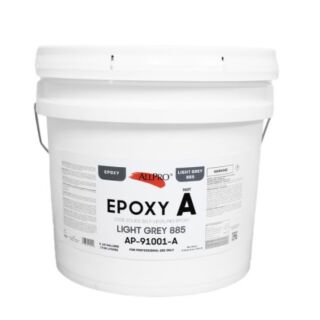 AllPro Epoxy Floor Coatings, 100% Solids, Self-Leveling, Part A, Light Grey, 2 Gallon SKU: AP91001A$103.00each
 -
-
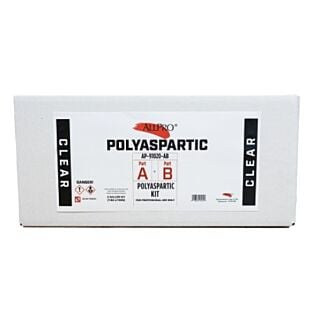 AllPro Epoxy Floor Coatings, 98.5% Polyaspartic, Gloss, Clear, 2 Gallon Kit SKU: AP91020$238.00each
 -